Configure an alert subscription to get Power BI reports emailed.
The Power BI platform offers users the convenient option to subscribe to reports, enabling automatic delivery via email. Our step-by-step guide simplifies this process, allowing users to effortlessly set up report subscriptions and receive them directly in their inbox. This feature streamlines access to critical insights, ensuring that users stay informed and up to date without manual intervention.
Step 1
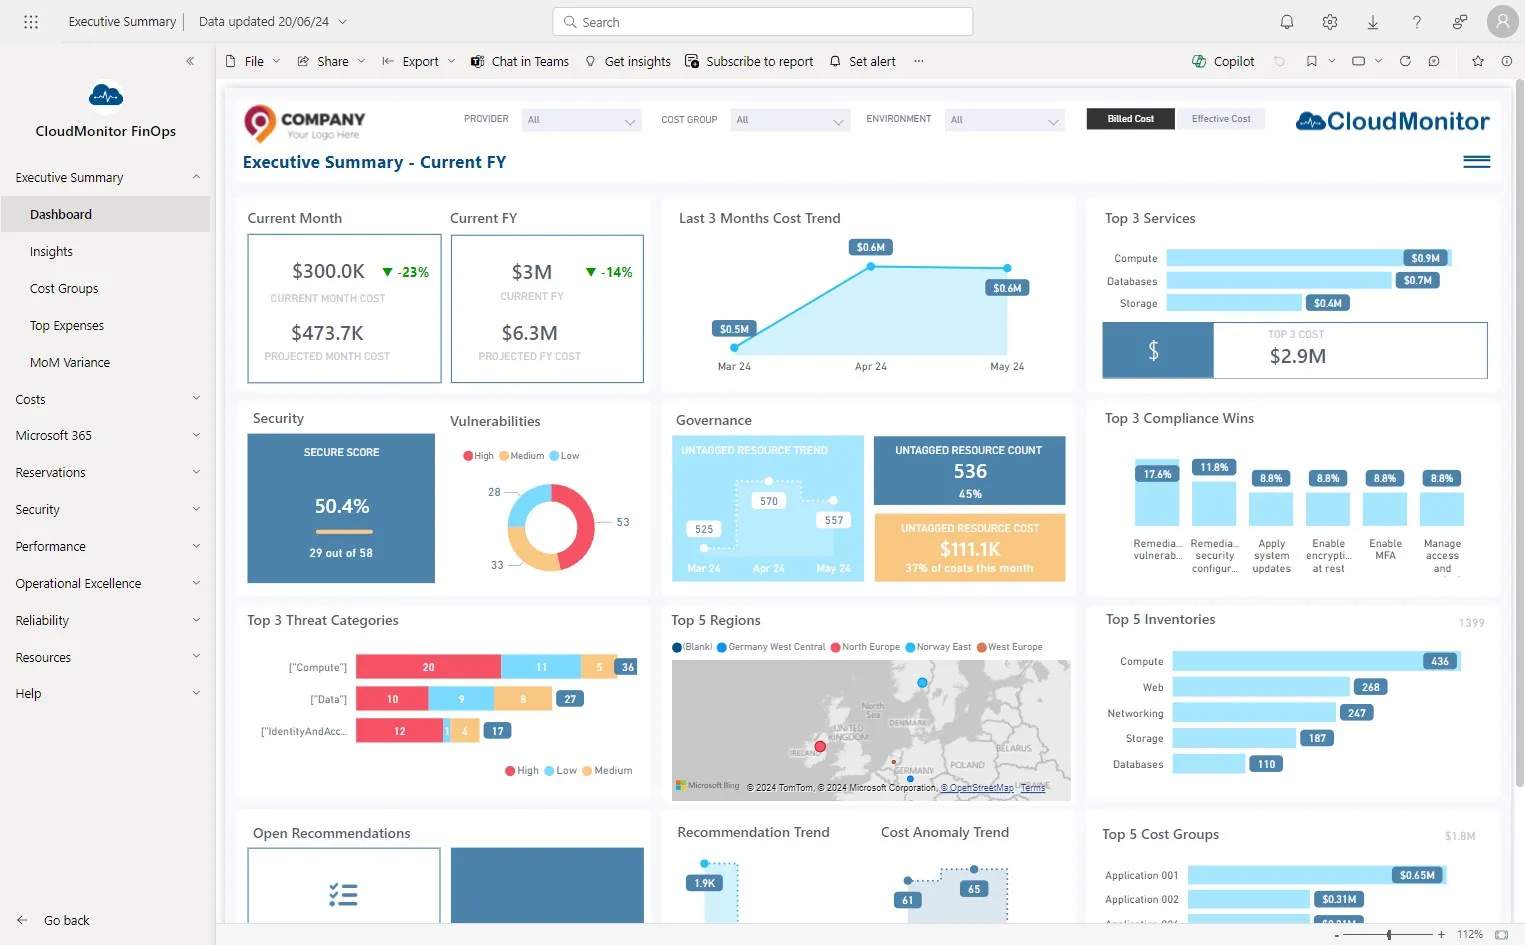
Section titled “Step 1”Navigate to the Power BI app and click on the report you need to create the alert.
Step 2
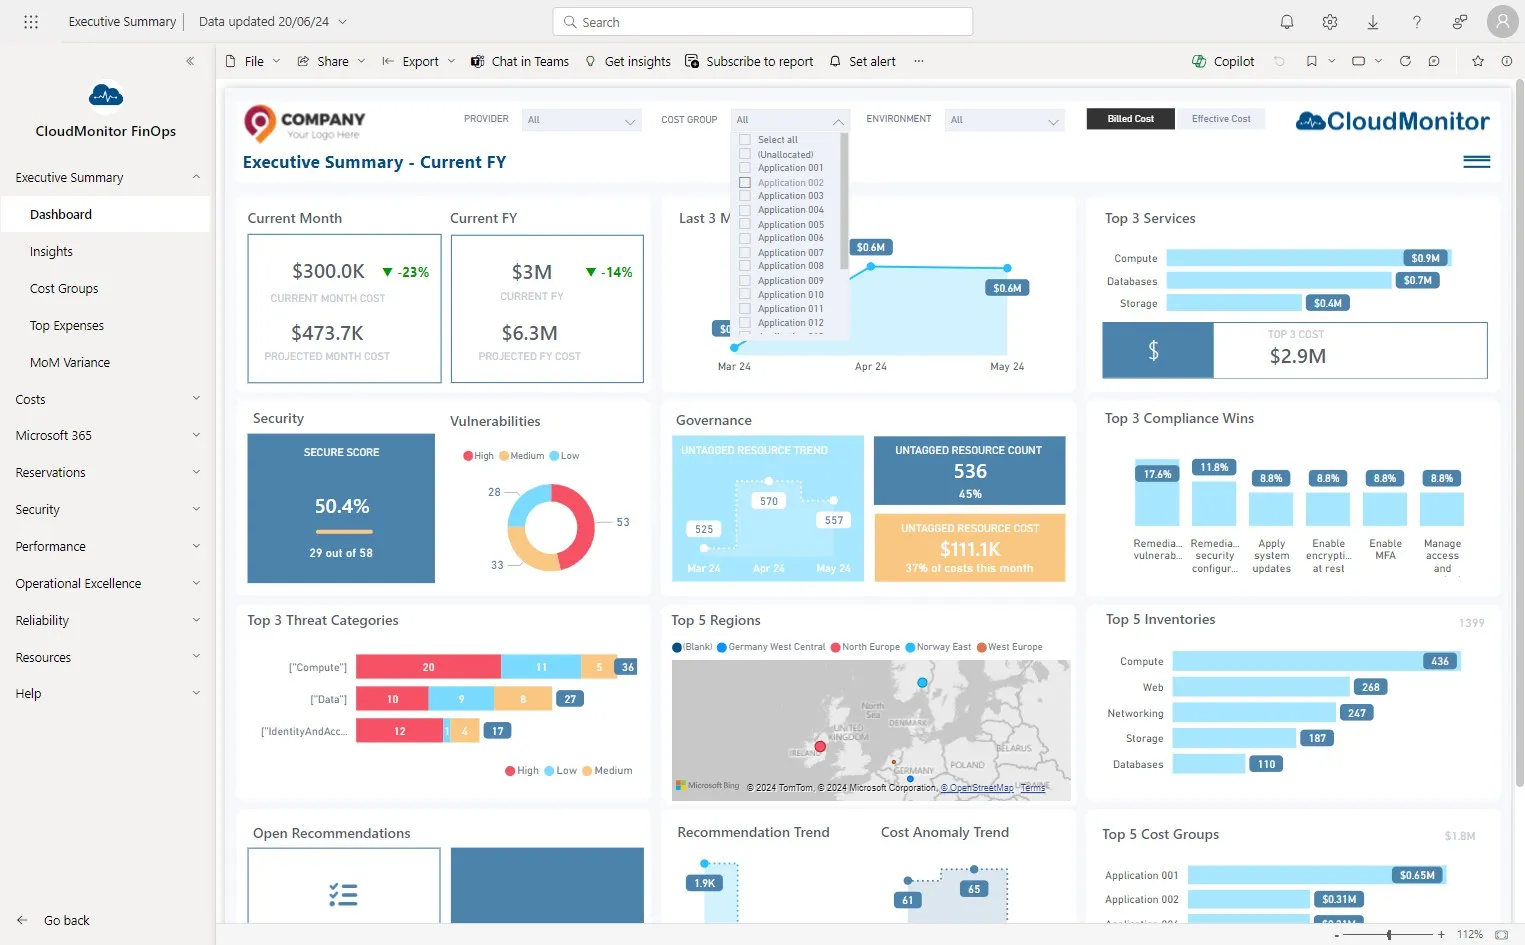
Section titled “Step 2”Apply any filters if you wish
Step 3
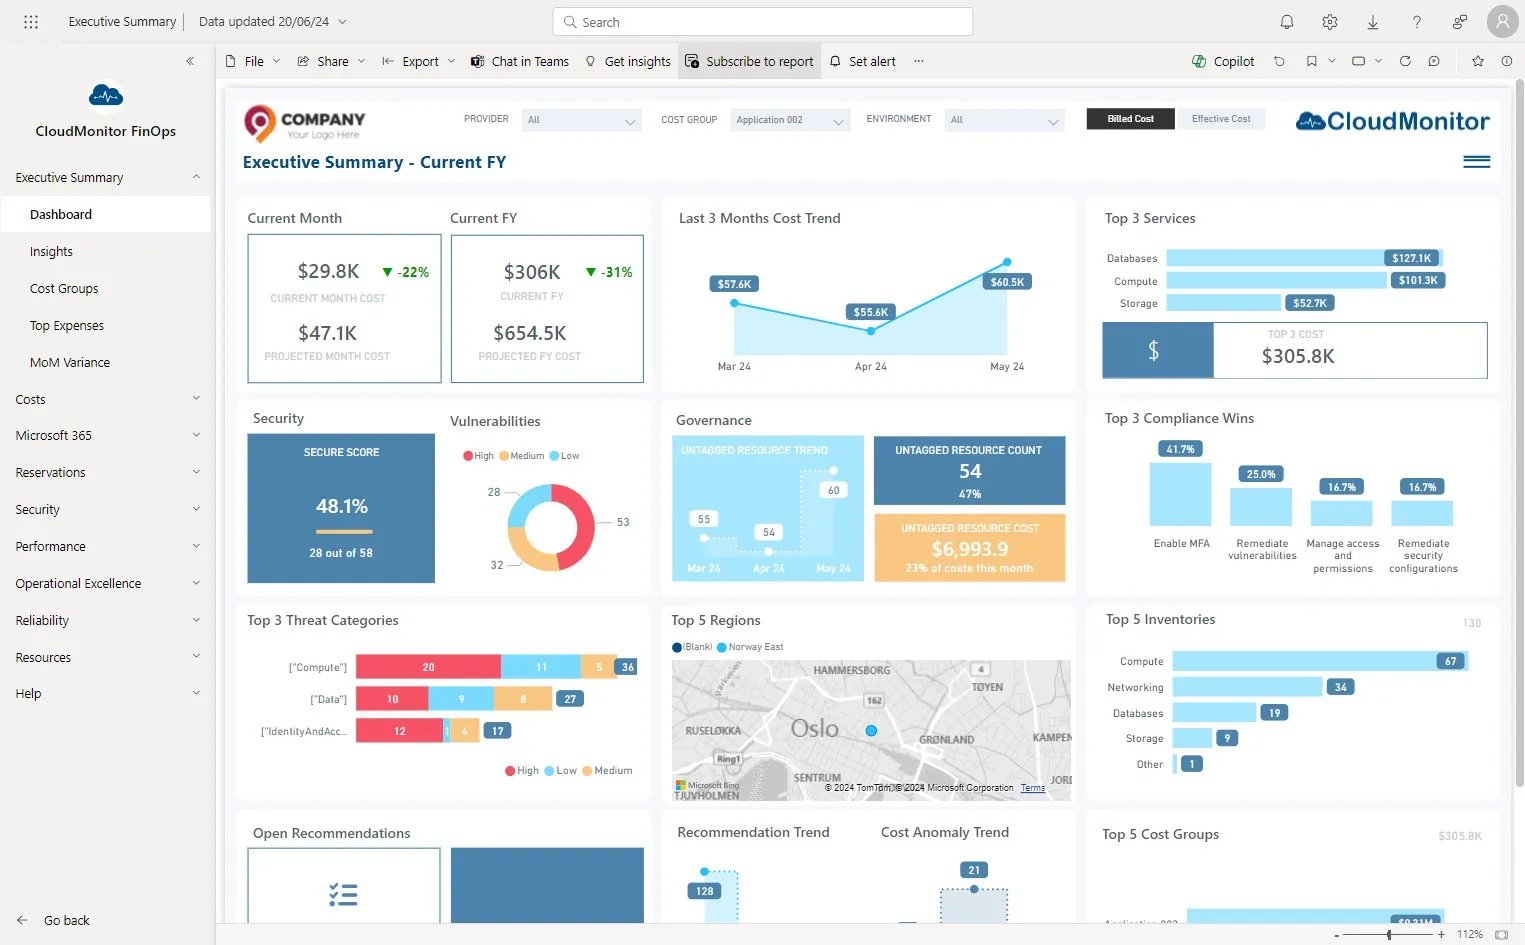
Section titled “Step 3”Then, Click “Subscribe to report”
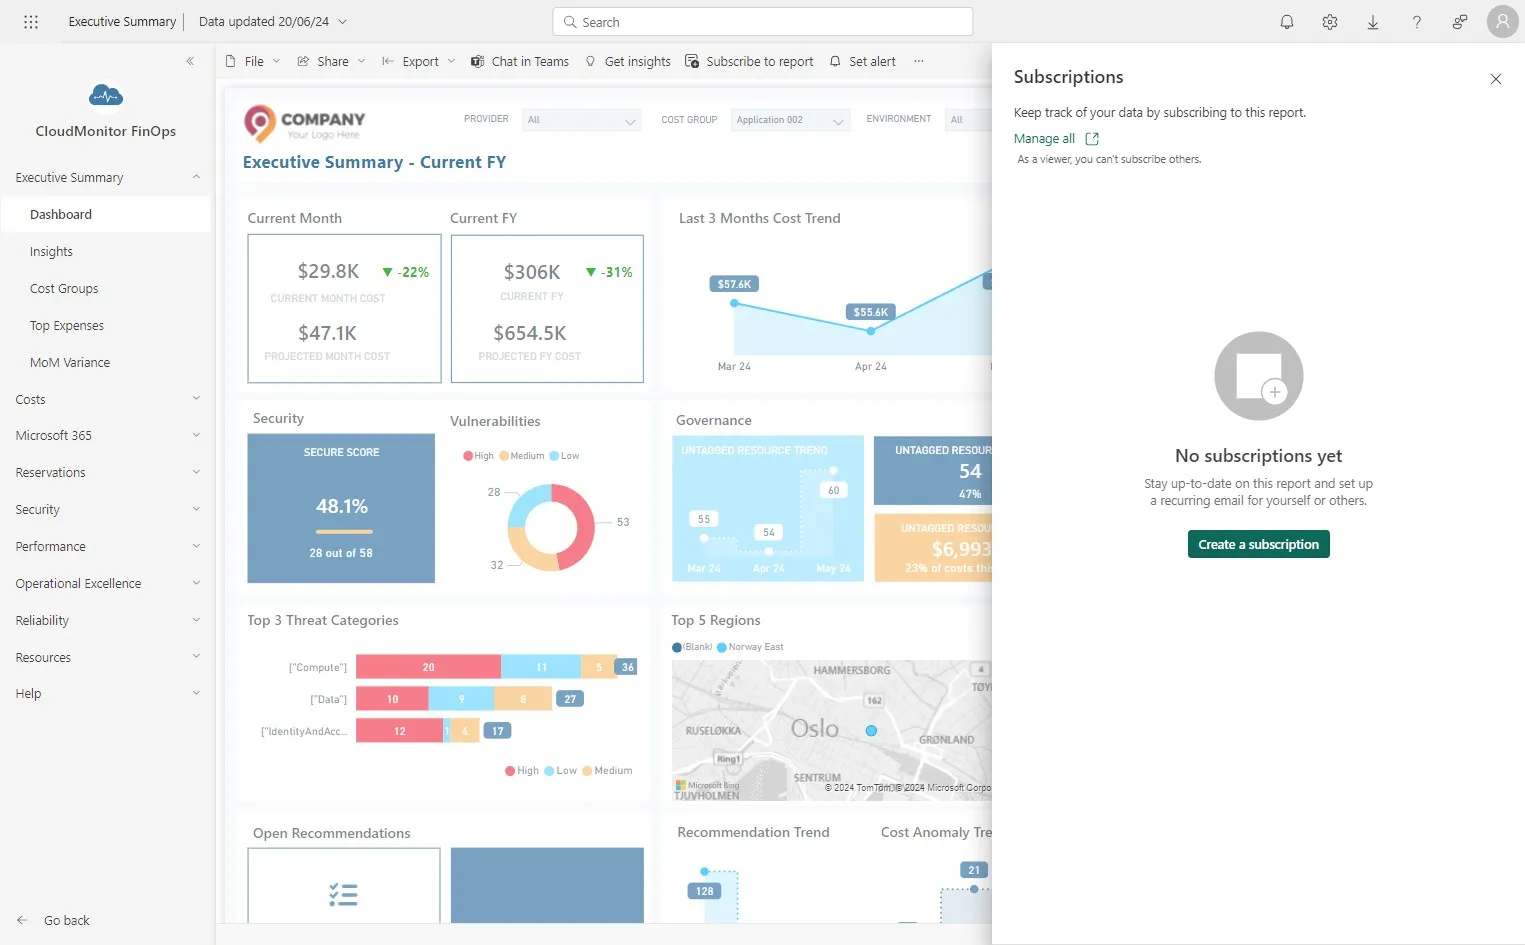
Step 4
Section titled “Step 4”Click “Create a subscription”
Step 5
Section titled “Step 5”Click the Subscription Name in “Enter a name” field.

Step 6
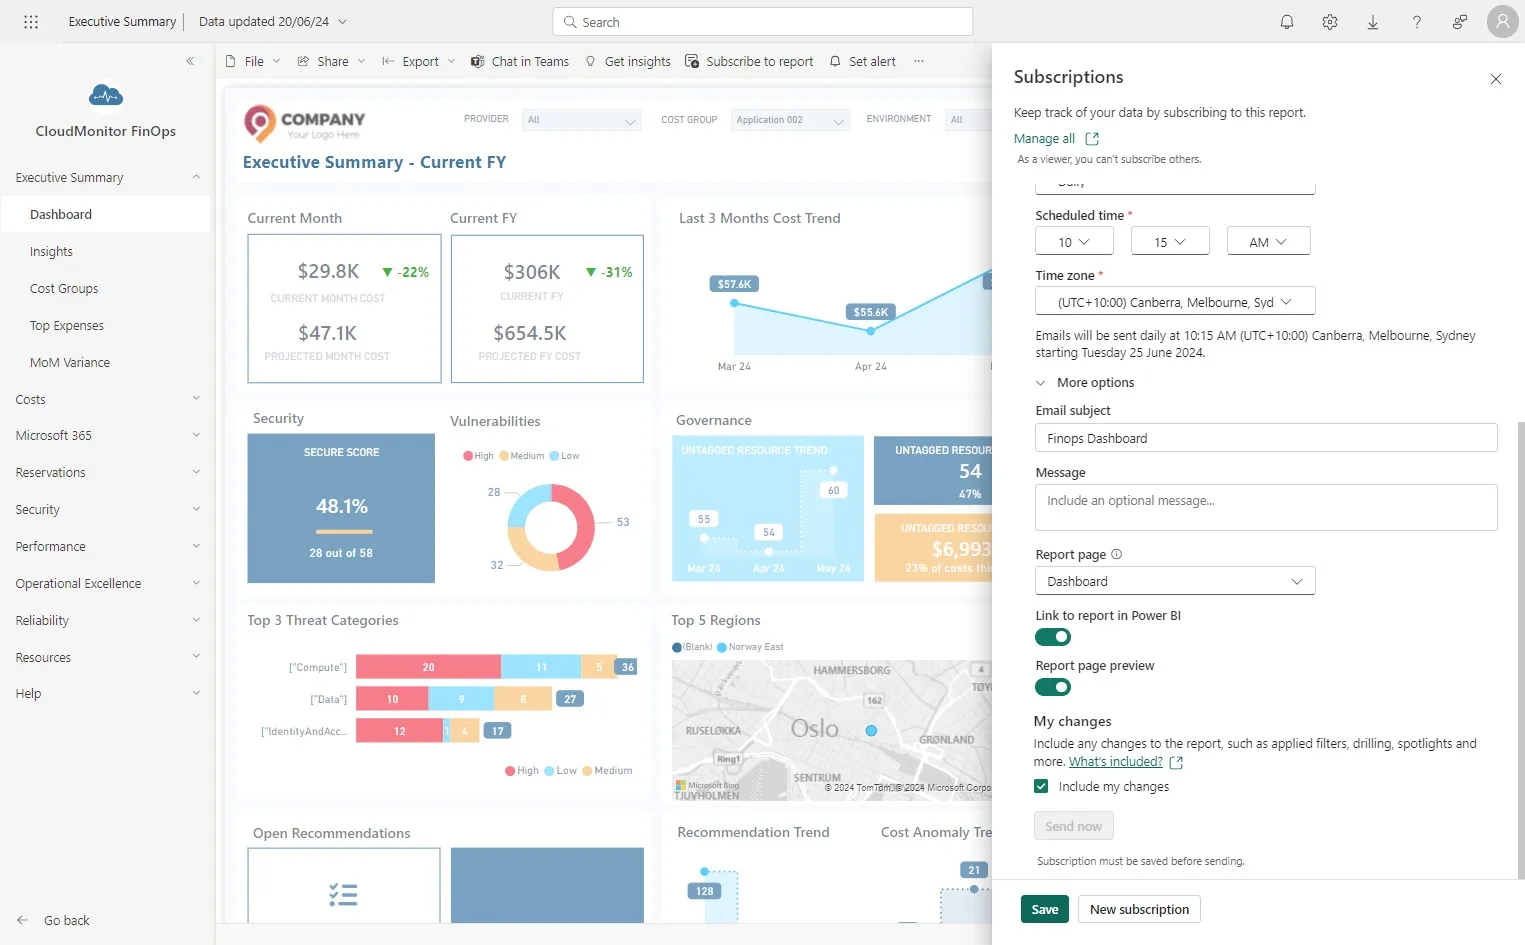
Section titled “Step 6”Click the Starting Data and Frequency
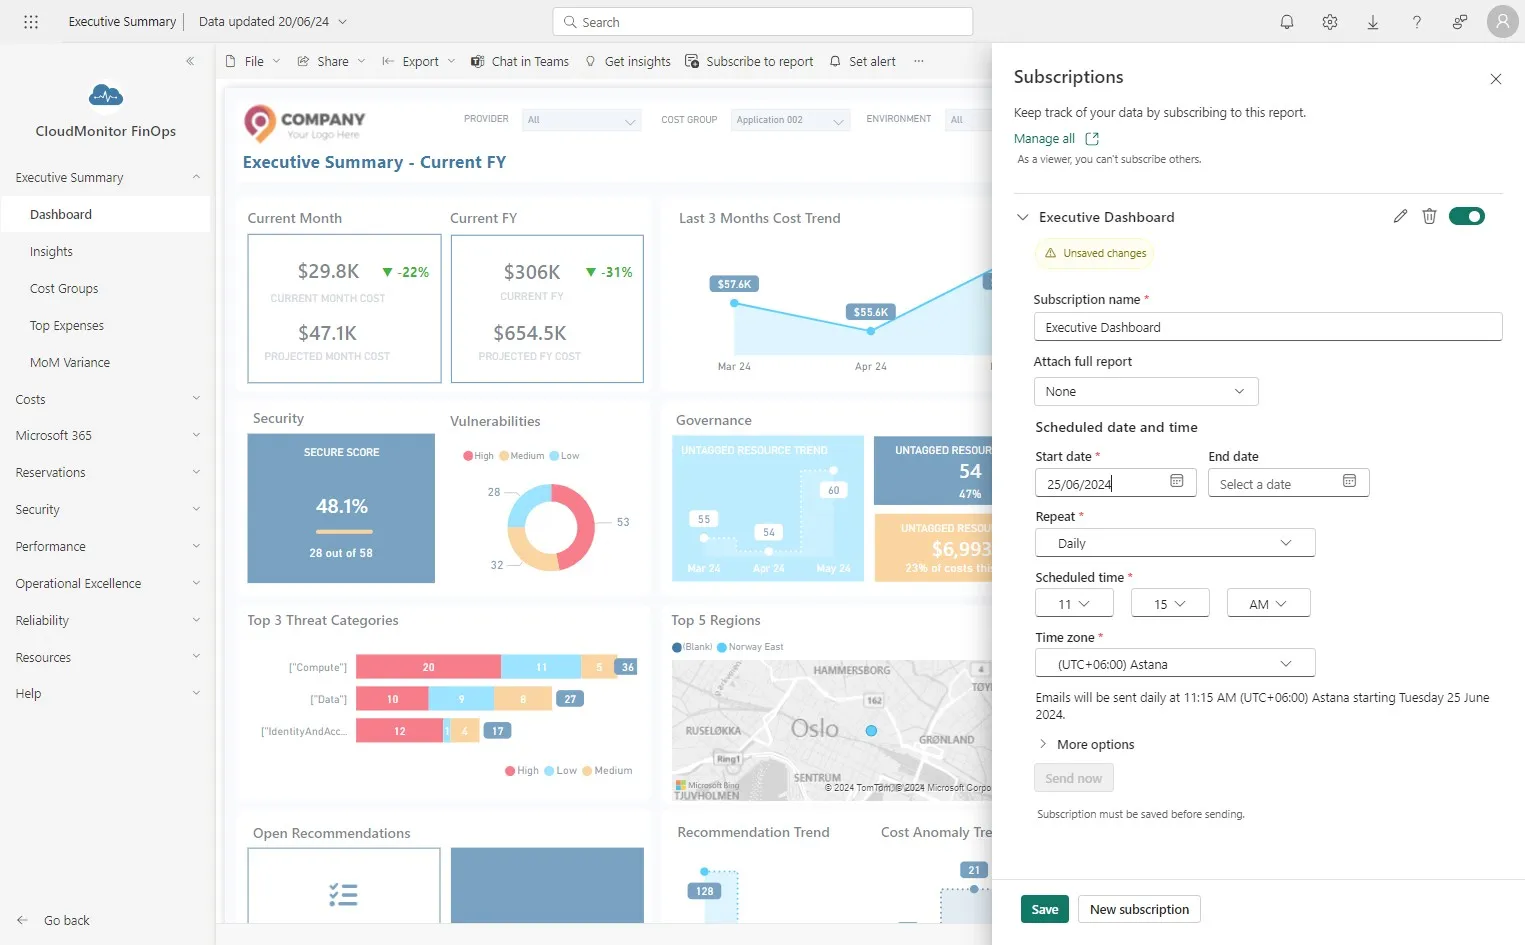
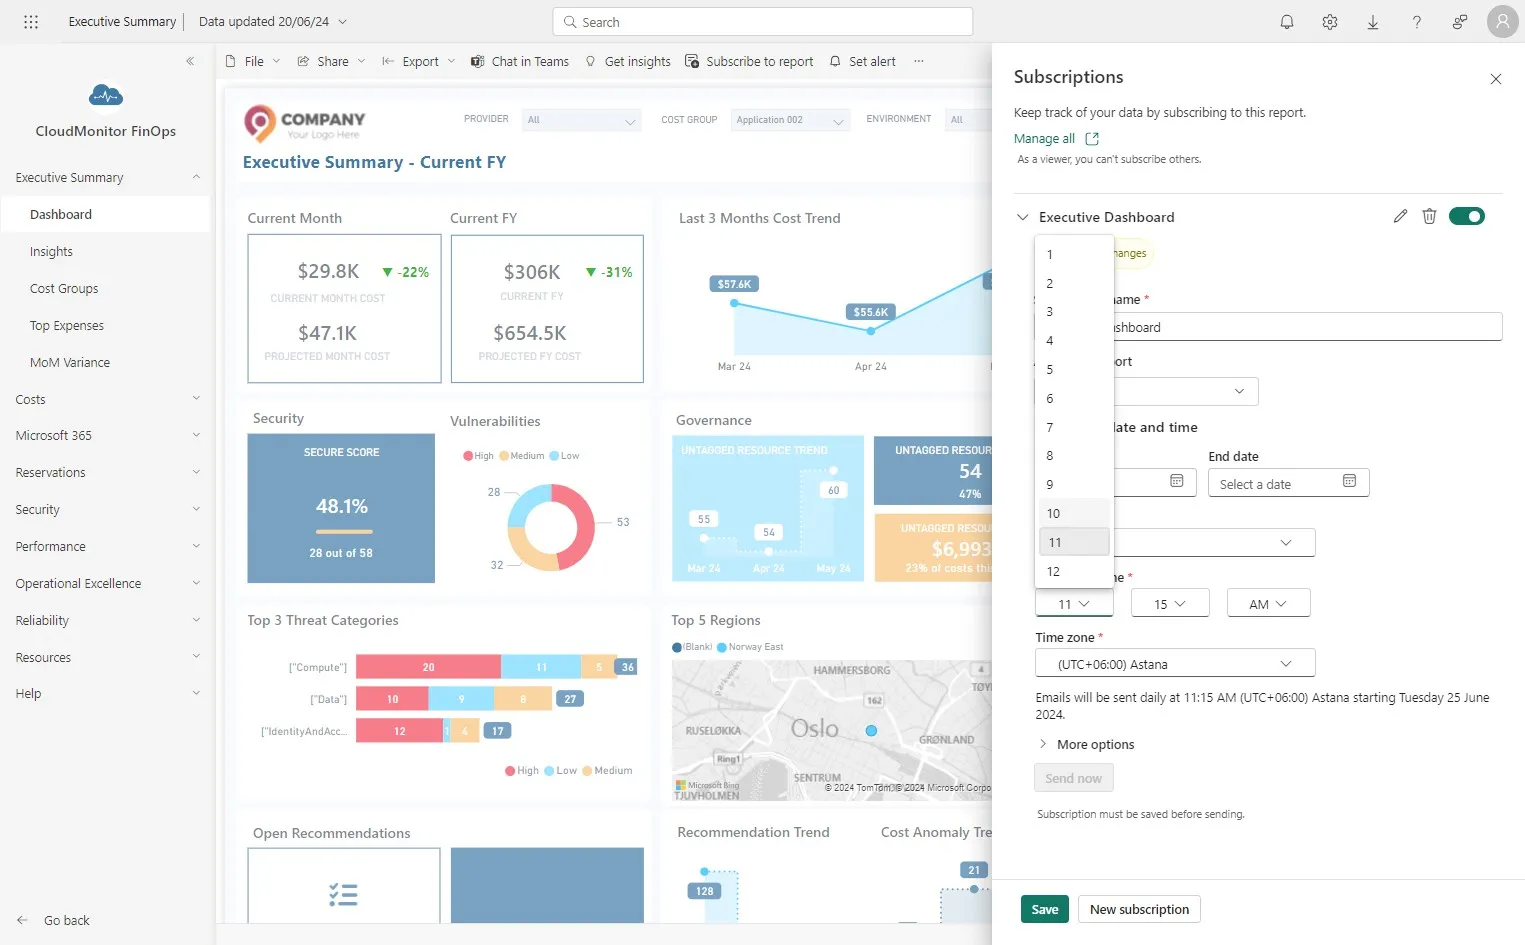
Step 7
Section titled “Step 7”Select the time at which the report should be emailed.
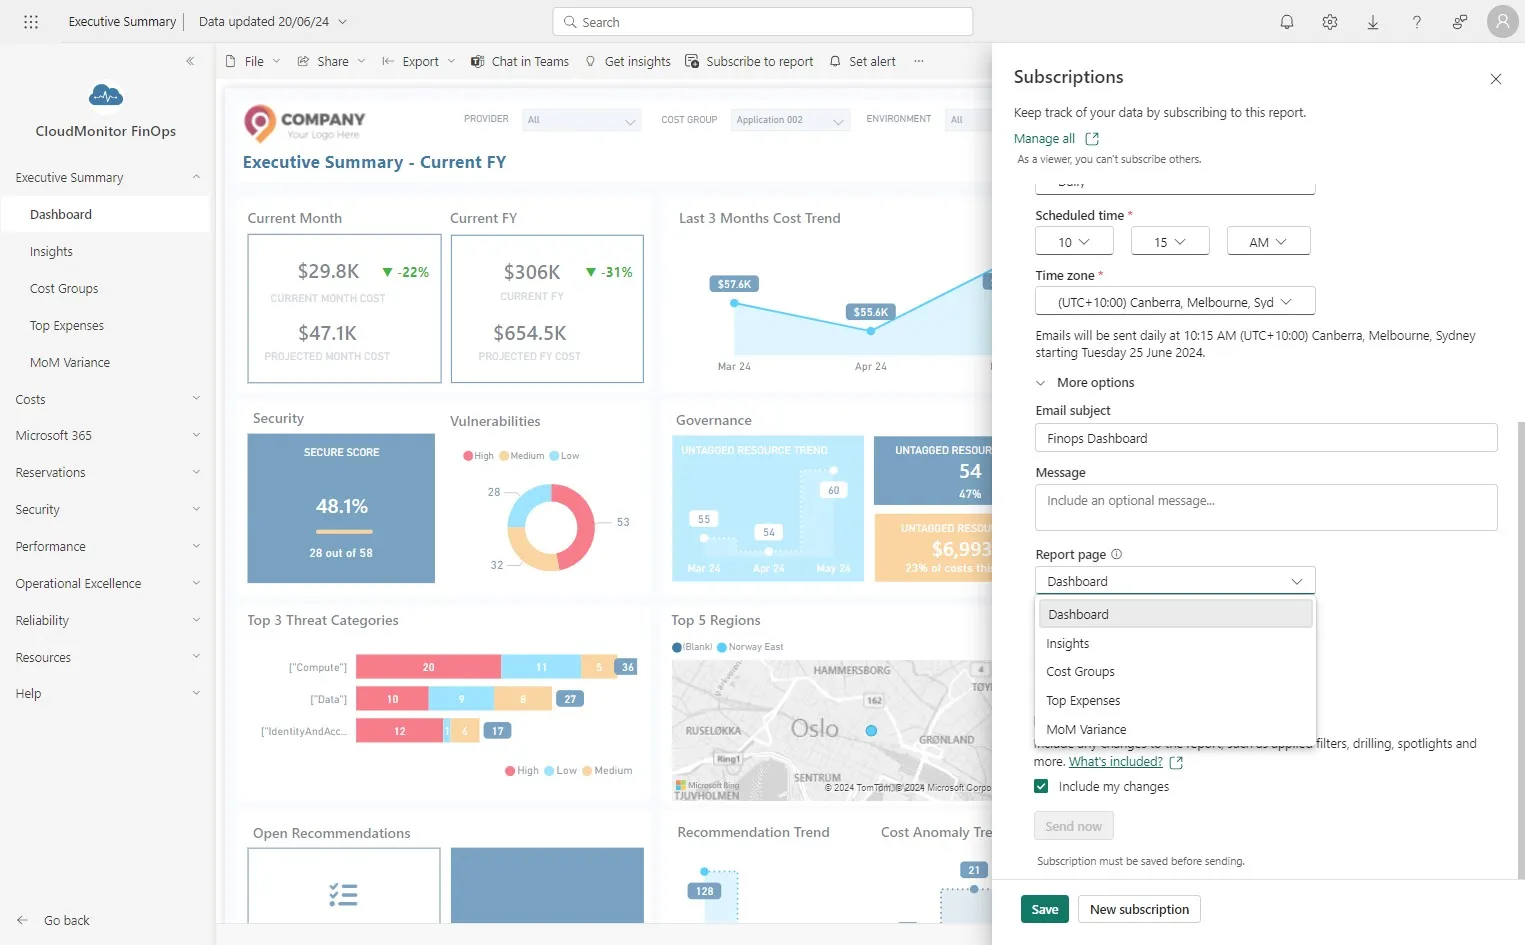
Step 8
Section titled “Step 8”Click here.

Step 9
Section titled “Step 9”Click the “Subject” field and Enter the Subject of the email

Step 10
Section titled “Step 10”Click the “Include an optional message…” field and enter the email body

Step 11
Section titled “Step 11”Select the report which needs to be emailed
Step 12
Section titled “Step 12”If you have previously applied any filters that need to be used when the report is emailed, please check this box.

Step 13
Section titled “Step 13”Finally, Click “Save”