How to configure Cost Groups?
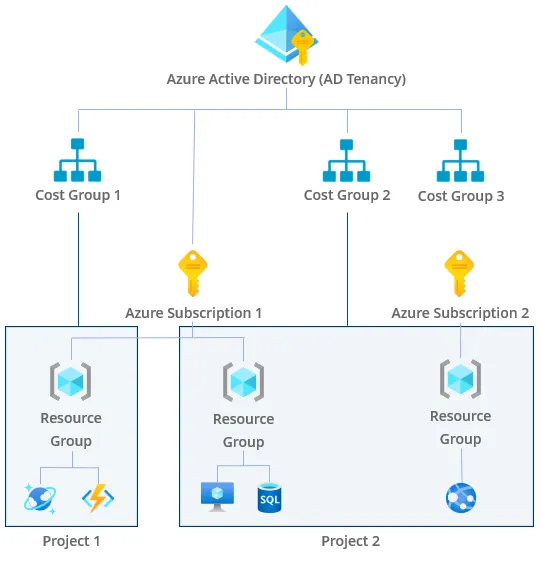
Cost Groups within CloudMonitor provide a structured approach to organizing Azure resources according to specific business units or functional areas. By grouping resources together, users gain enhanced visibility into cost distribution and can more effectively monitor spending patterns across different segments of their organization. Cost Groups streamline cost management by offering a clear delineation of resource usage, facilitating targeted optimization efforts and informed decision-making. Below diagram explain the architecture of cost groups,
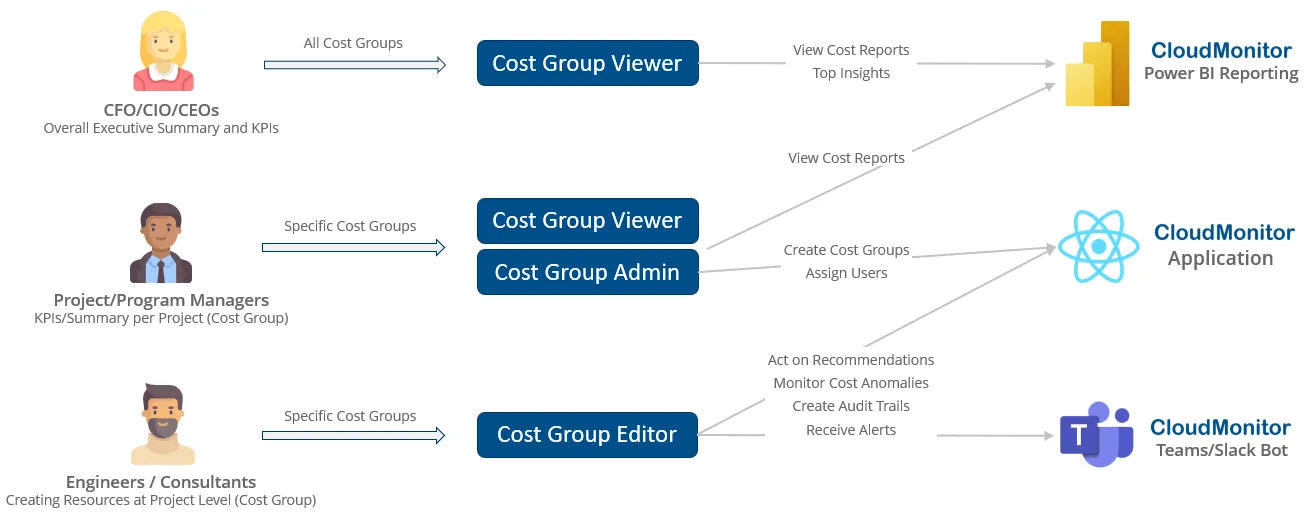
Below diagram illustrates the authorization levels which can be configured for the cost groups in CloudMonitor,
Below is step by step guide to configure Cost Groups in your CloudMonitor instance,
Step 1
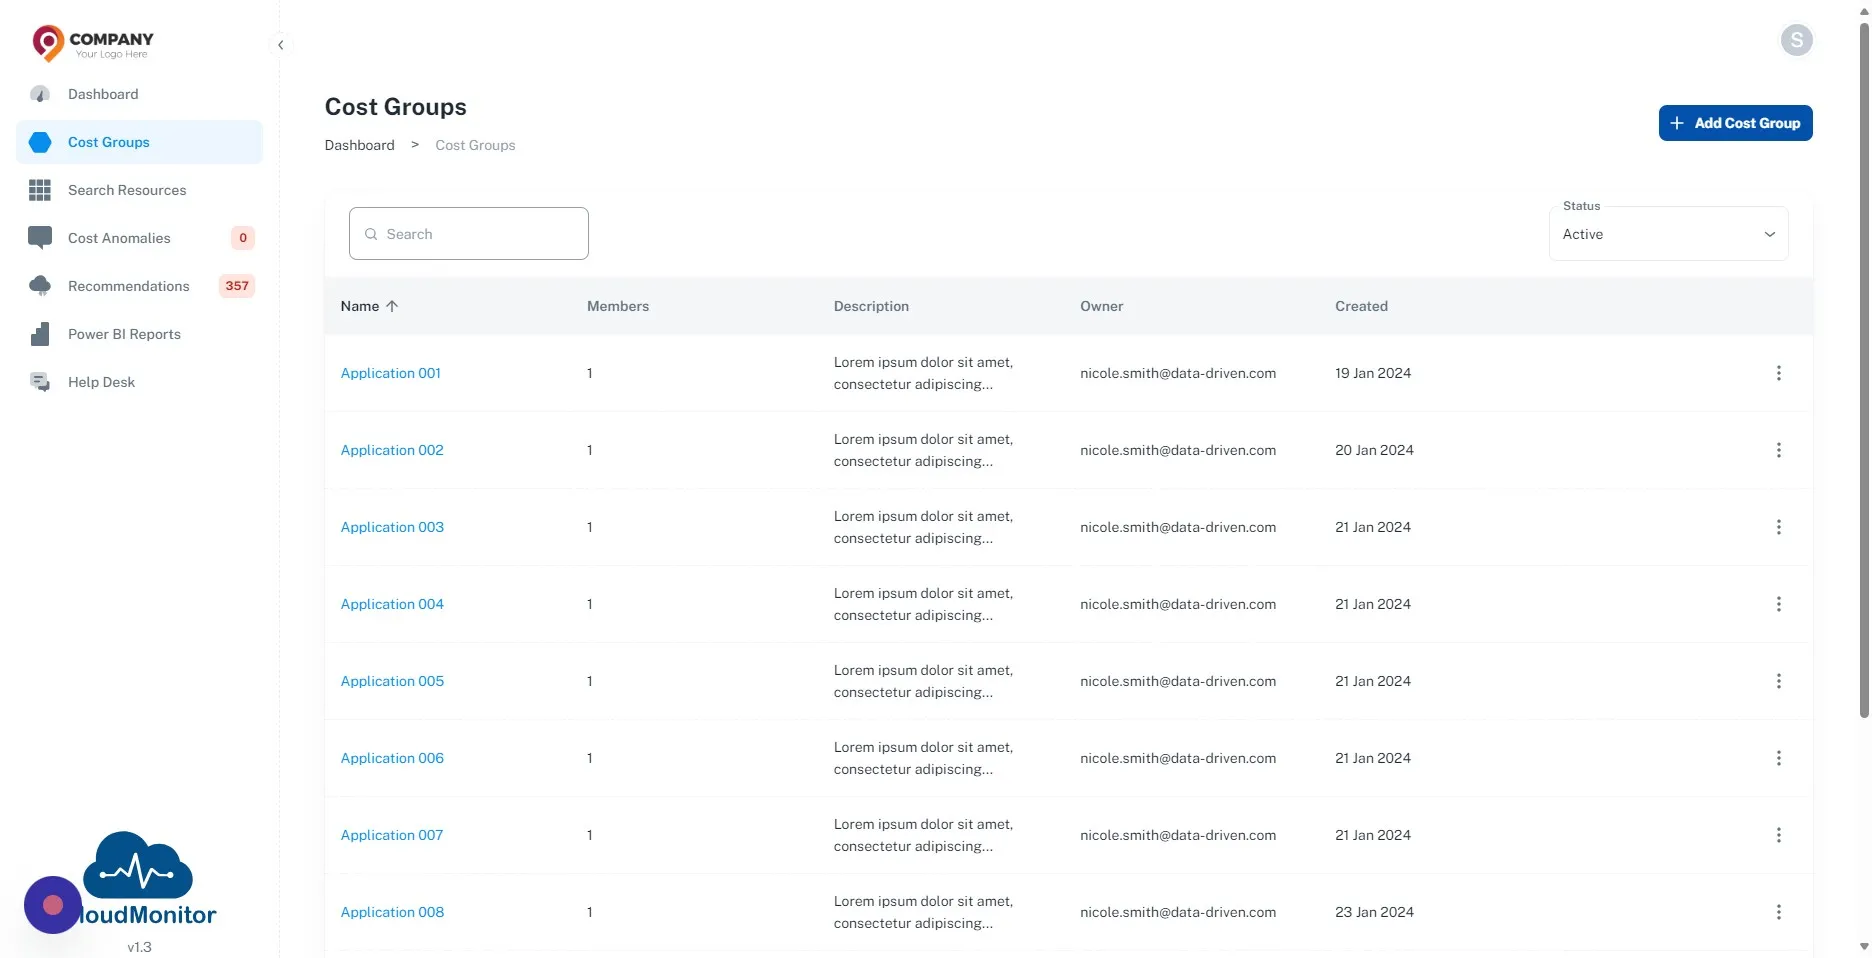
Section titled “Step 1”Navigate to you Admin APP and Click “Cost Groups”
Step 2
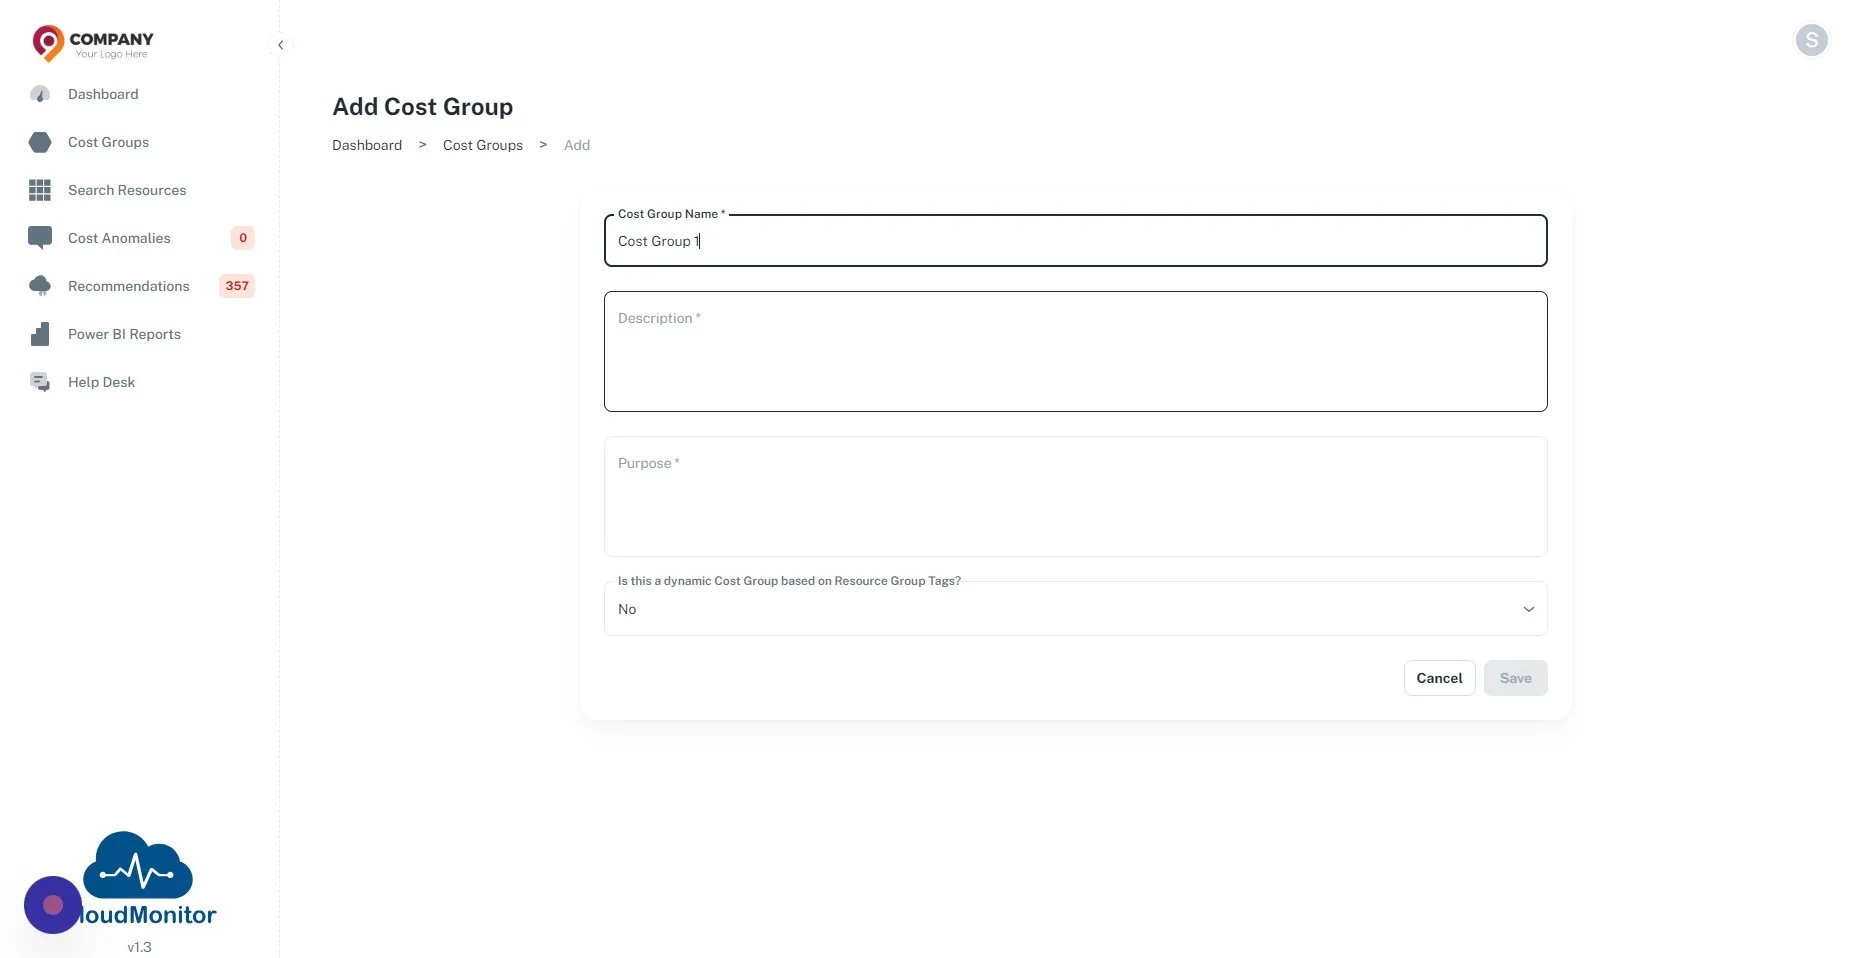
Section titled “Step 2”Click “Add Cost Group”
Step 3
Section titled “Step 3”Enter Cost Group name, Description and Purpose.
Step 4
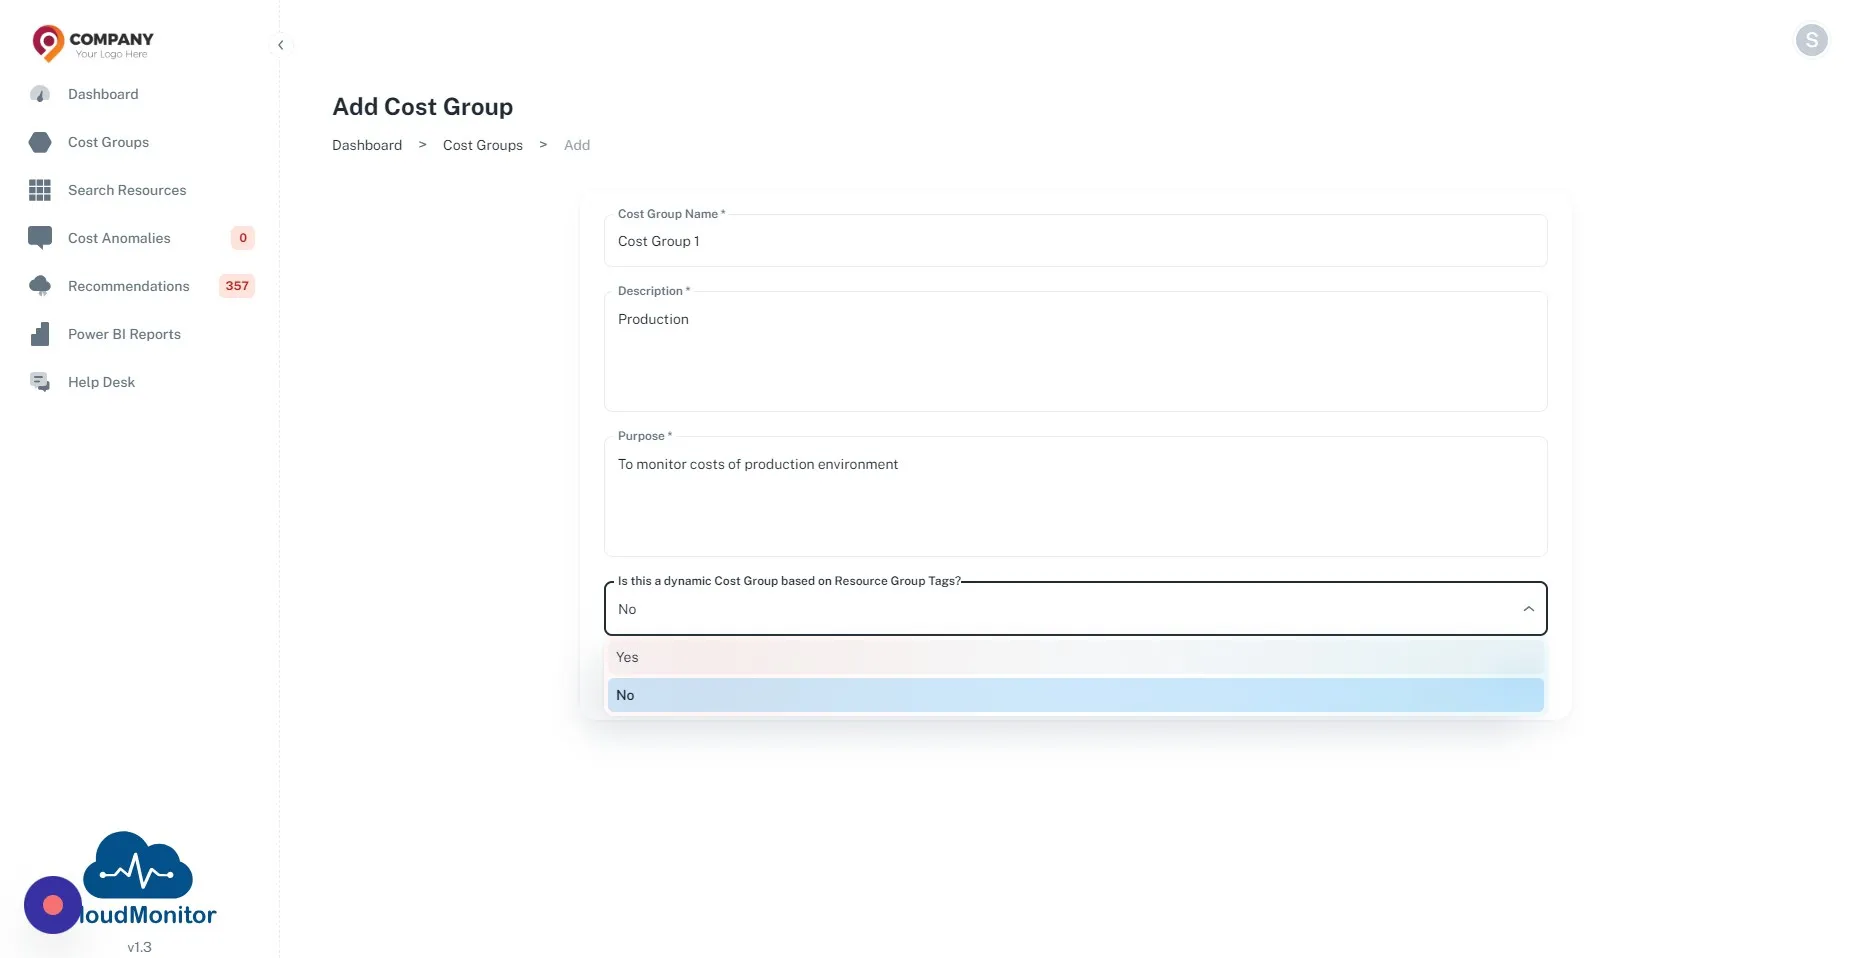
Section titled “Step 4”CloudMonitor consists of Dynamic Tag Allocation for Cost Groups. If you wish to use that you can select “Yes” in the below dropdown.
If you don’t want to use that feature, select “No” and click “Save”.
Step 5
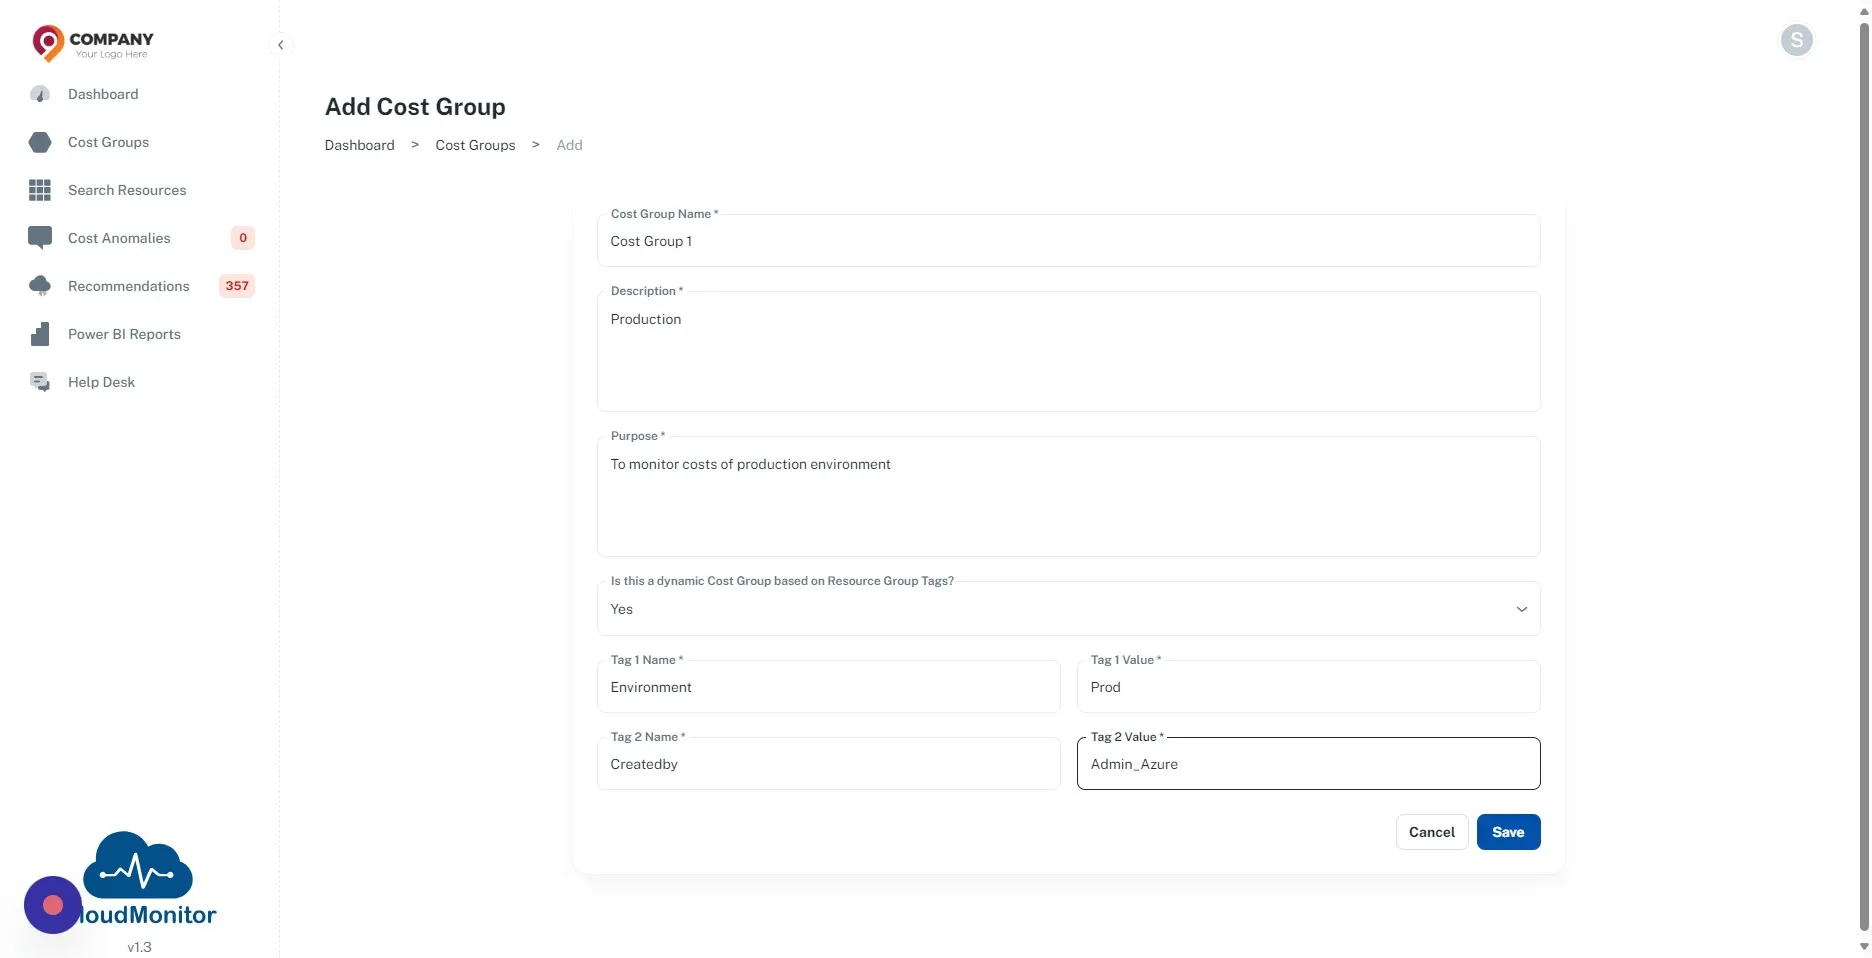
Section titled “Step 5”Add the tags which need to be allocated to the Cost Group, then click on the Save button.
Step 6
Section titled “Step 6”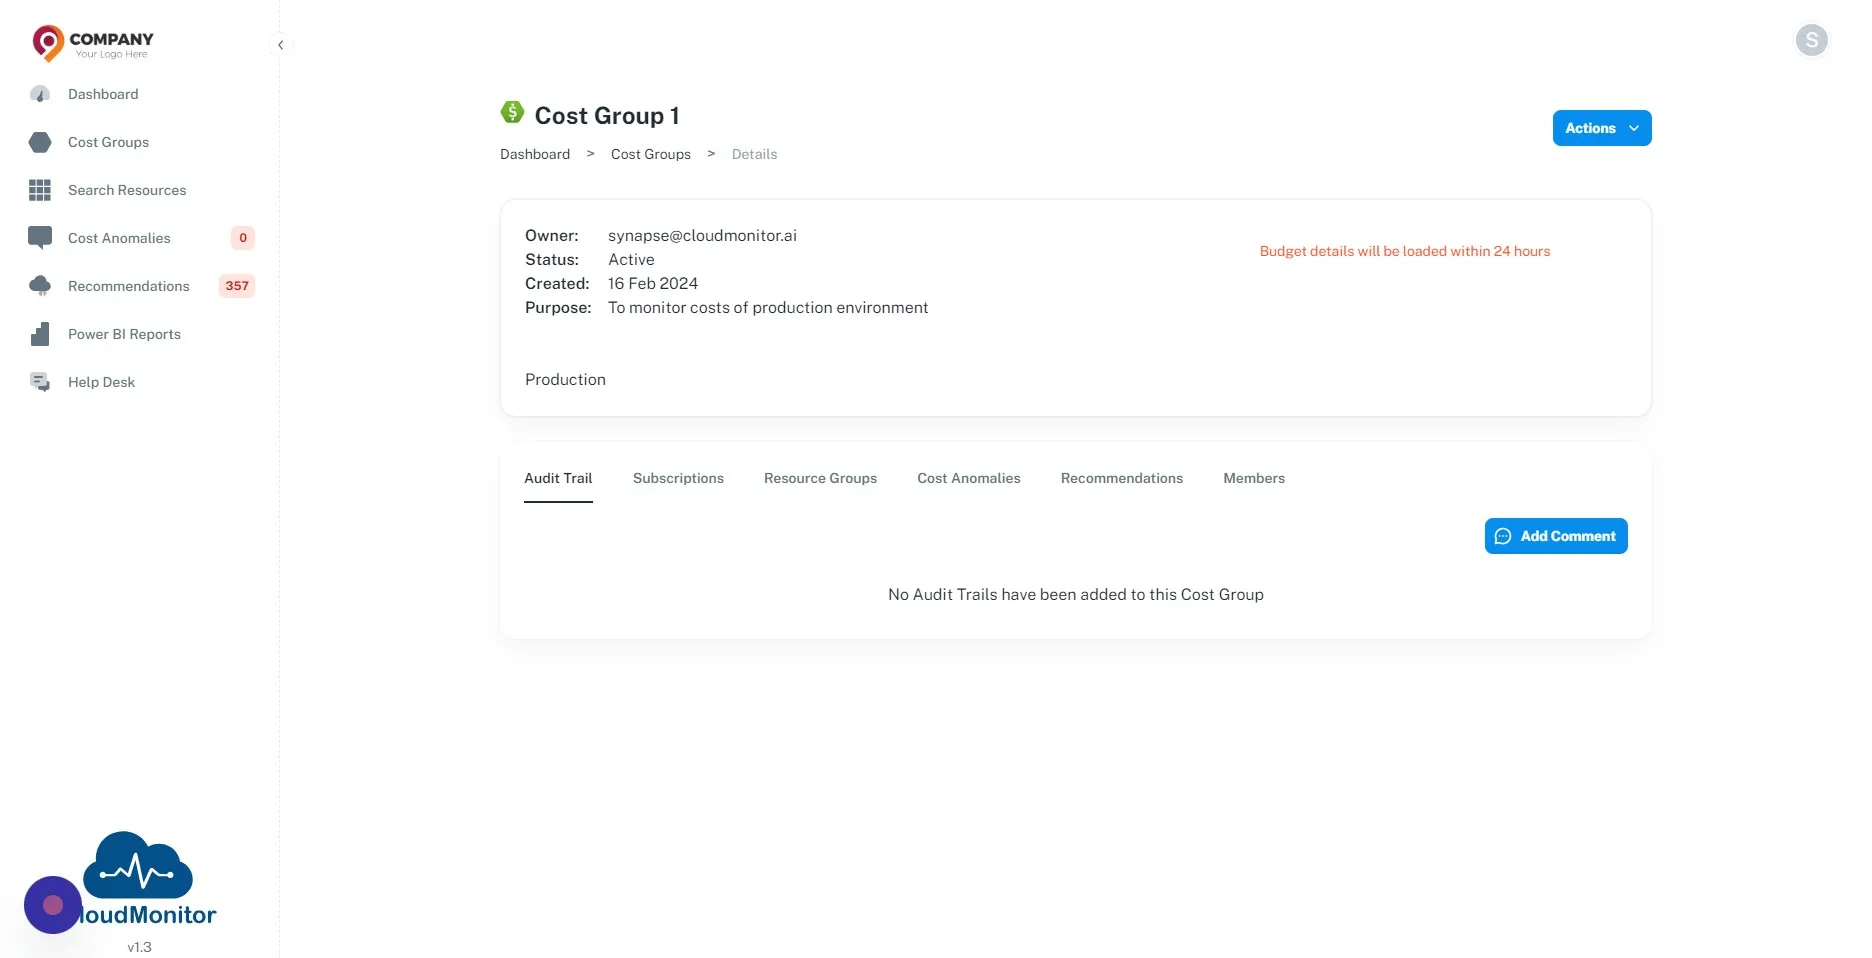
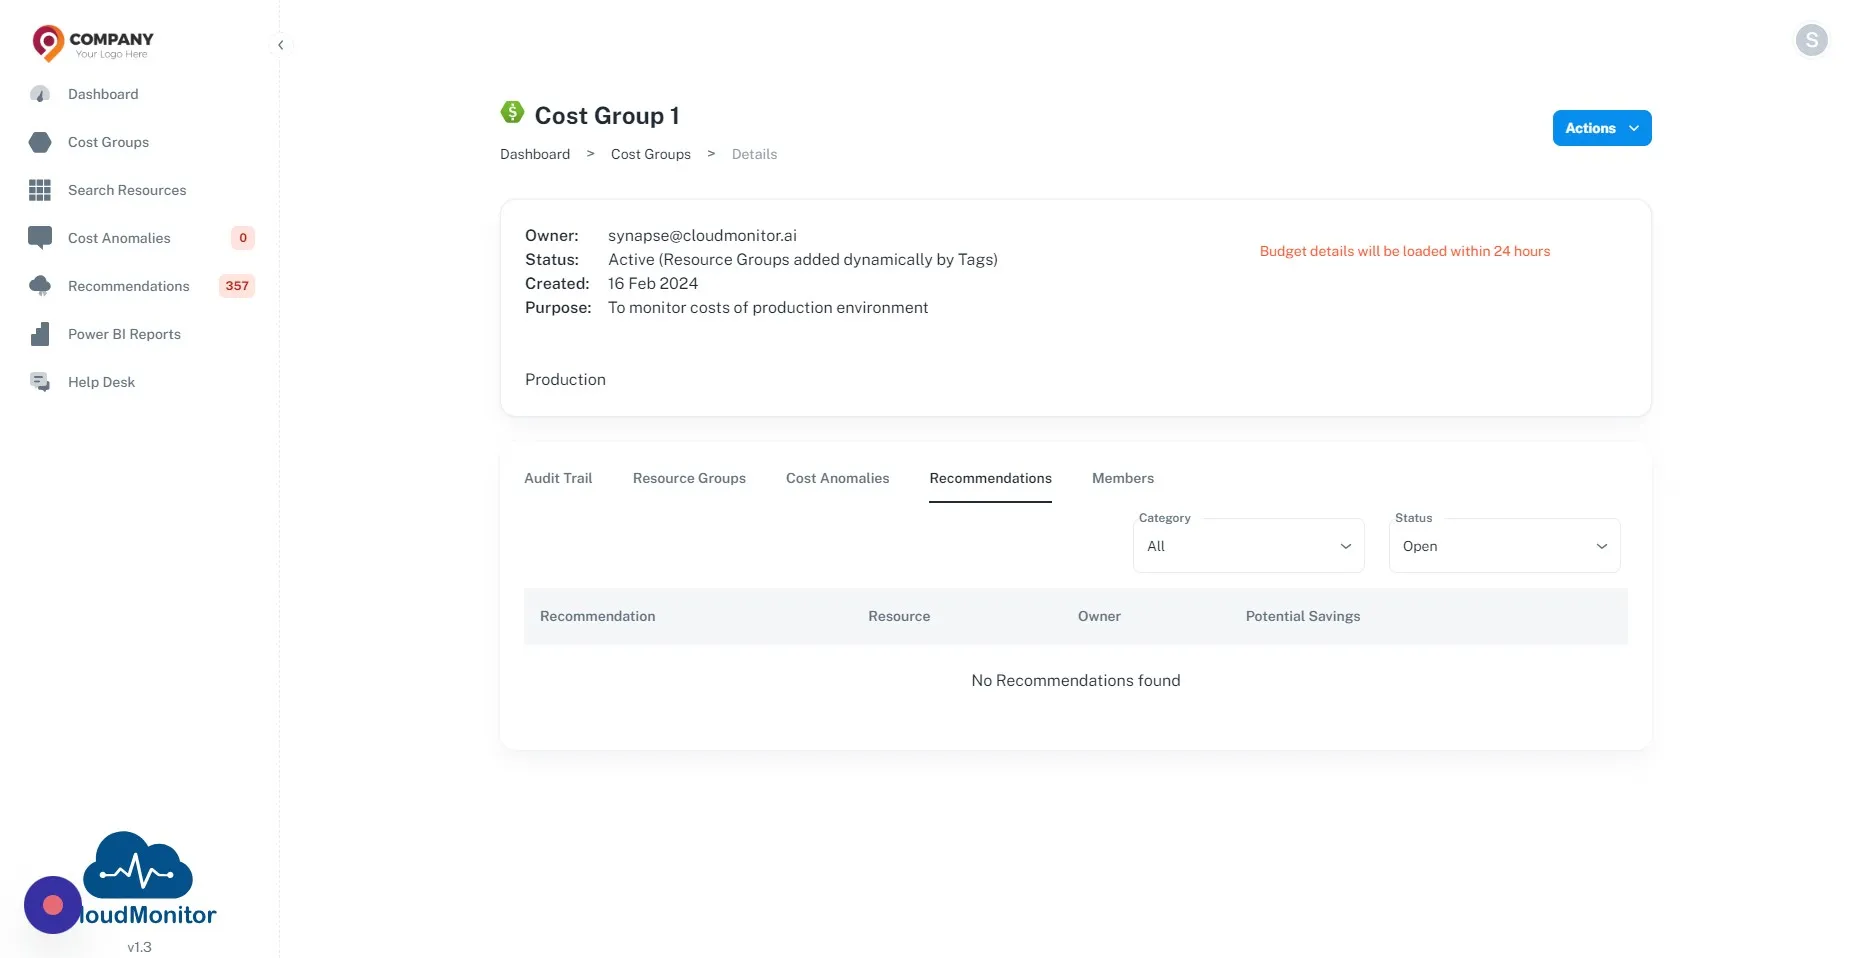
Step 7
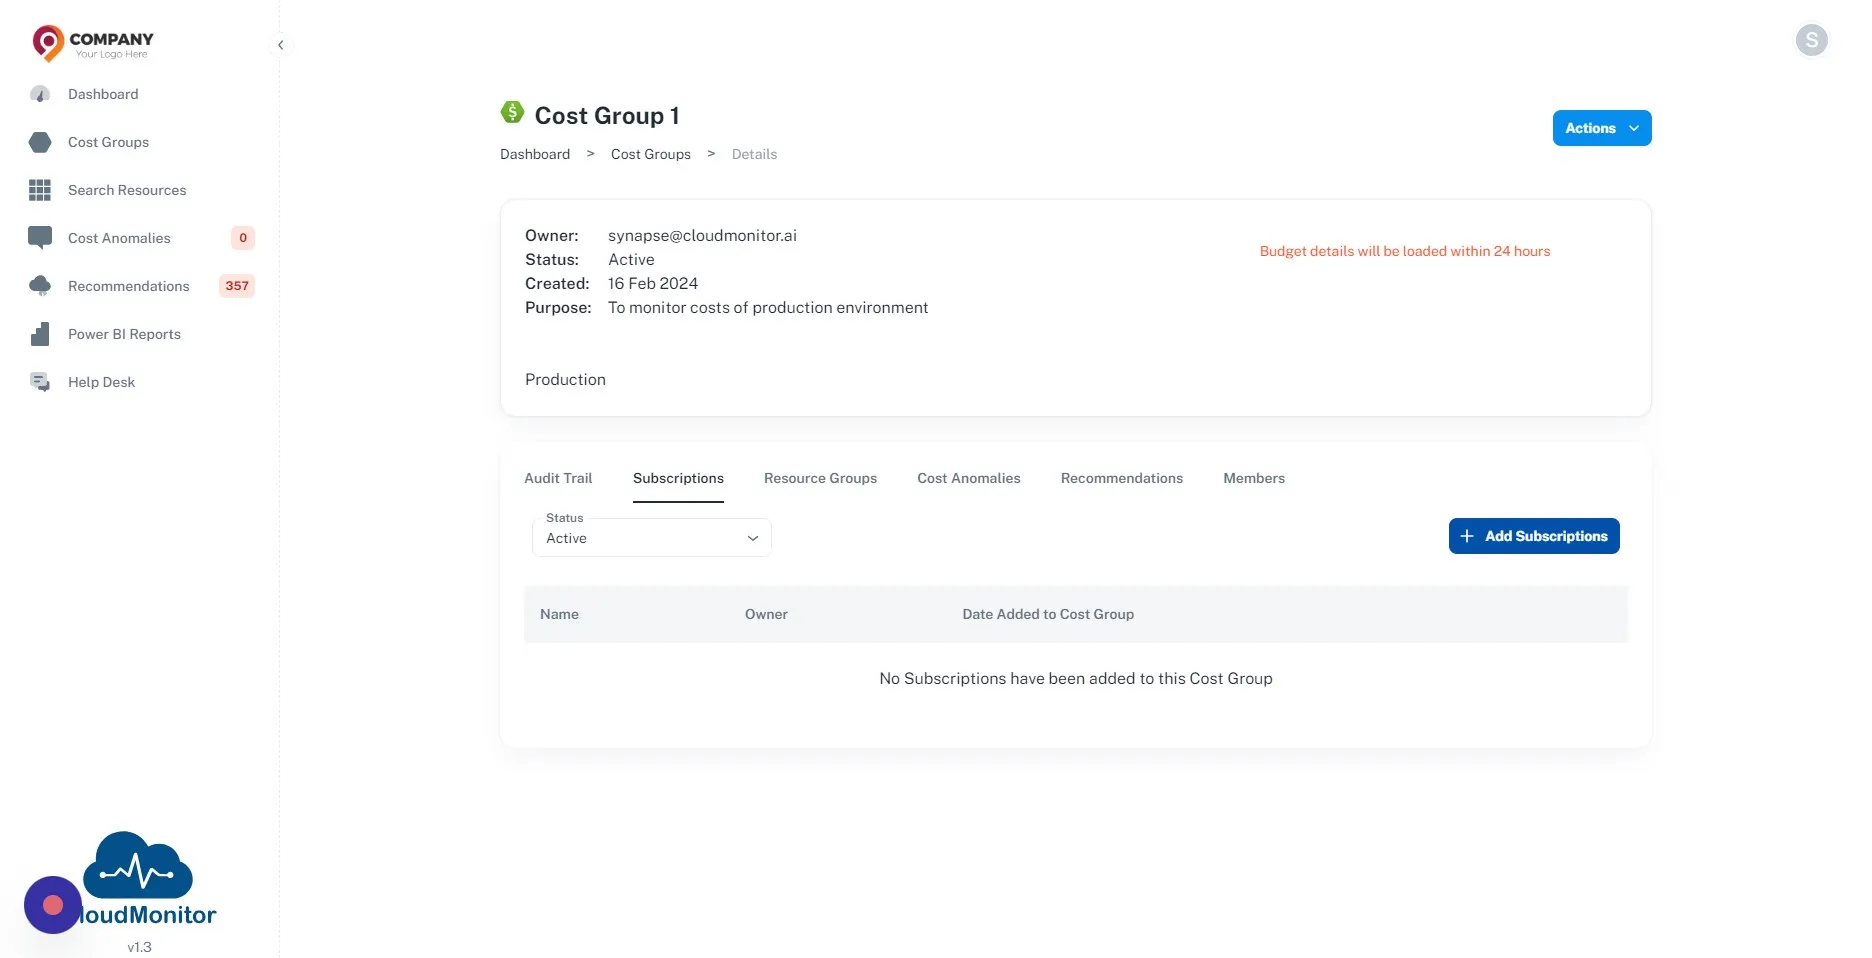
Section titled “Step 7”If you selected “No” to “Is This Dynamic Cost Group Based On Resource Group Tags” dropdown, you can click “Subscriptions” and then click “Add Subscription” button to add the Subscription manually to the cost group.
Step 8
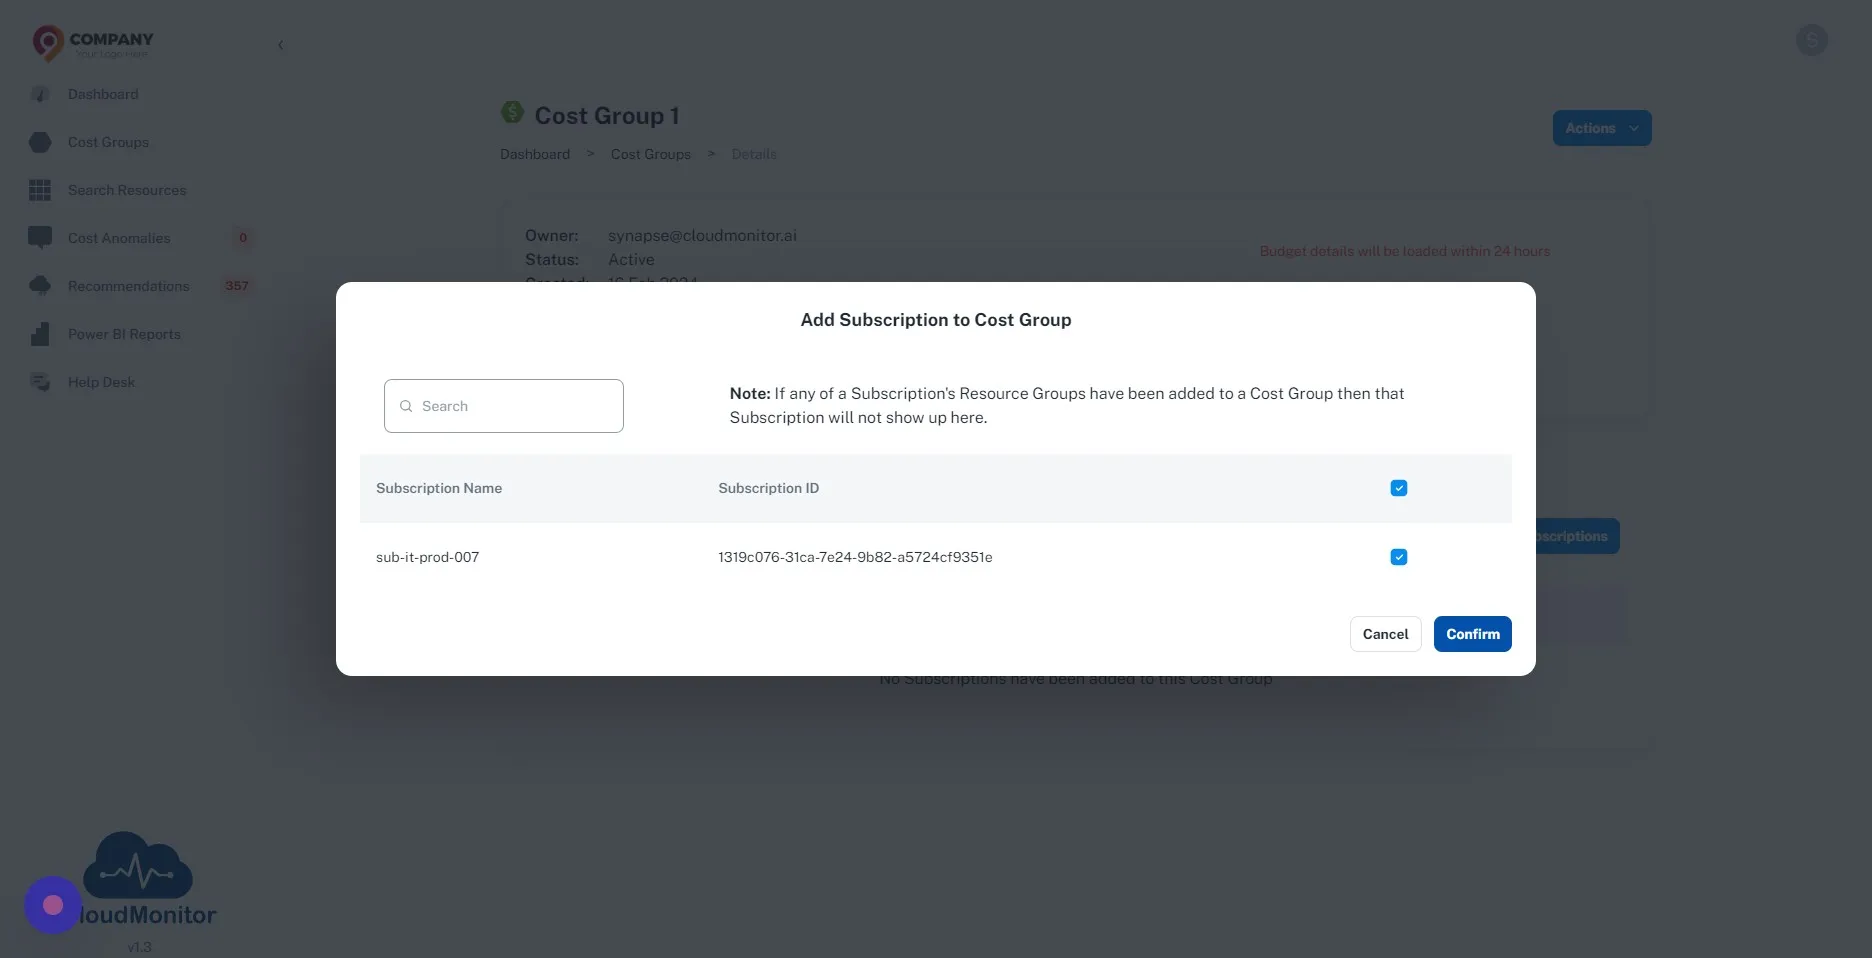
Section titled “Step 8”Then you can select the subscriptions which need to be added to this cost group and select “Confirm”.
Step 9
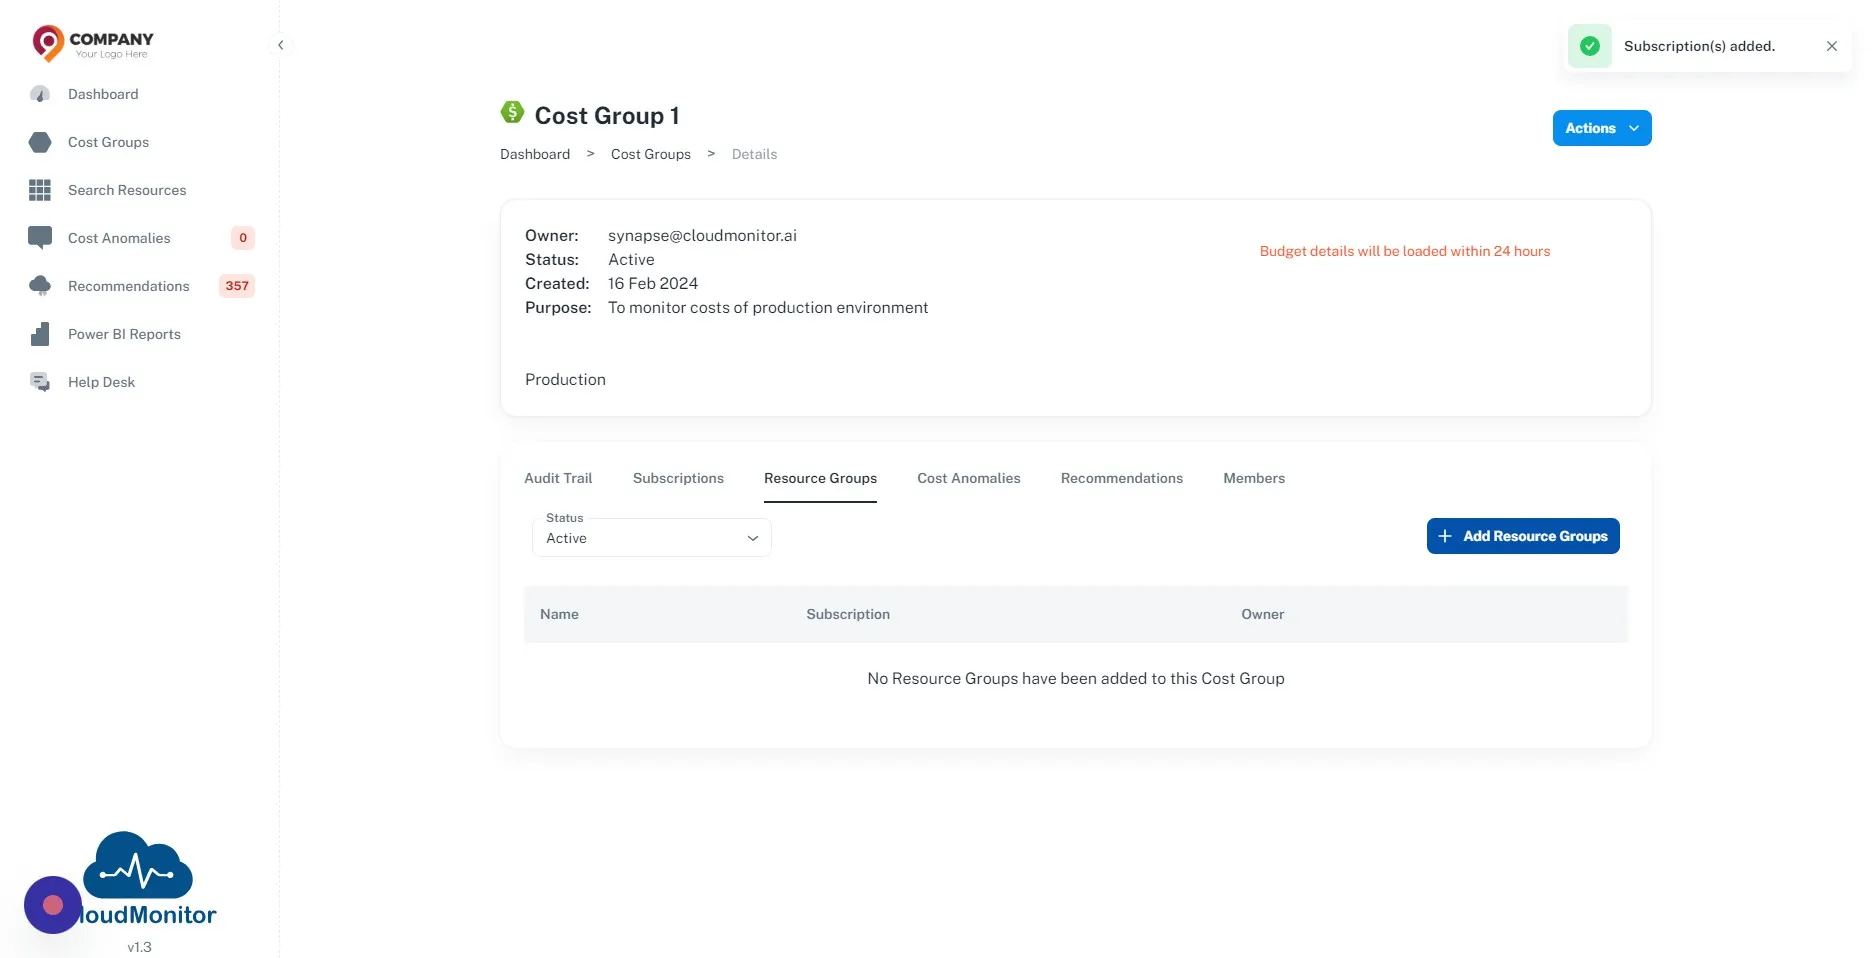
Section titled “Step 9”Same procedure can be used to add Resource Groups to the Cost Group by clicking “Add Resource Group” button.
Step 10
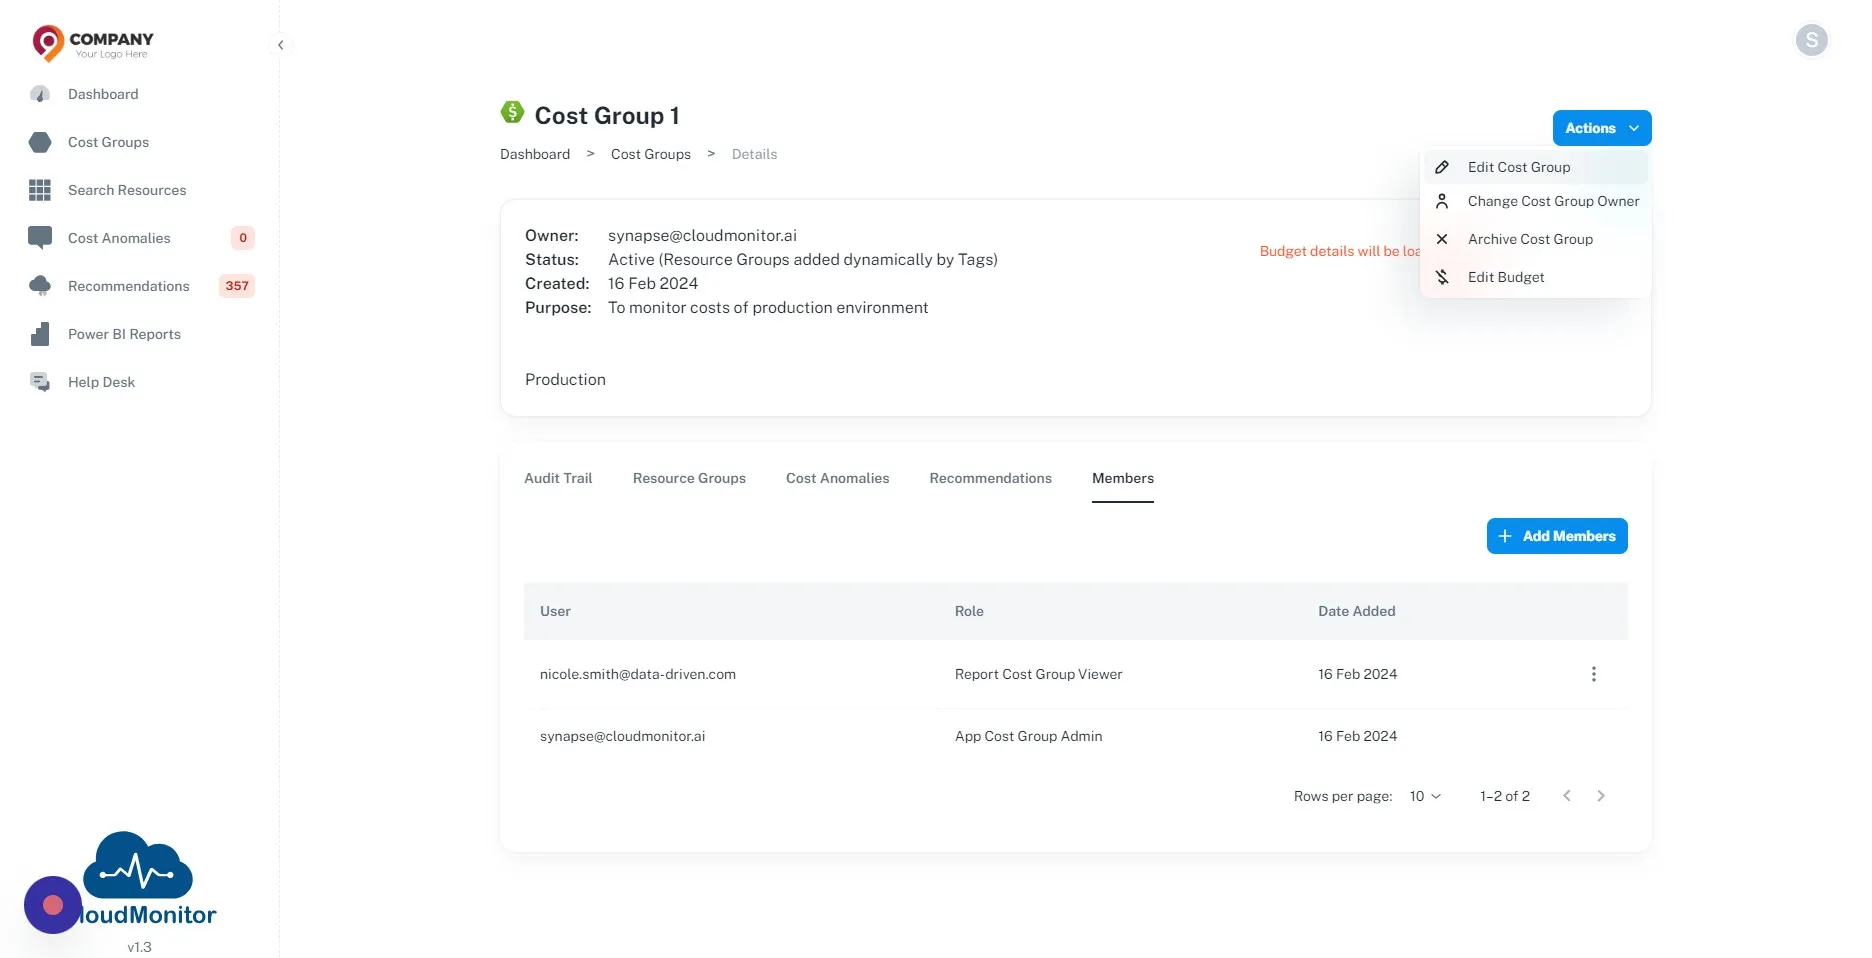
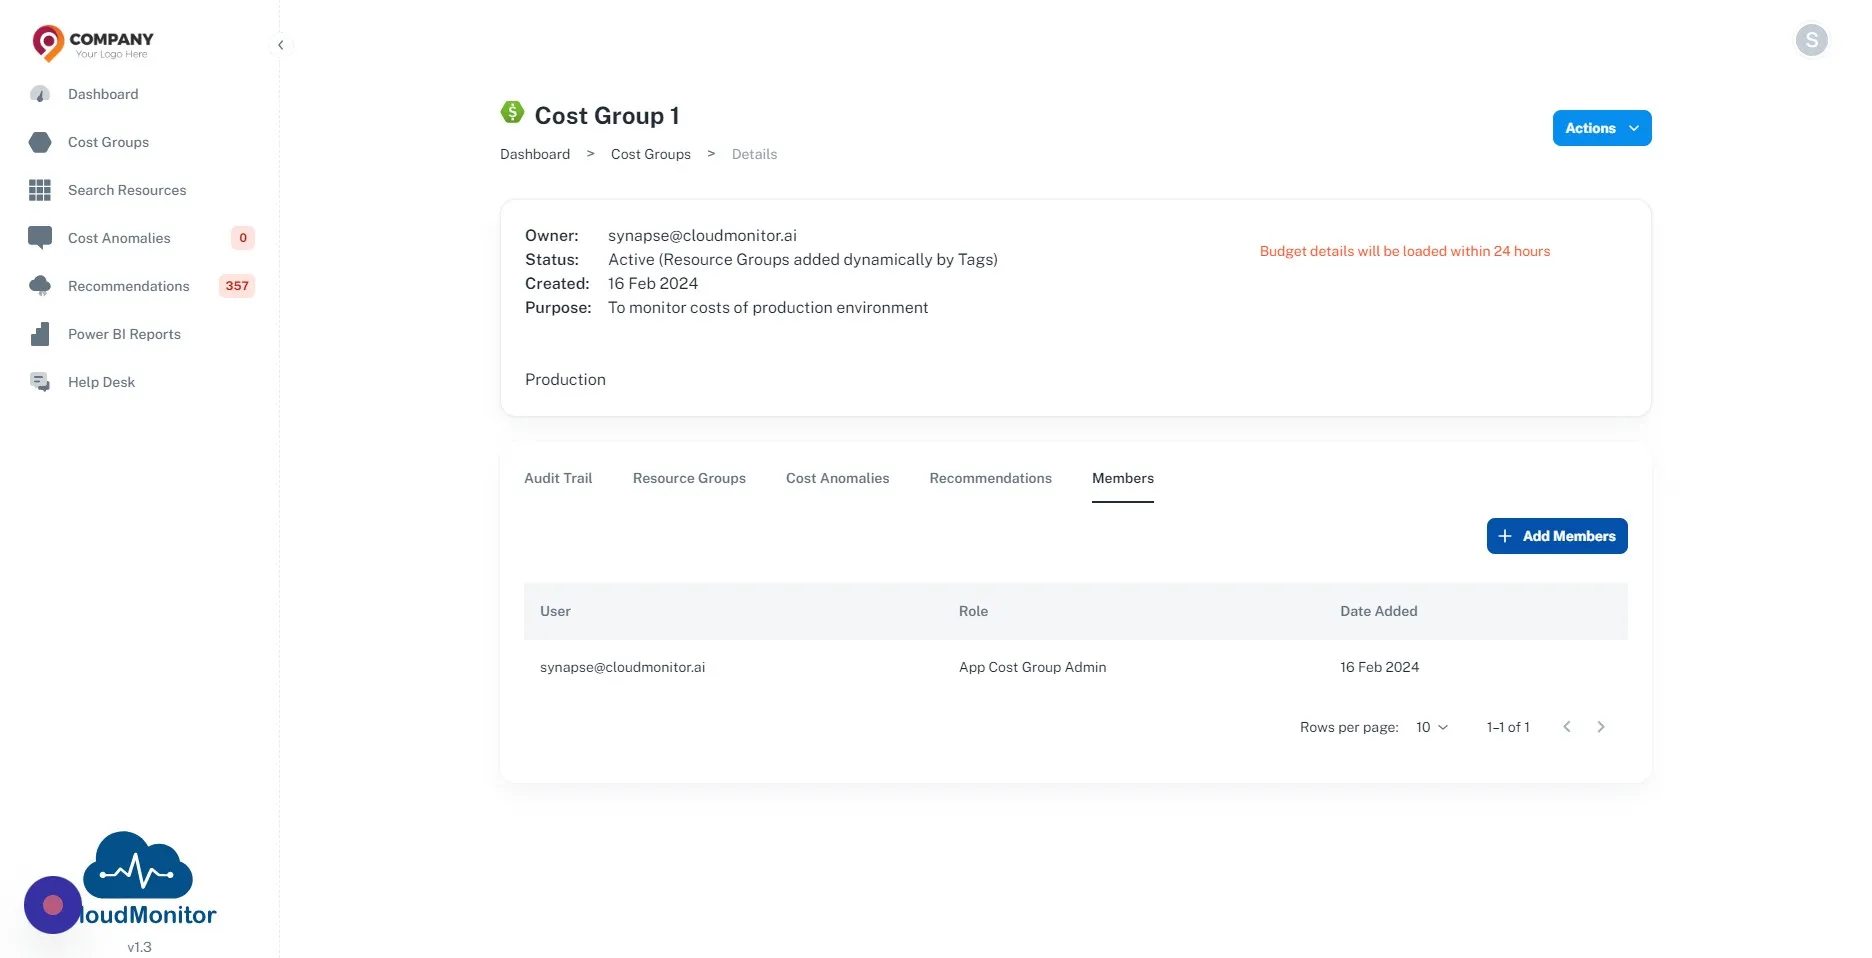
Section titled “Step 10”Click “Members”
Step 11
Section titled “Step 11”Members of the Cost Group can be added by clicking on “Members” tab and Click “Add Members” button
Step 12
Section titled “Step 12”Members and their respective roles can be selected from the window.

Step 13
Section titled “Step 13”Any configuration of the cost group can be edited by clicking this button.