Download the CloudMonitor App into Power BI
Step 1
Section titled “Step 1”Navigate to go.cloudmonitor.ai/PowerBIReports to download CloudMonitor Power BI Reporting Application.
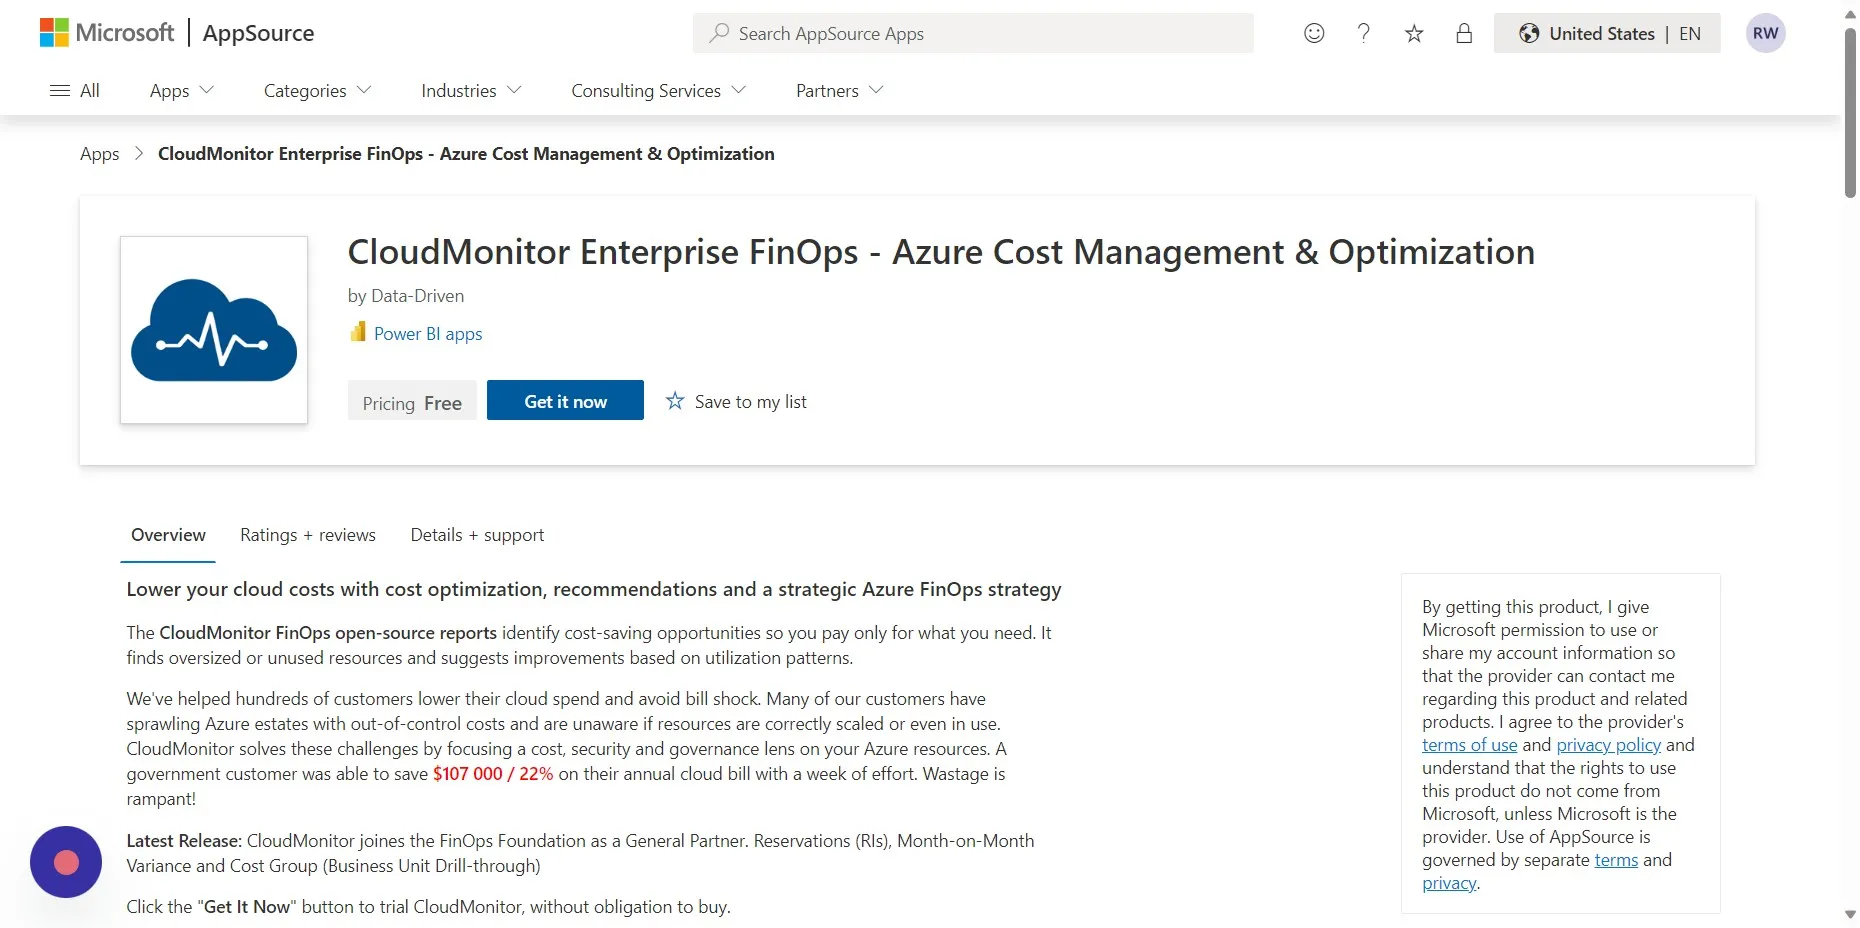
Step 2
Section titled “Step 2”Click “Get it now” (It is free to download the App). Make sure you read the Terms and Conditions.
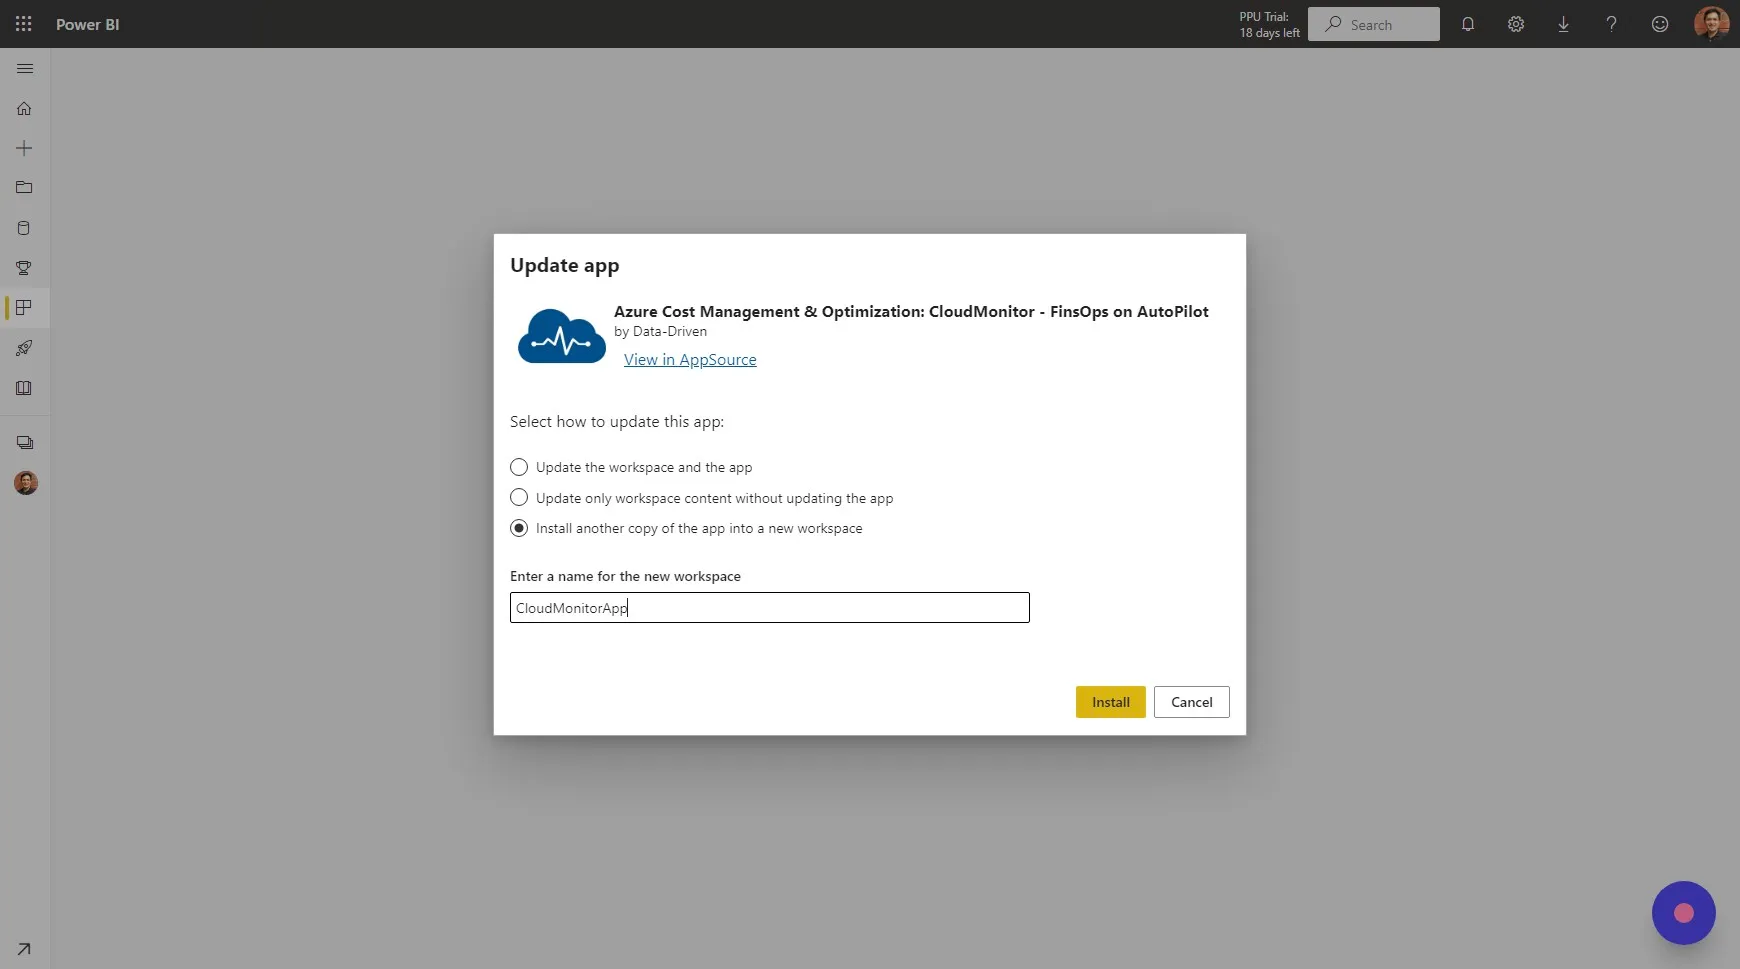
Step 3
Section titled “Step 3”If it’s your first time installing CloudMonitor, just click “Install”. It can take up to 5 minutes to install. PowerBI will let you know when it is ready.
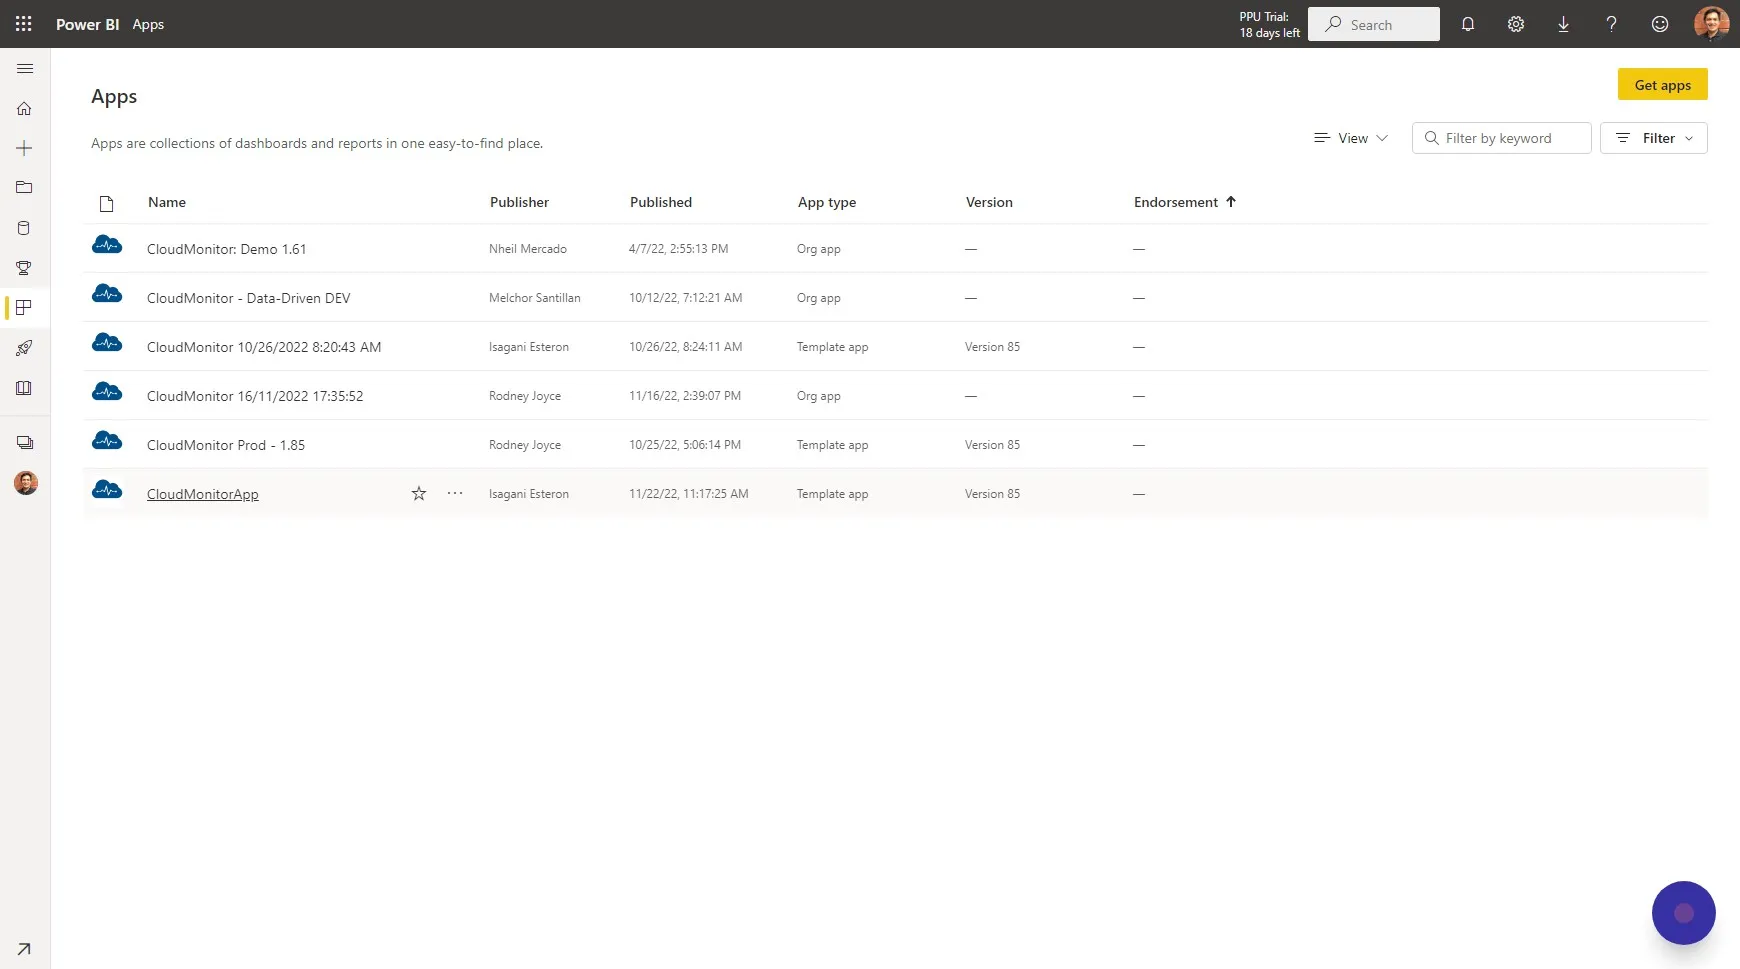
Step 4
Section titled “Step 4”When you have successfully installed the app, it will appear on your list of Power BI Apps. Click the app to view.
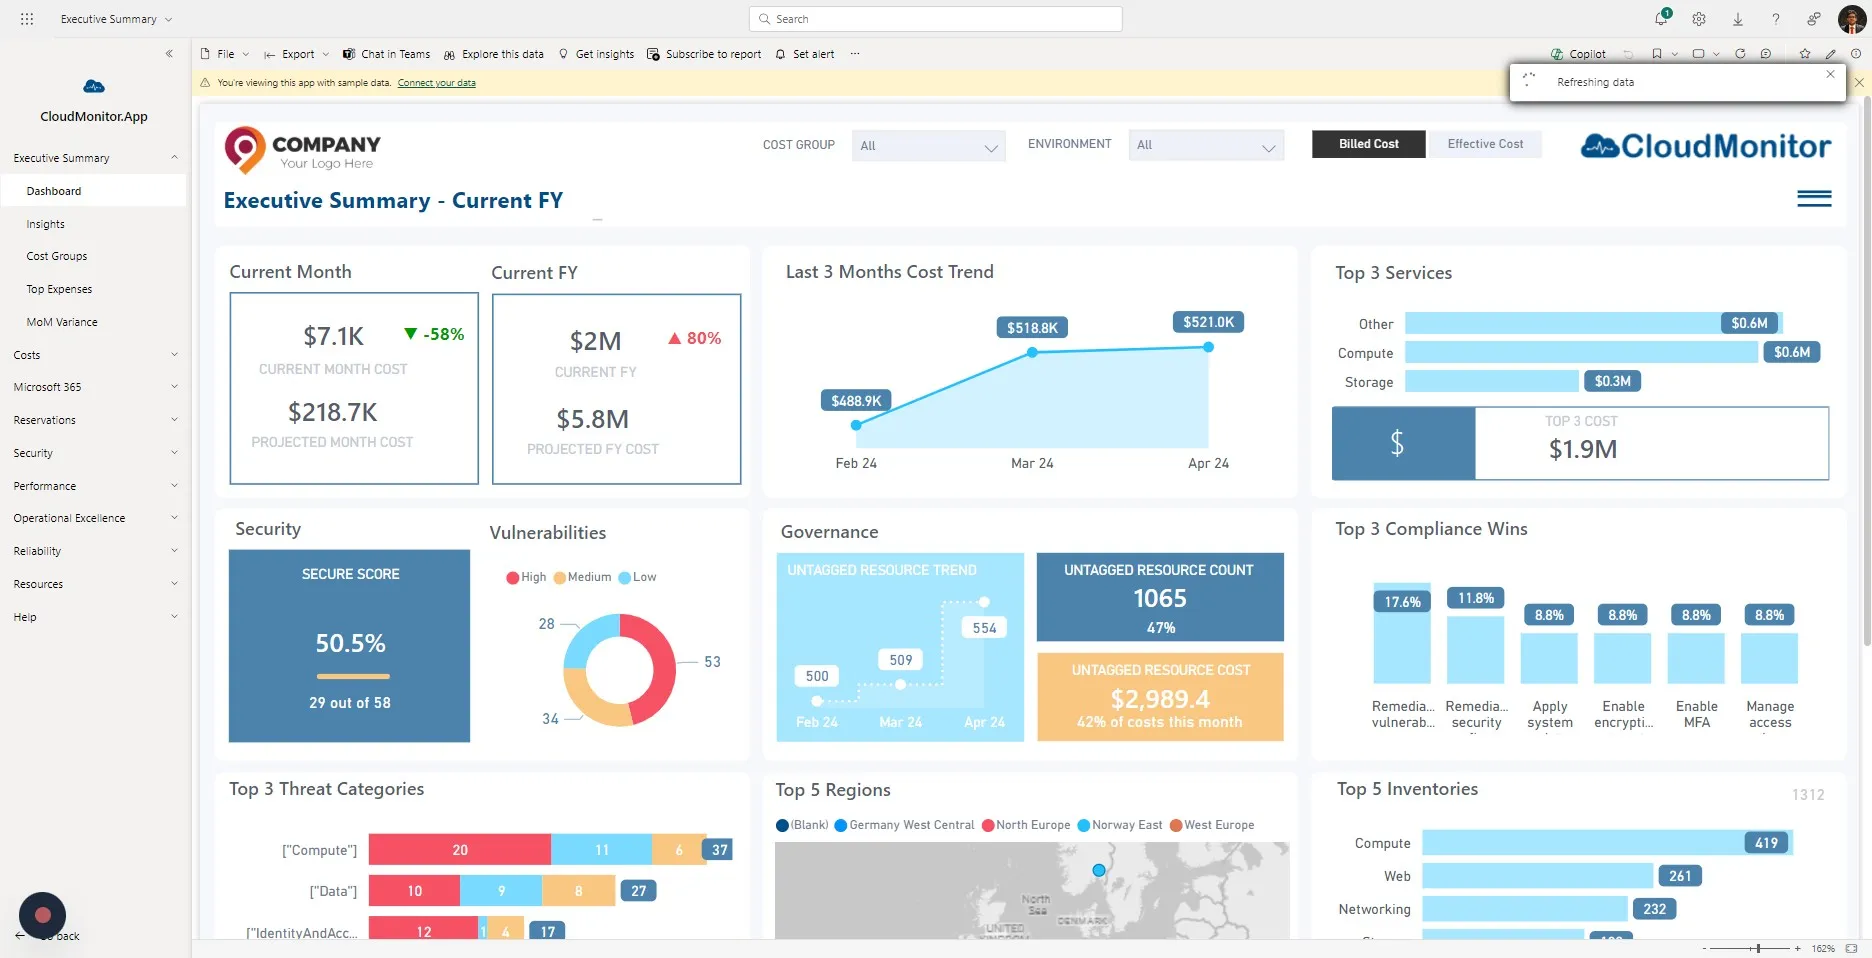
Step 5
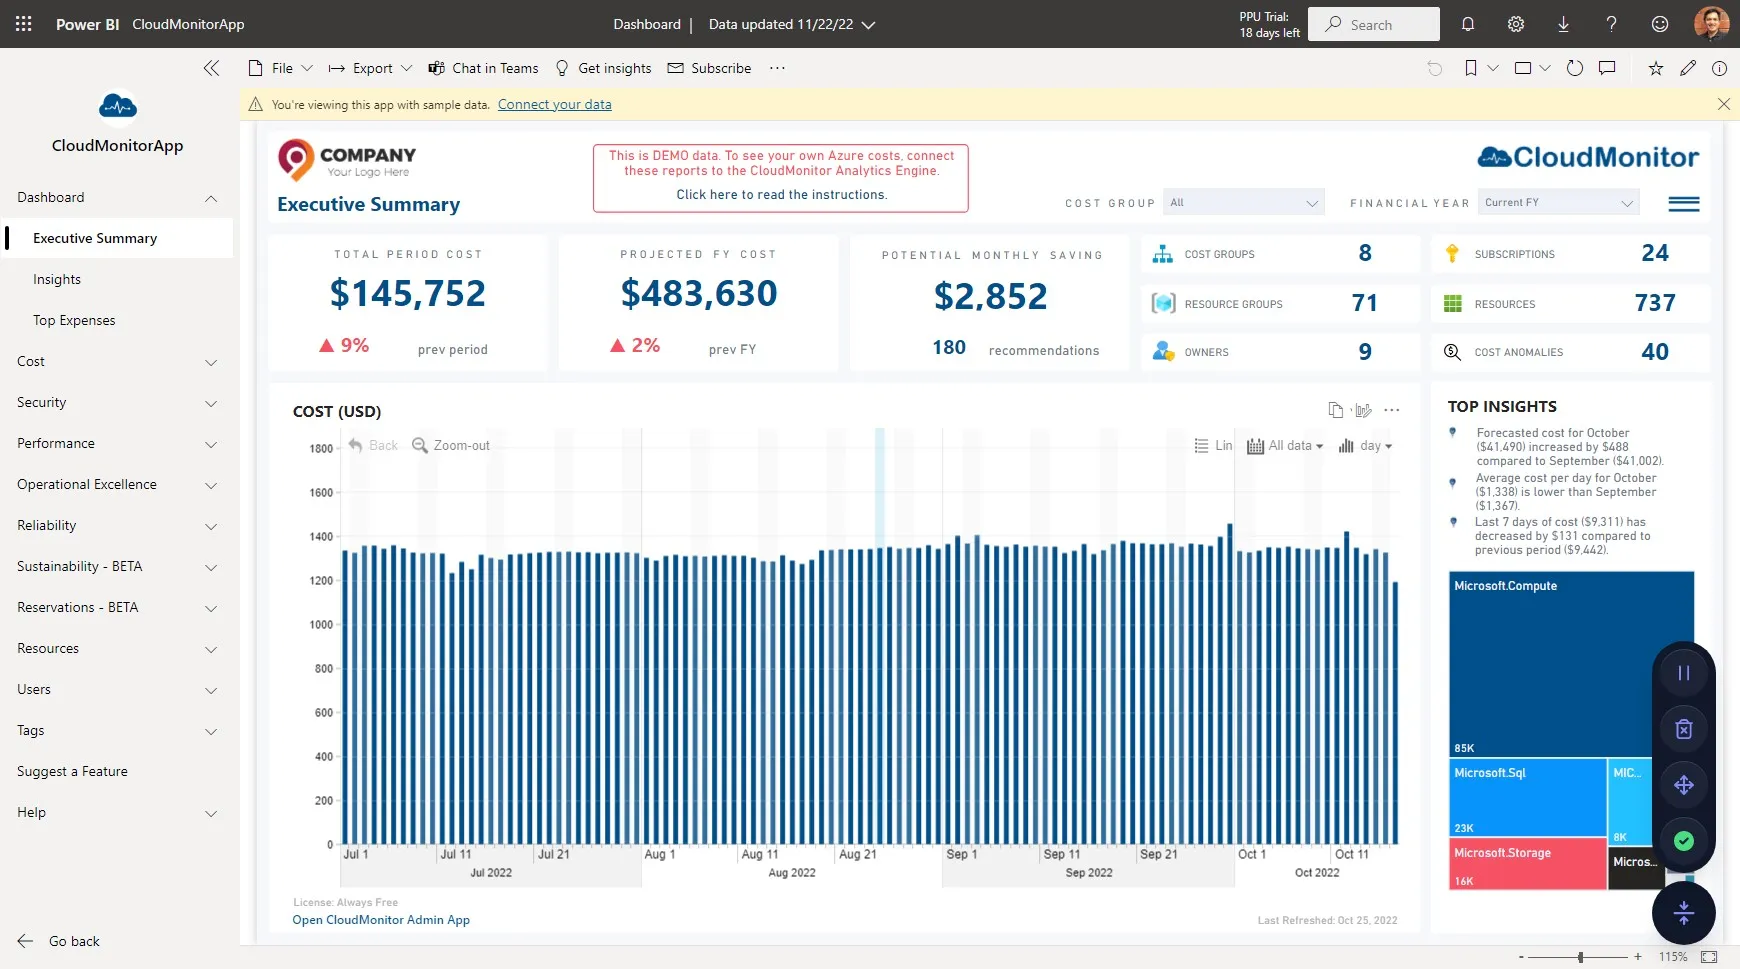
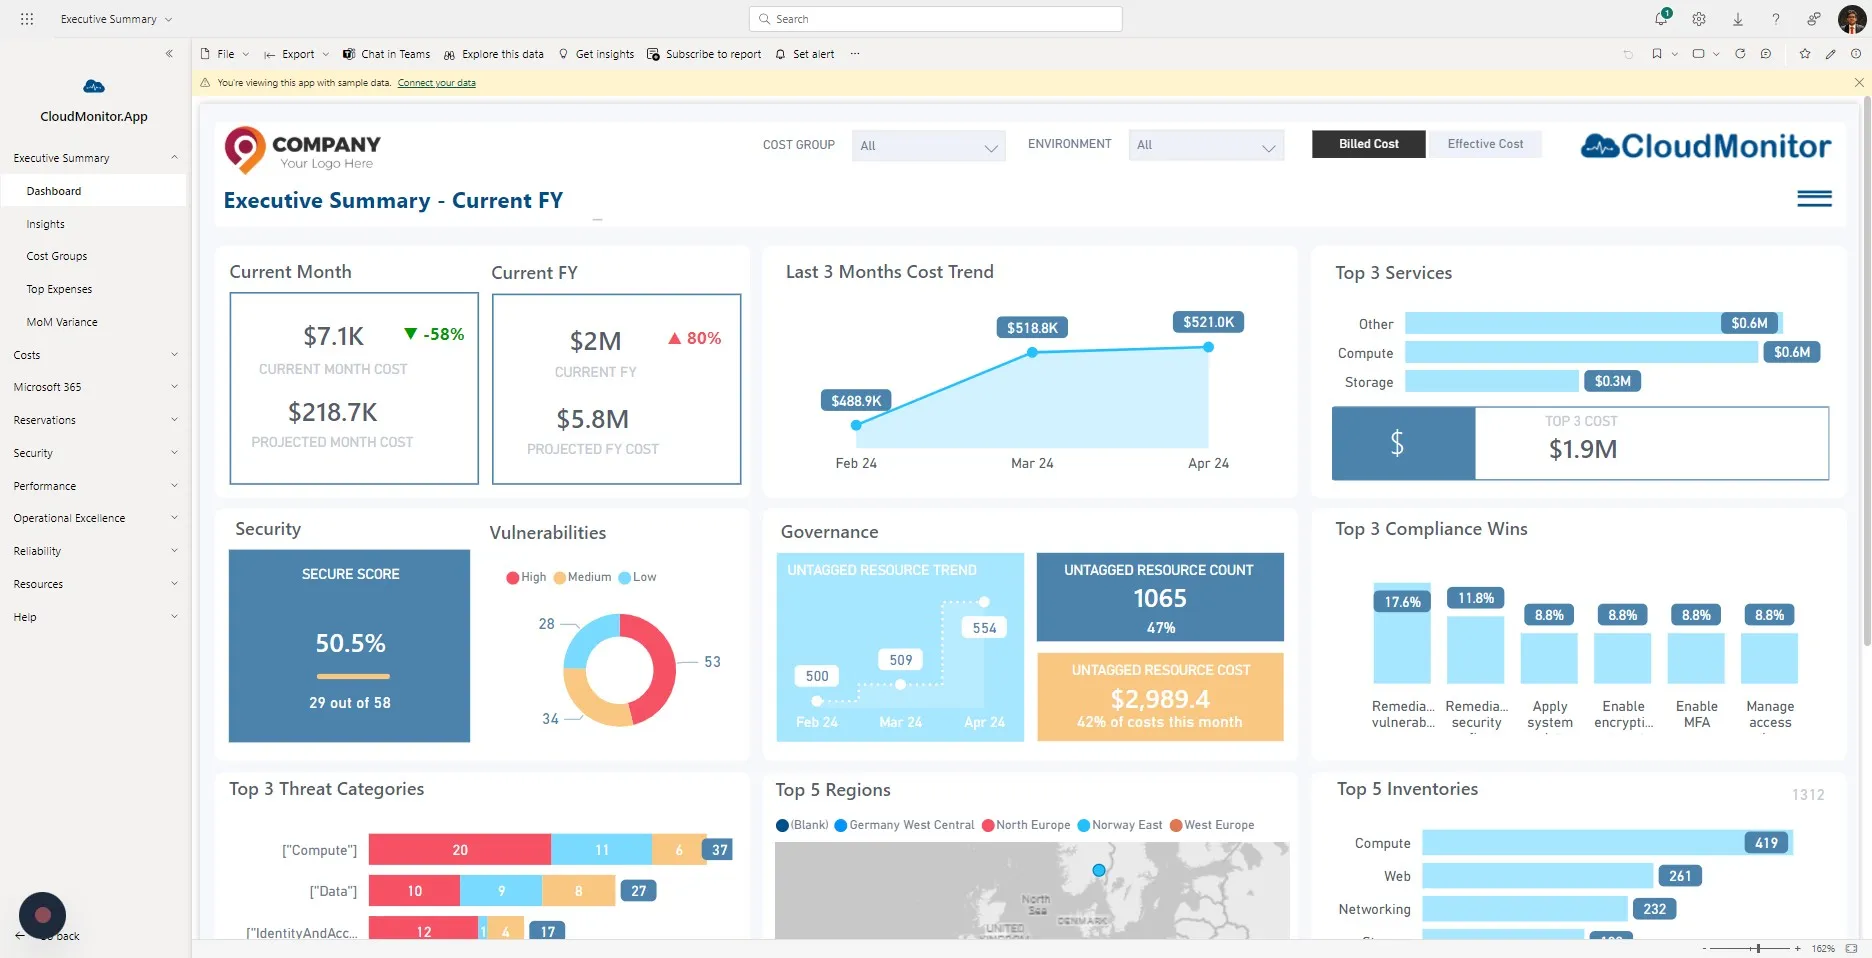
Section titled “Step 5”You can now open and view the CloudMonitor Power BI App. The data you are viewing in the app is only sample data. You must “Connect your data” in order to view your own cost insights.
We just went through the process of downloading and installing the CloudMonitor Power BI Reporting App. This still needs to be connected to the Azure CloudMonitor Analytics Engine in your system.
To connect the two, please use the credentials provided by our Support team and proceed with the subsequent steps in this guide:
If you haven’t obtained your credentials yet, please see Step 4: Raise a Support Ticket : CloudMonitor Helpdesk for guidance
Step 6
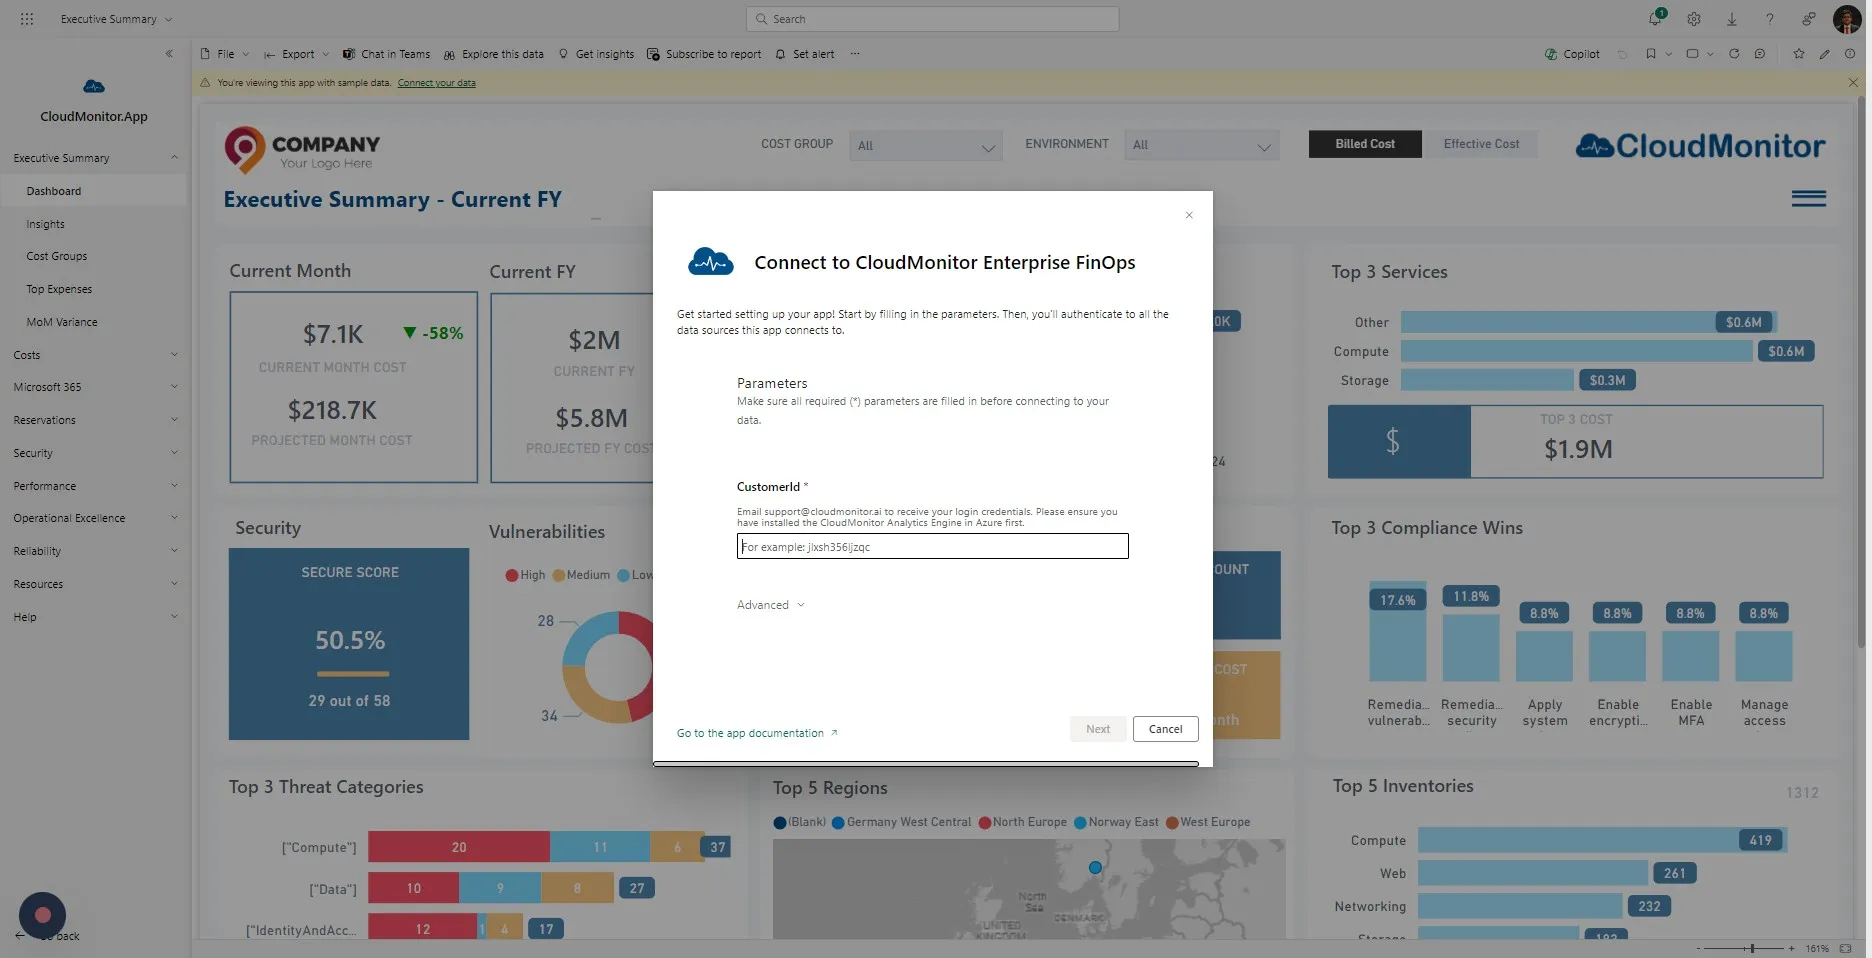
Section titled “Step 6”Click “Connect your data”
Step 7
Section titled “Step 7”Enter the “CustomerId” provided the Support Help Desk and Click Next
Step 8
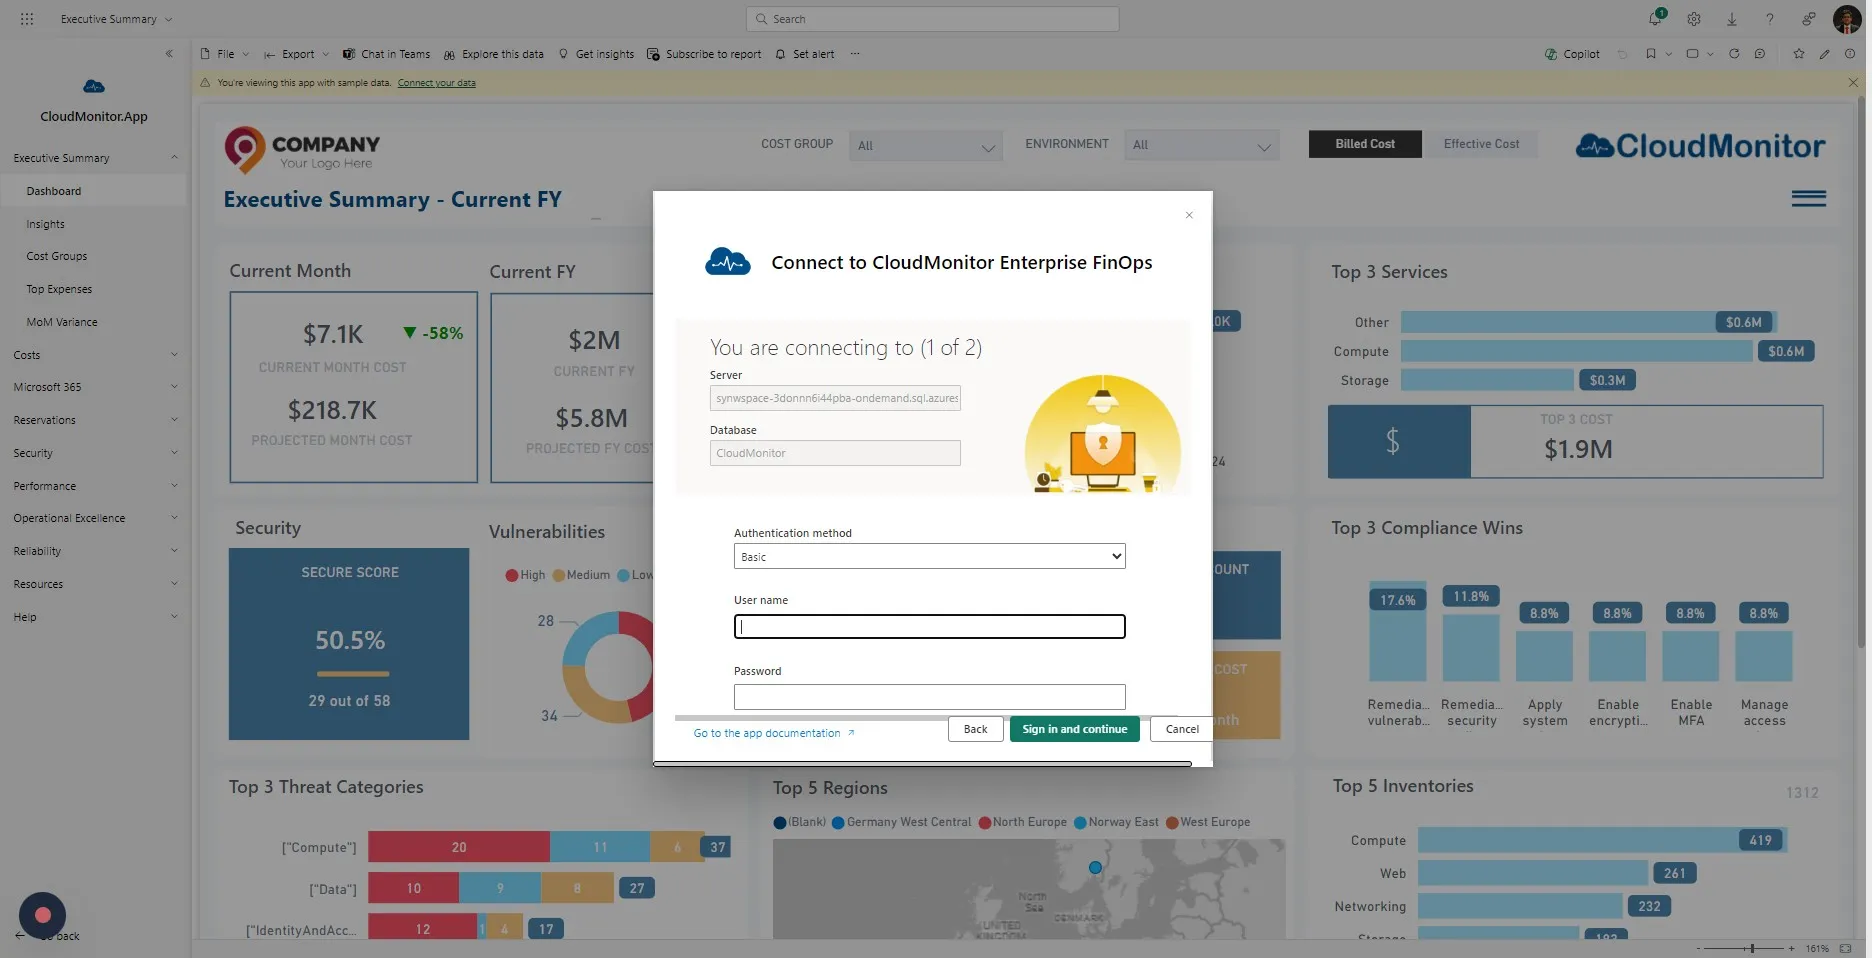
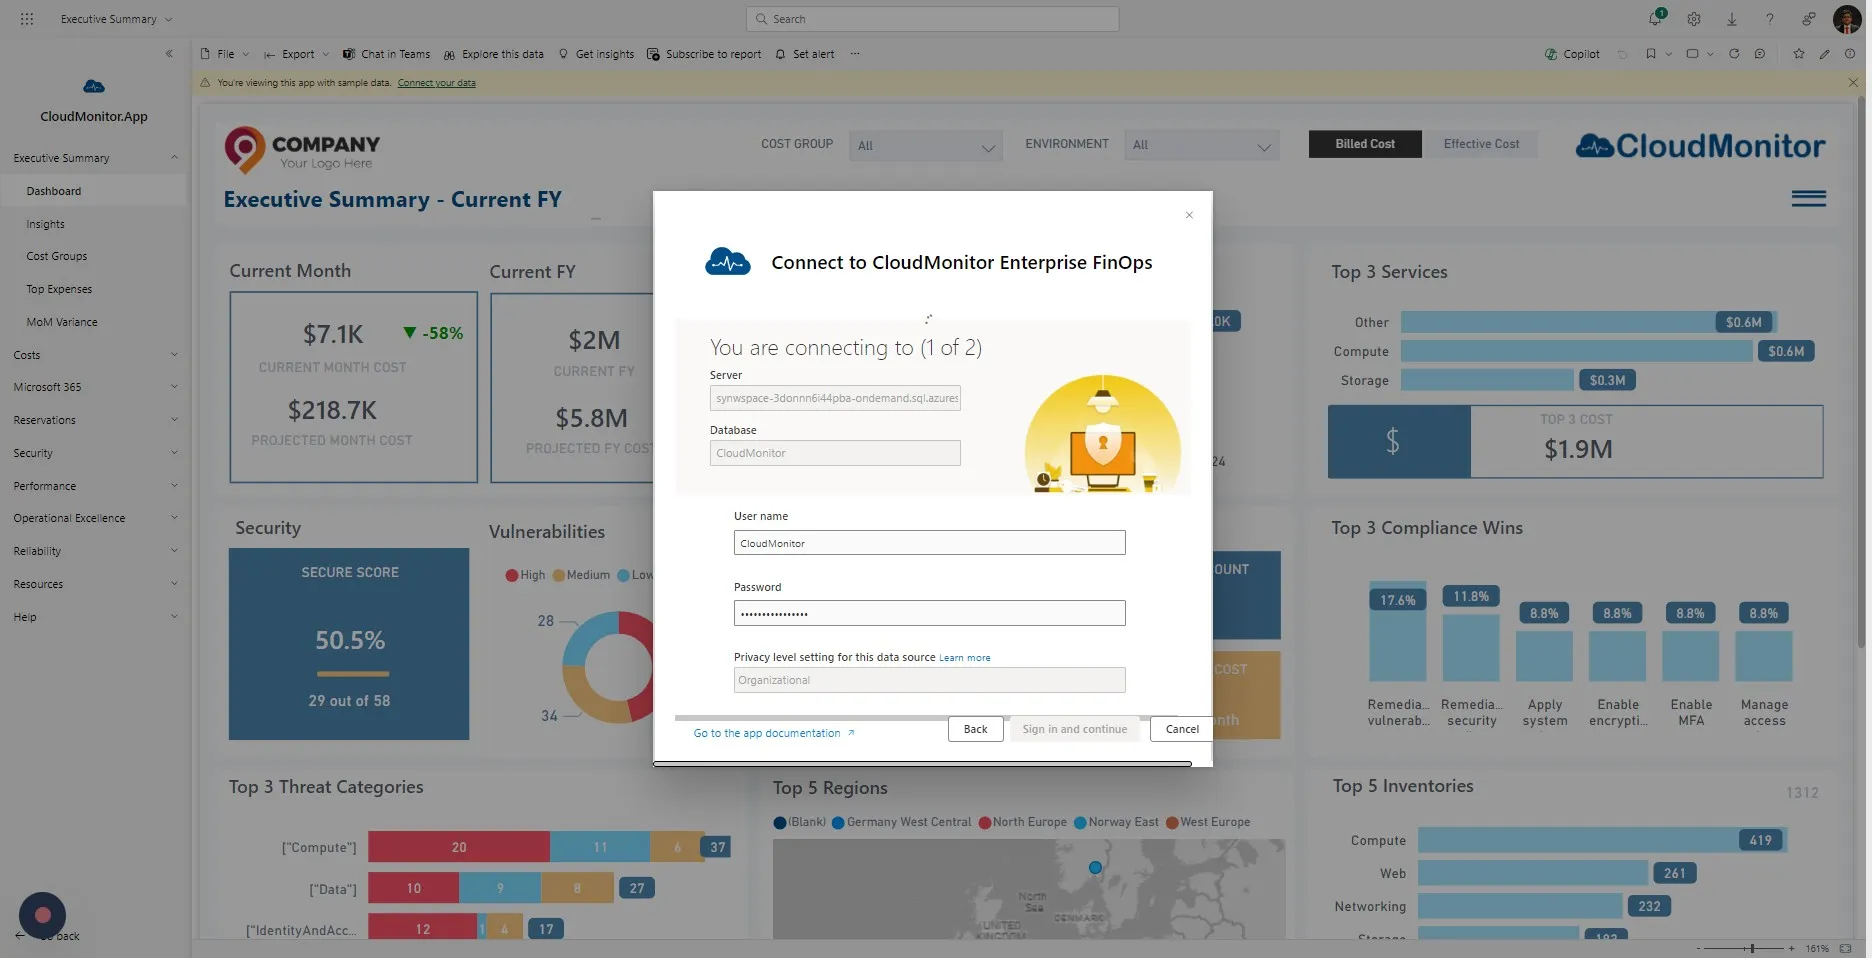
Section titled “Step 8”Select “Basic” as the Authentication method
Step 9
Section titled “Step 9”Enter “CloudMonitor” as the Username and enter the provided password to the respective field.

Step 10
Section titled “Step 10”Select “Organizational” as the “Privacy level setting for this data source”.
Step 11
Section titled “Step 11”There’re 2 data sources, therefore please repeat the steps,
Select “Basic” as the “Authentication Method”

Step 12
Section titled “Step 12”Enter “CloudMonitor” as the Username and enter the provided password to the respective field.

Step 13
Section titled “Step 13”Select “Organizational” as the “Privacy level setting for this data source”.

Step 14
Section titled “Step 14”Once all the previous steps completed, this message will pop up. Kindly note that this can take from 5 minutes to 45 minutes depending on the size of your Azure estate.