How to Upload the CloudMonitor Teams Bot into your Organization
**
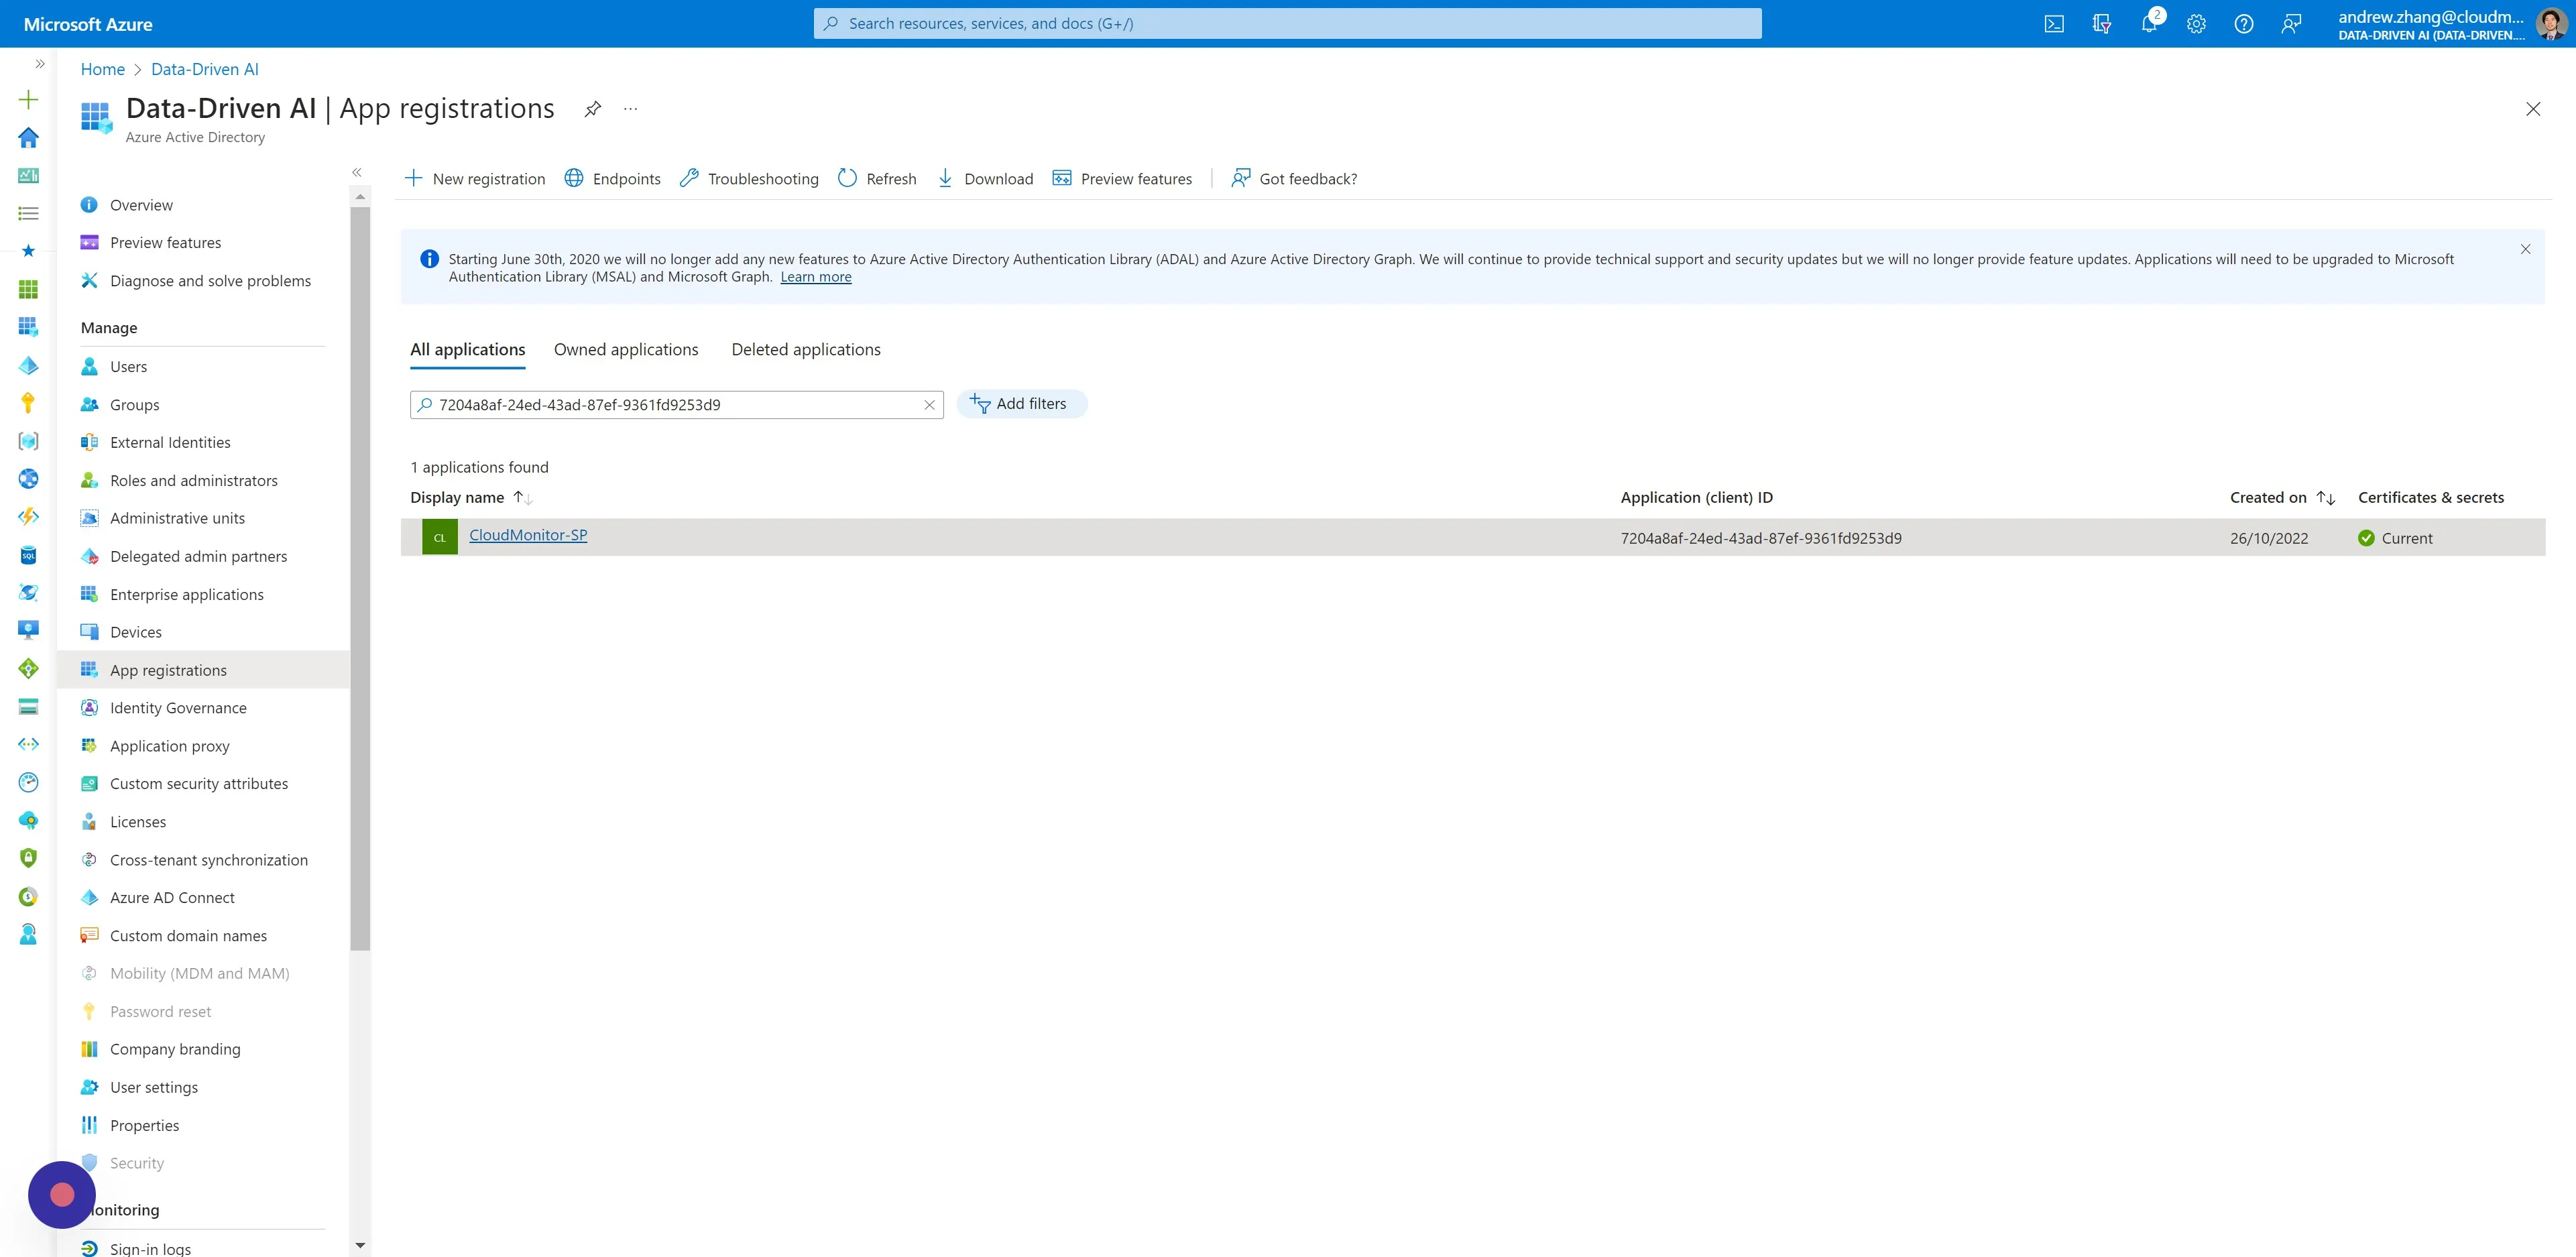
Step 1
Section titled “Step 1”Navigate toAzure Active Directory > App Registrations, and click your CloudMonitor Service Principal by name or ClientId under the “All applications” tab.
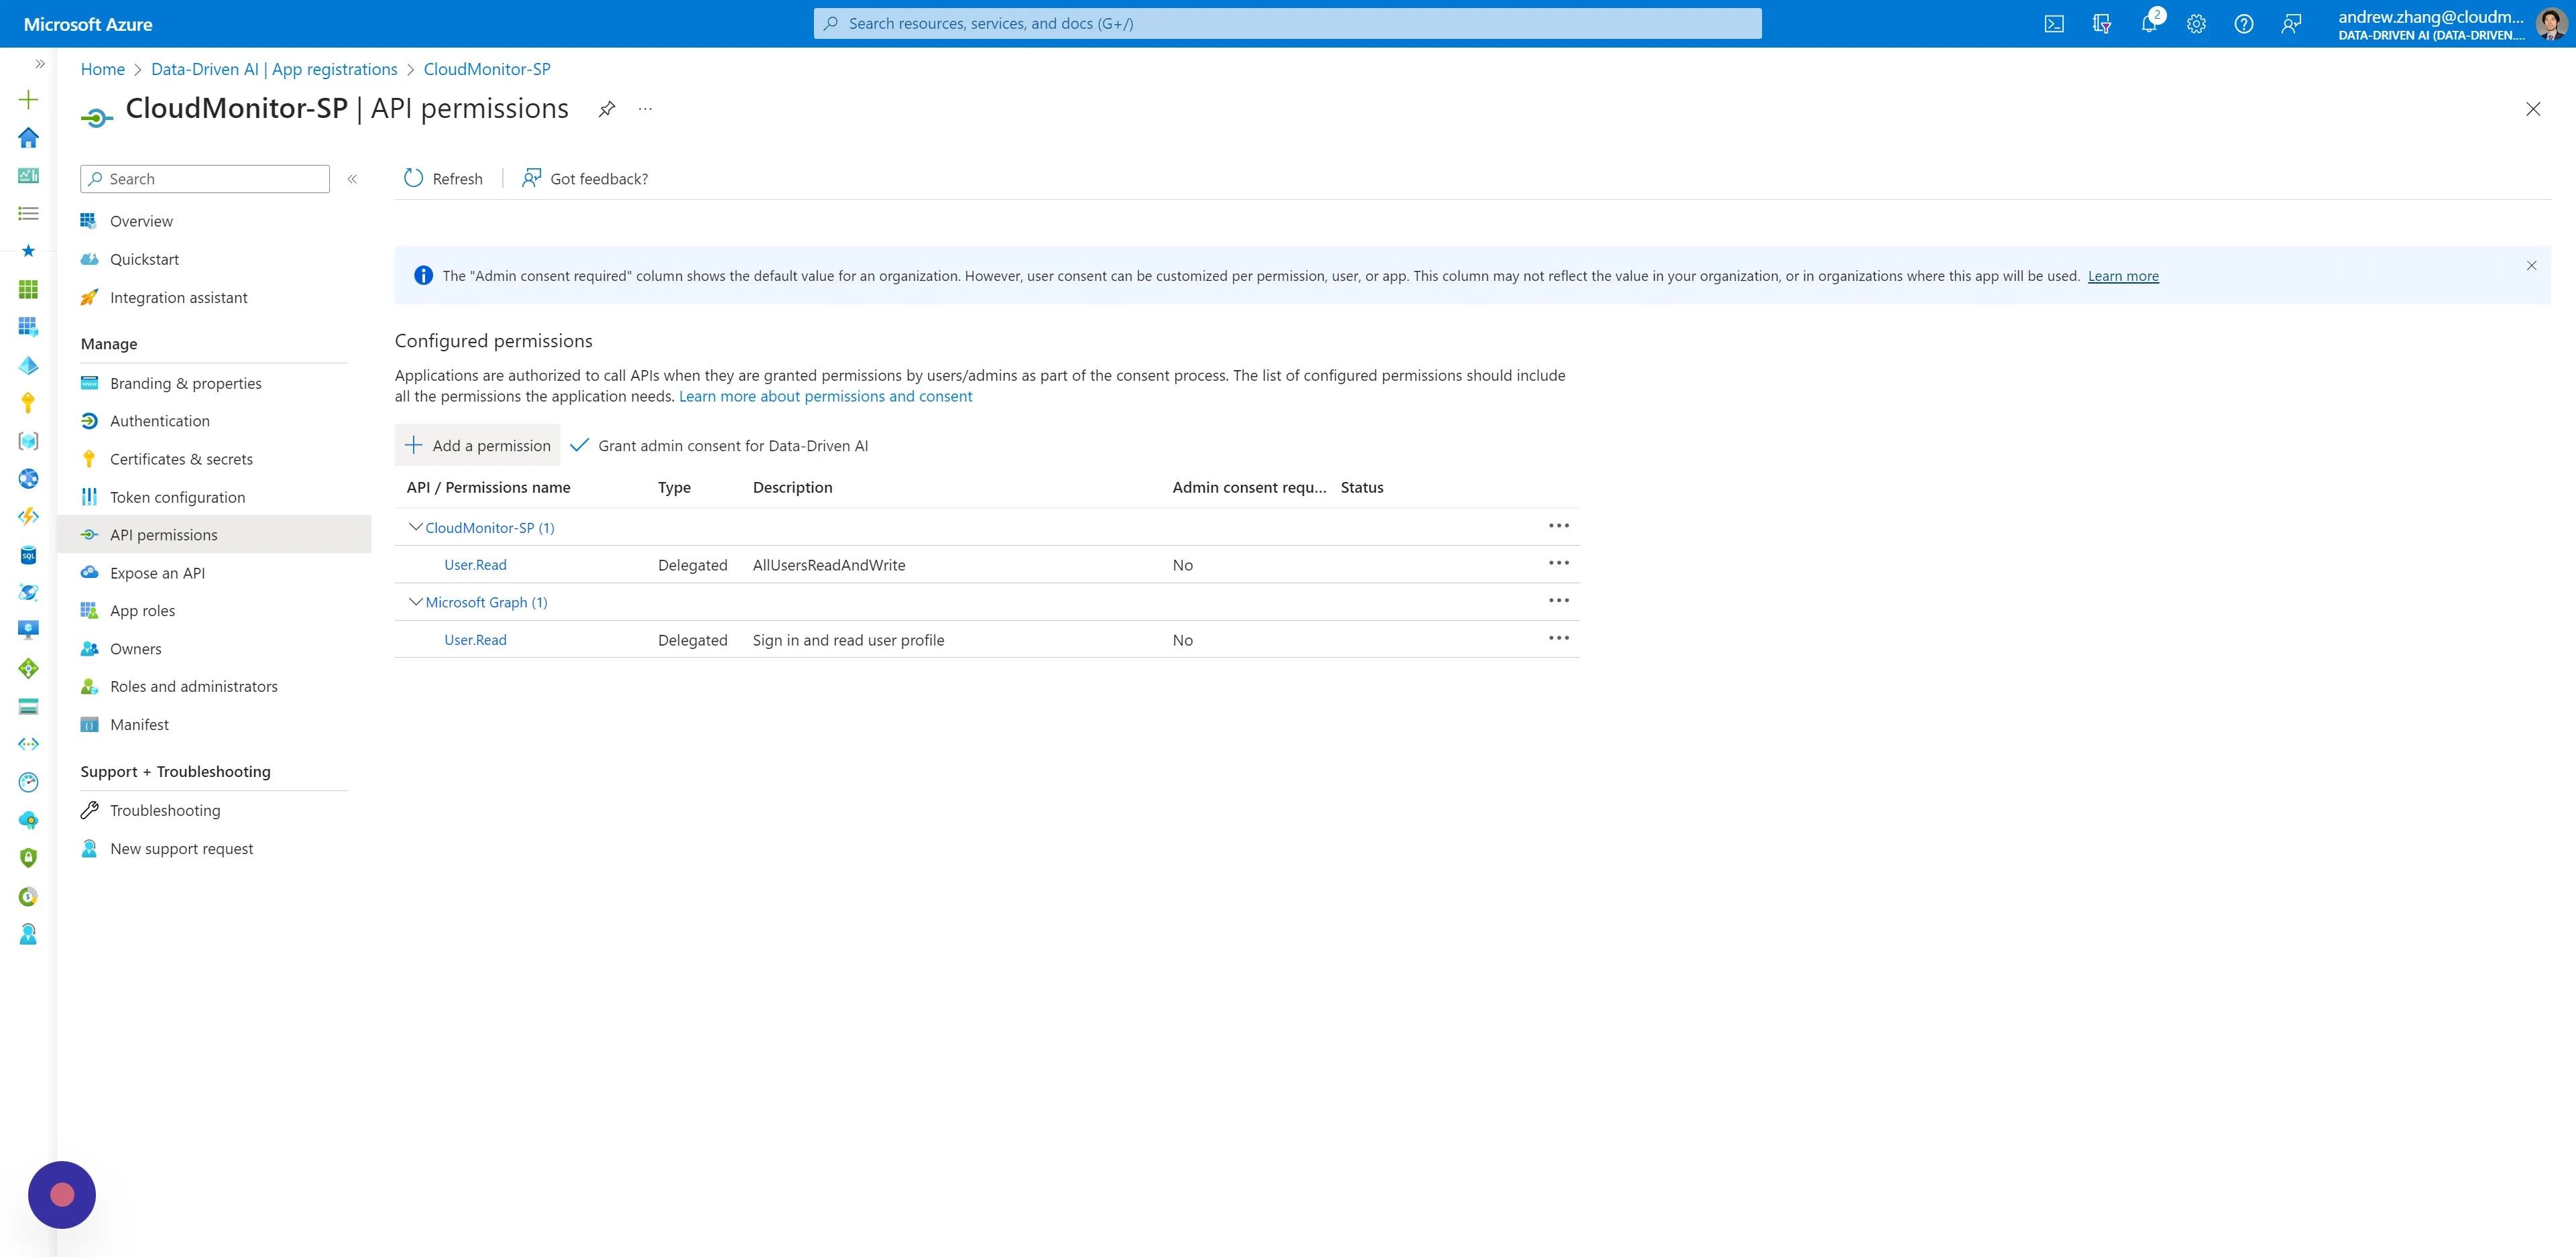
Step 2
Section titled “Step 2”On the side menu, under Manage, click “API permissions” and then click “Add a permission”.
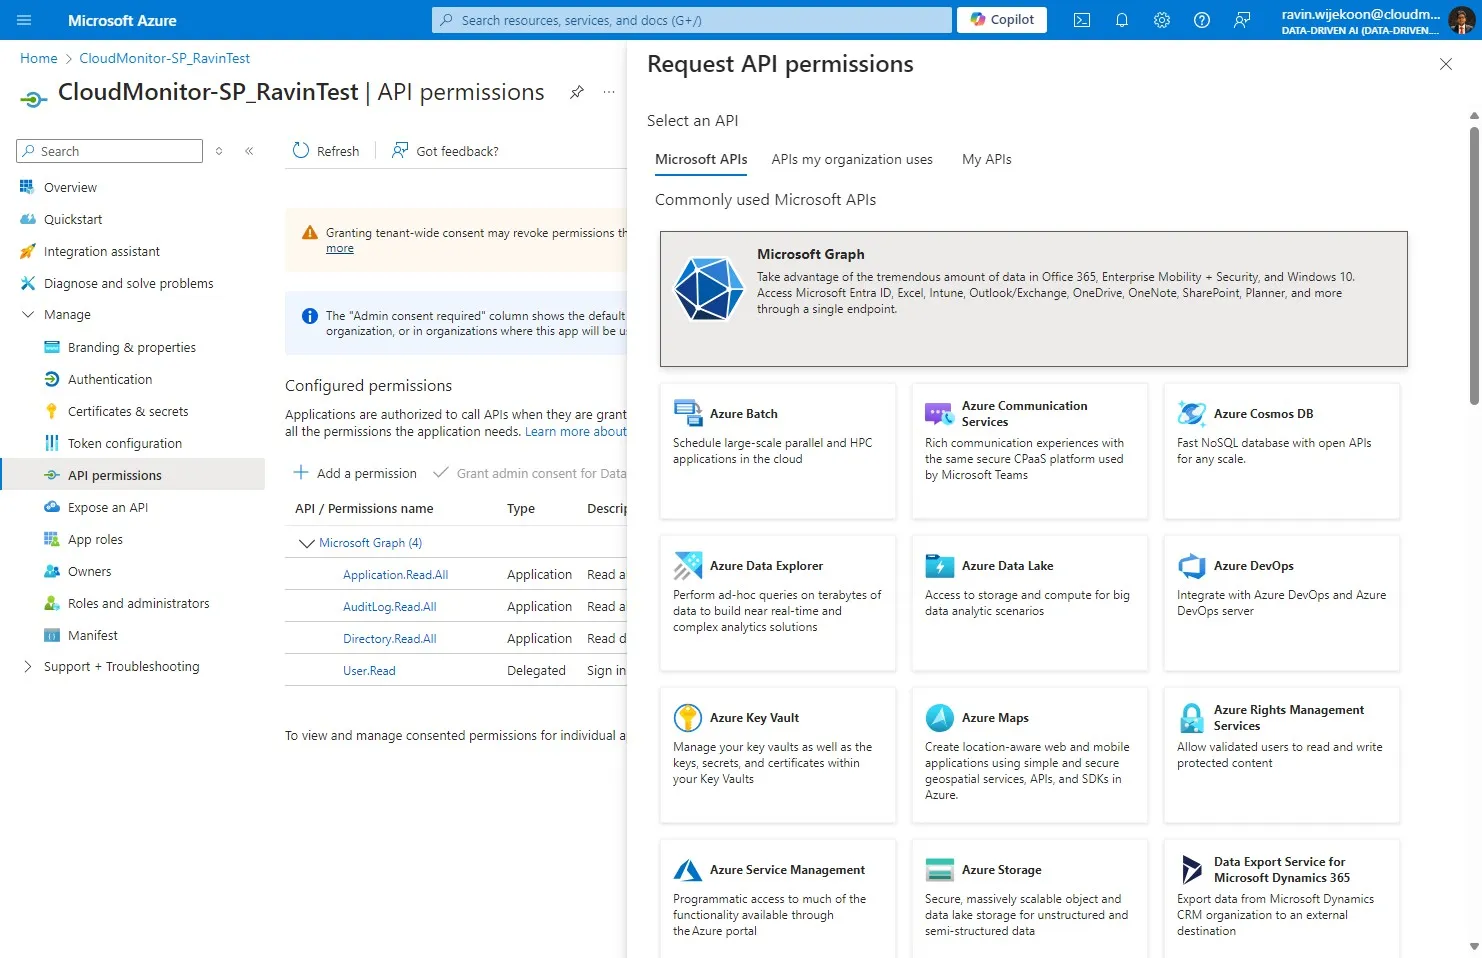
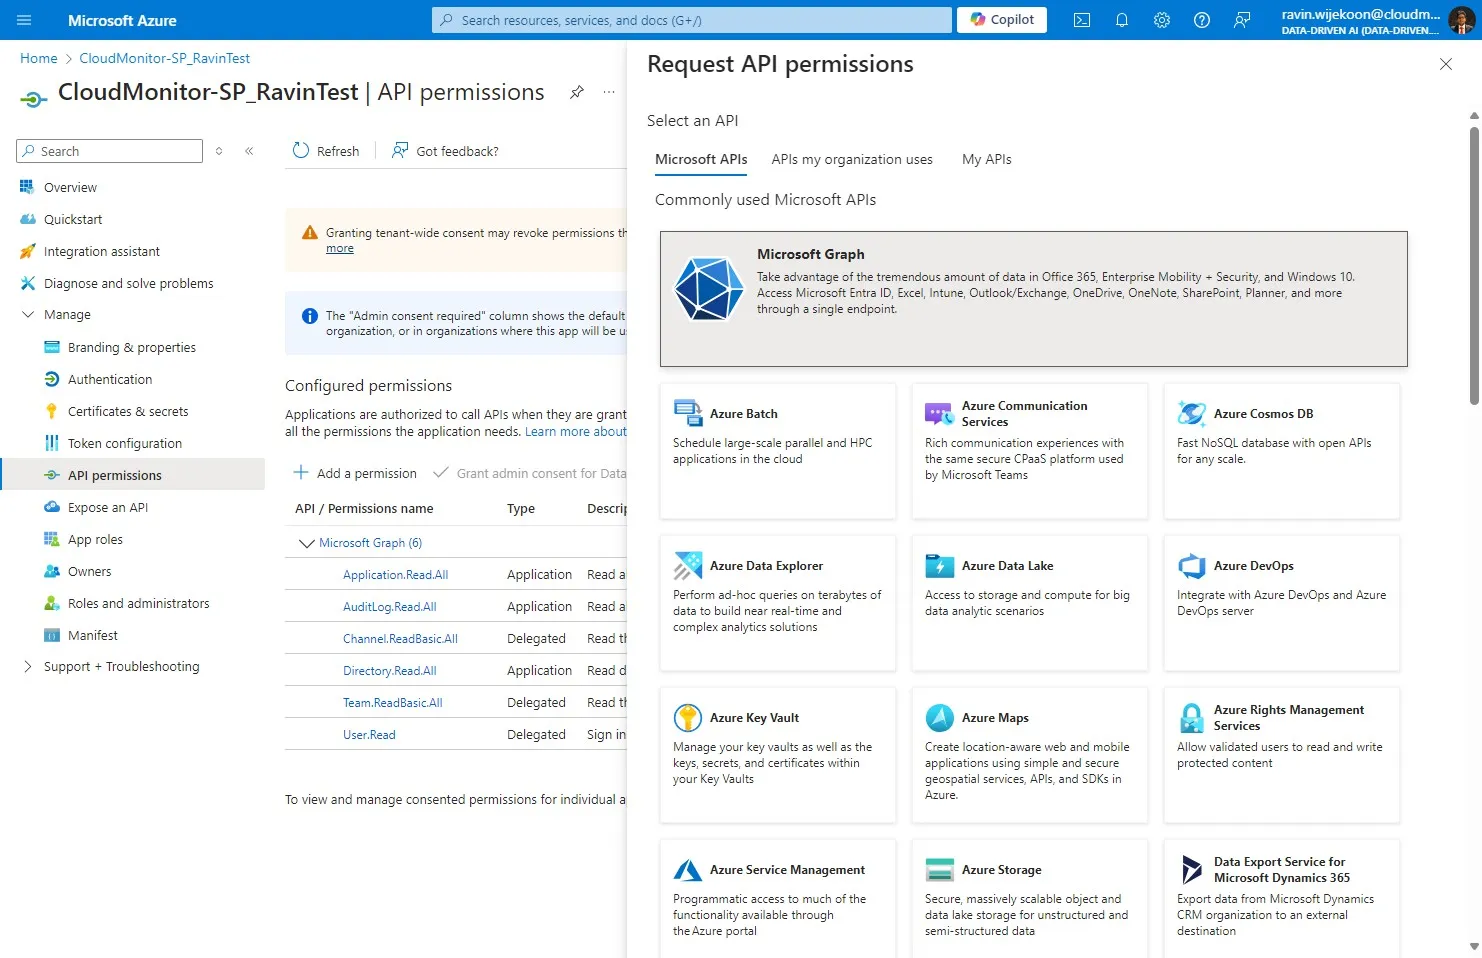
Step 3
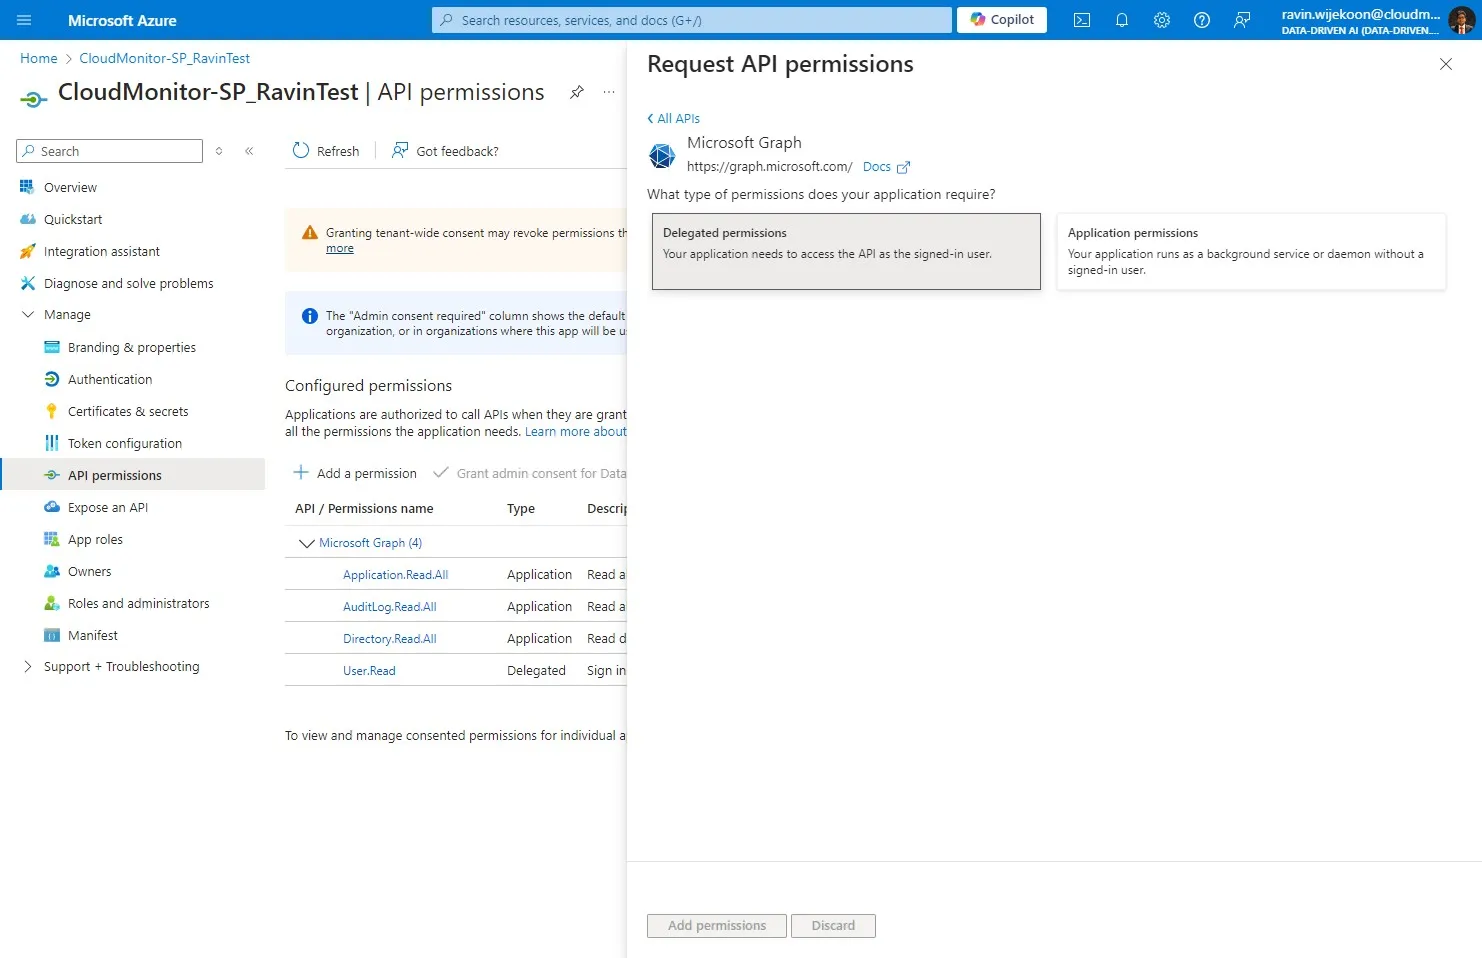
Section titled “Step 3”Click Microsoft Graph
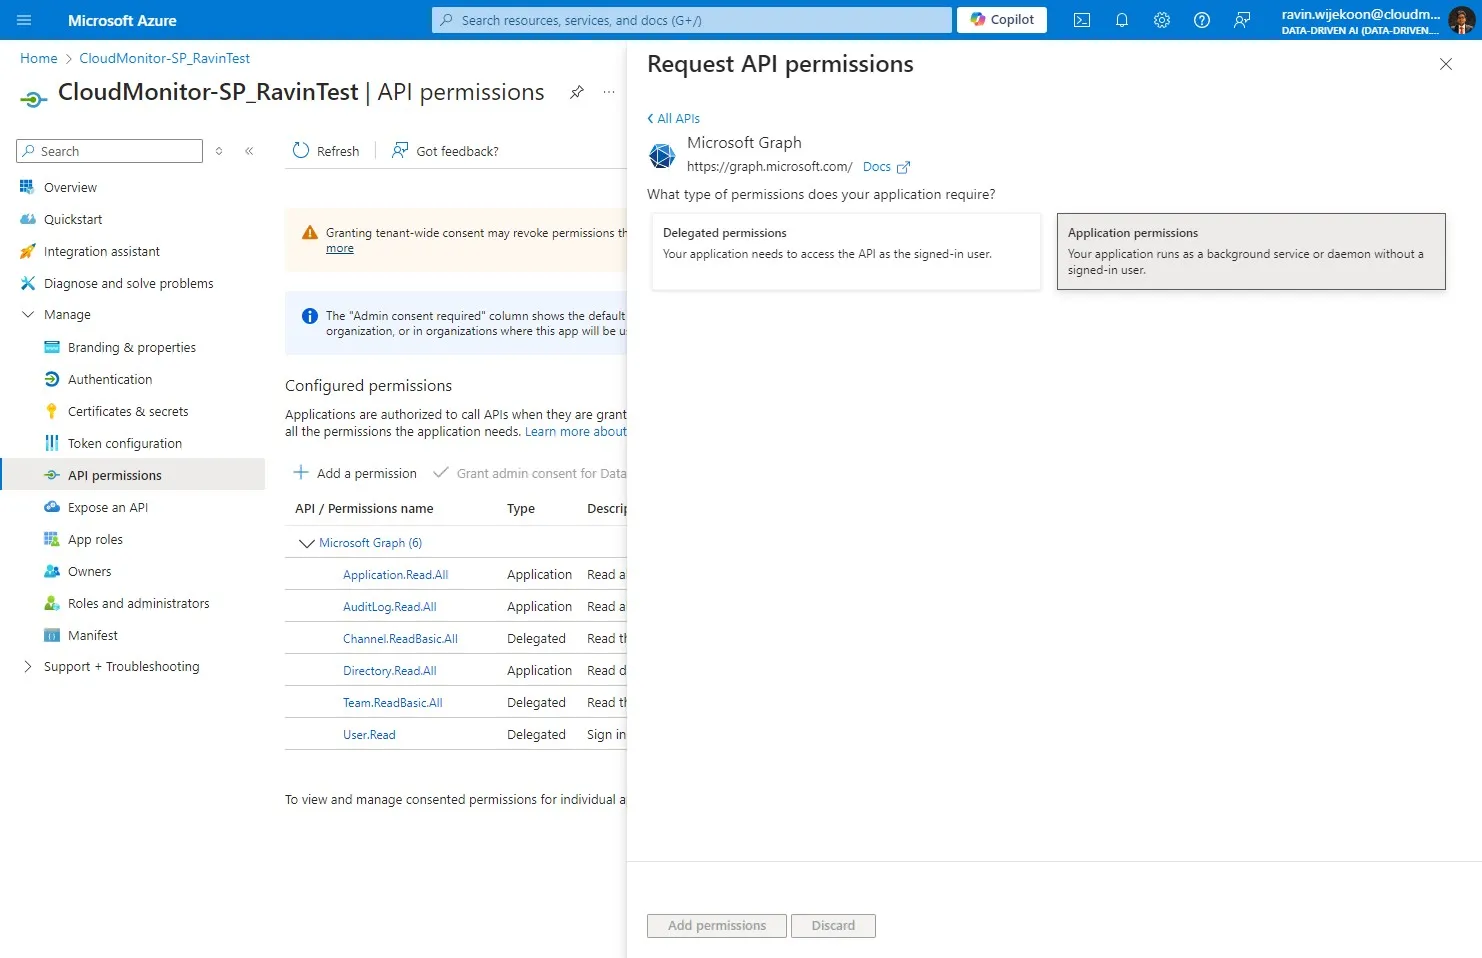
Step 4
Section titled “Step 4”Click “Your application needs to access the API as the signed-in user.”
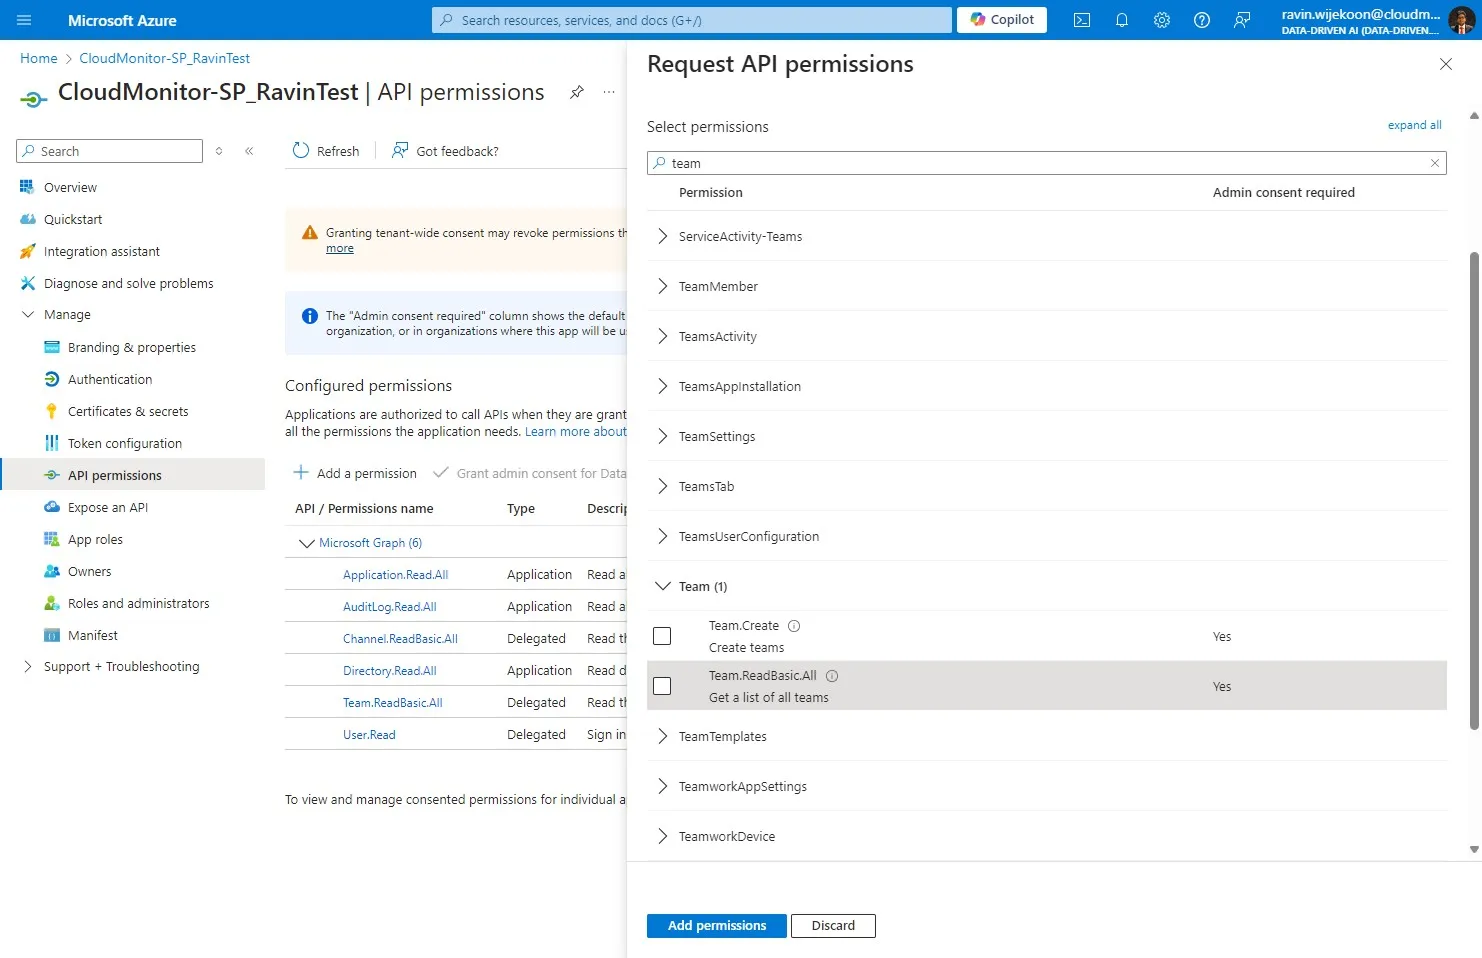
Step 5
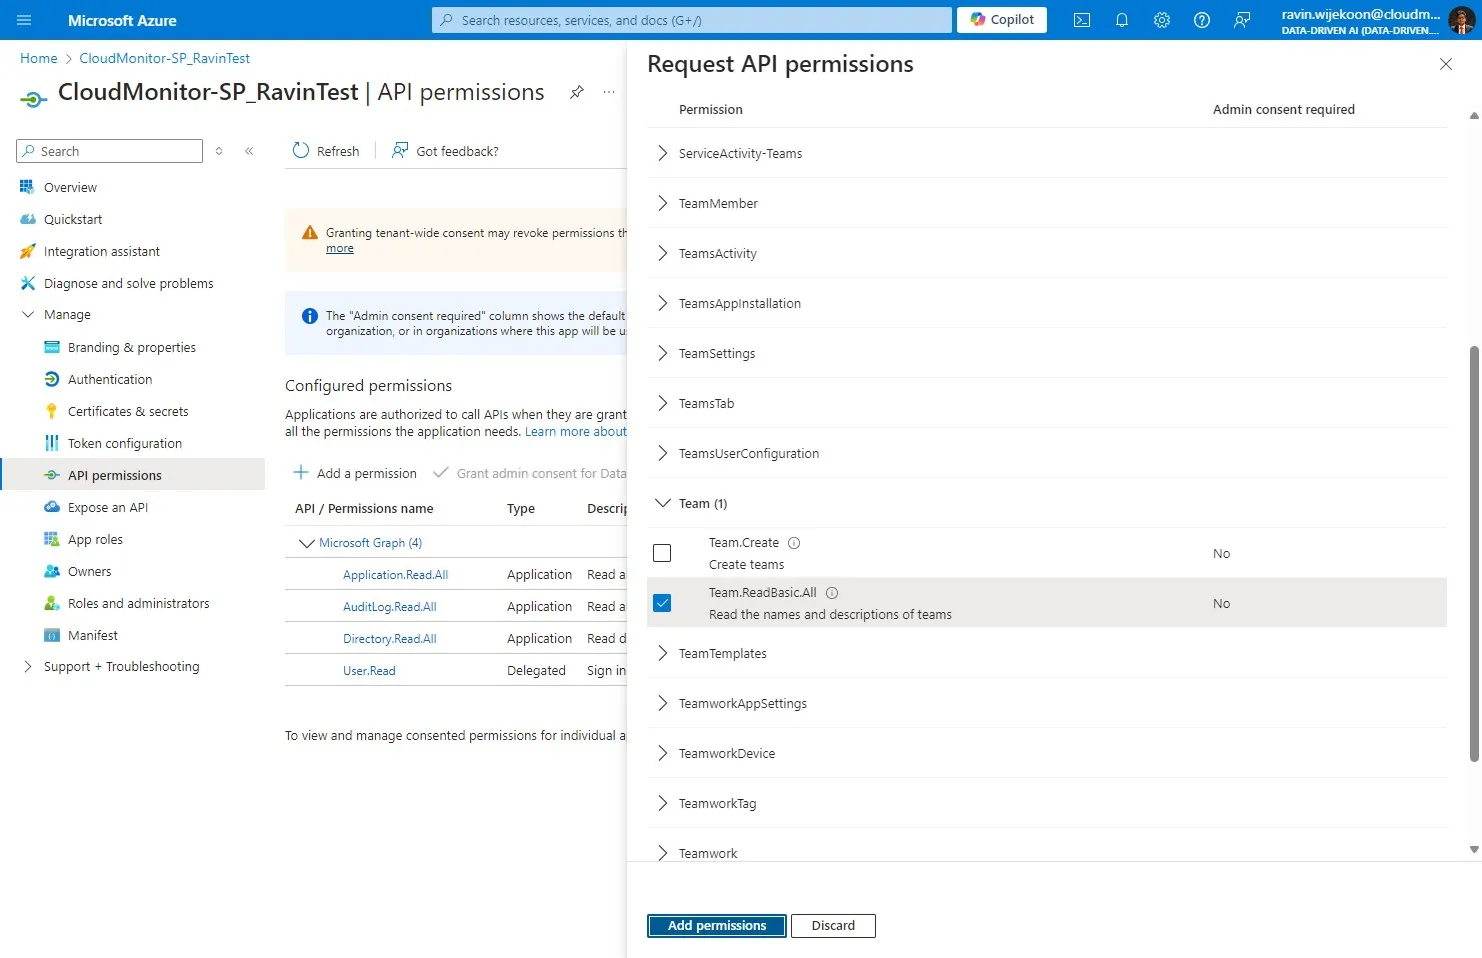
Section titled “Step 5”Click the “Search box” field. and search for,
- [[User.Read]]
- [[Channel.ReadBasic.All]]
- [[Team.ReadBasic.All]]
And tick them

Step 6
Section titled “Step 6”Click “Add permissions”
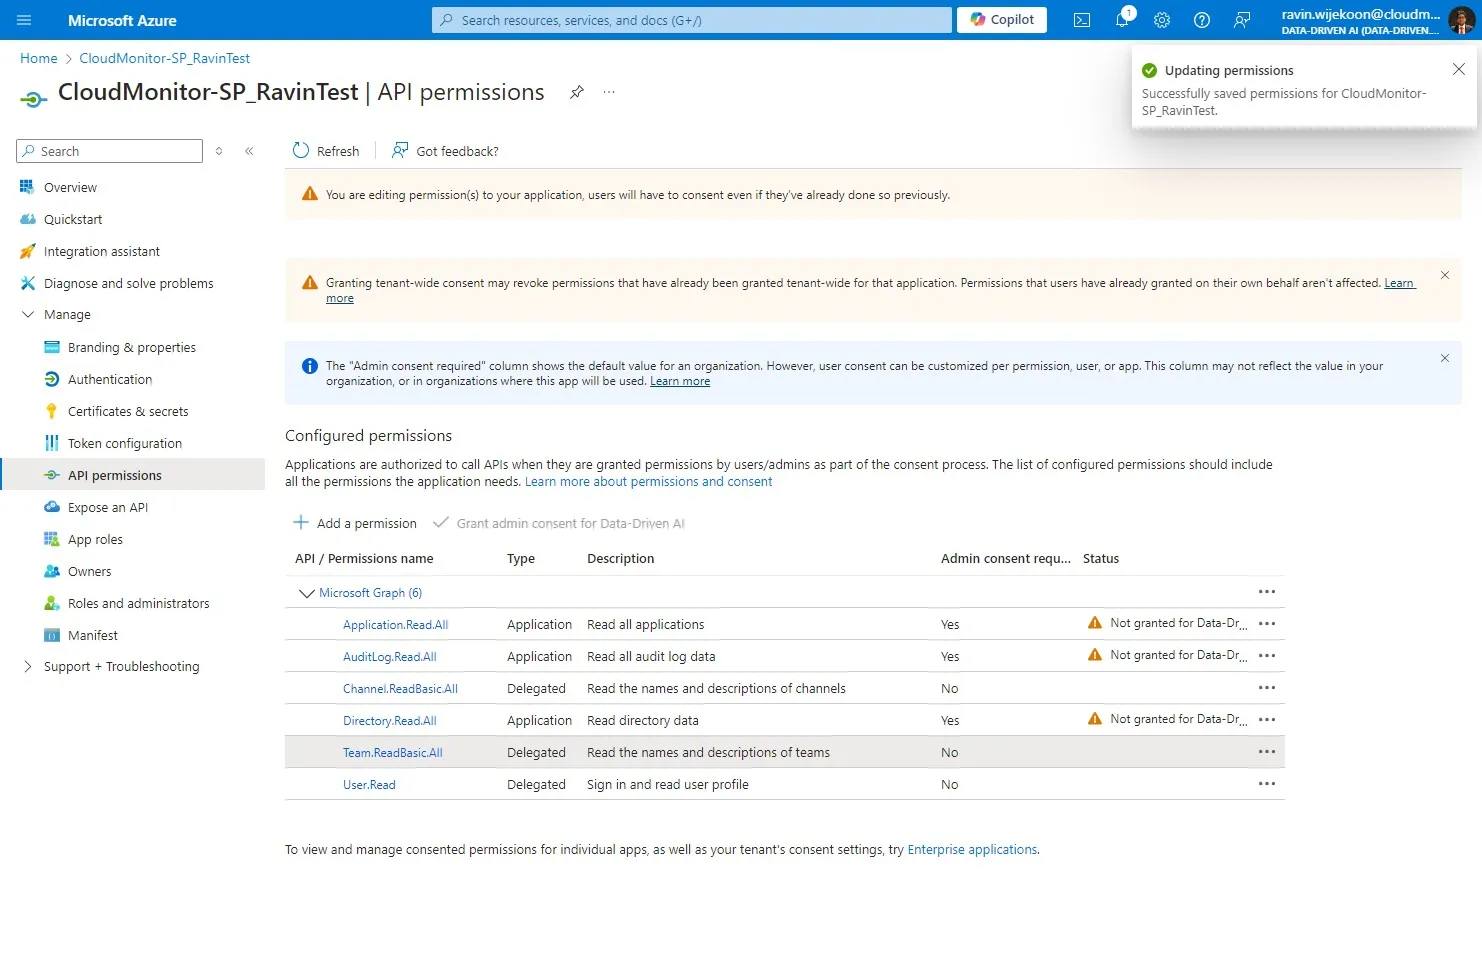
Step 7
Section titled “Step 7”Permission assignments should be visible here.
Step 8
Section titled “Step 8”There are few other permissions also required, please click on this button
Step 9
Section titled “Step 9”Click Microsoft Graph
Step 10
Section titled “Step 10”Click “Application Permissions”
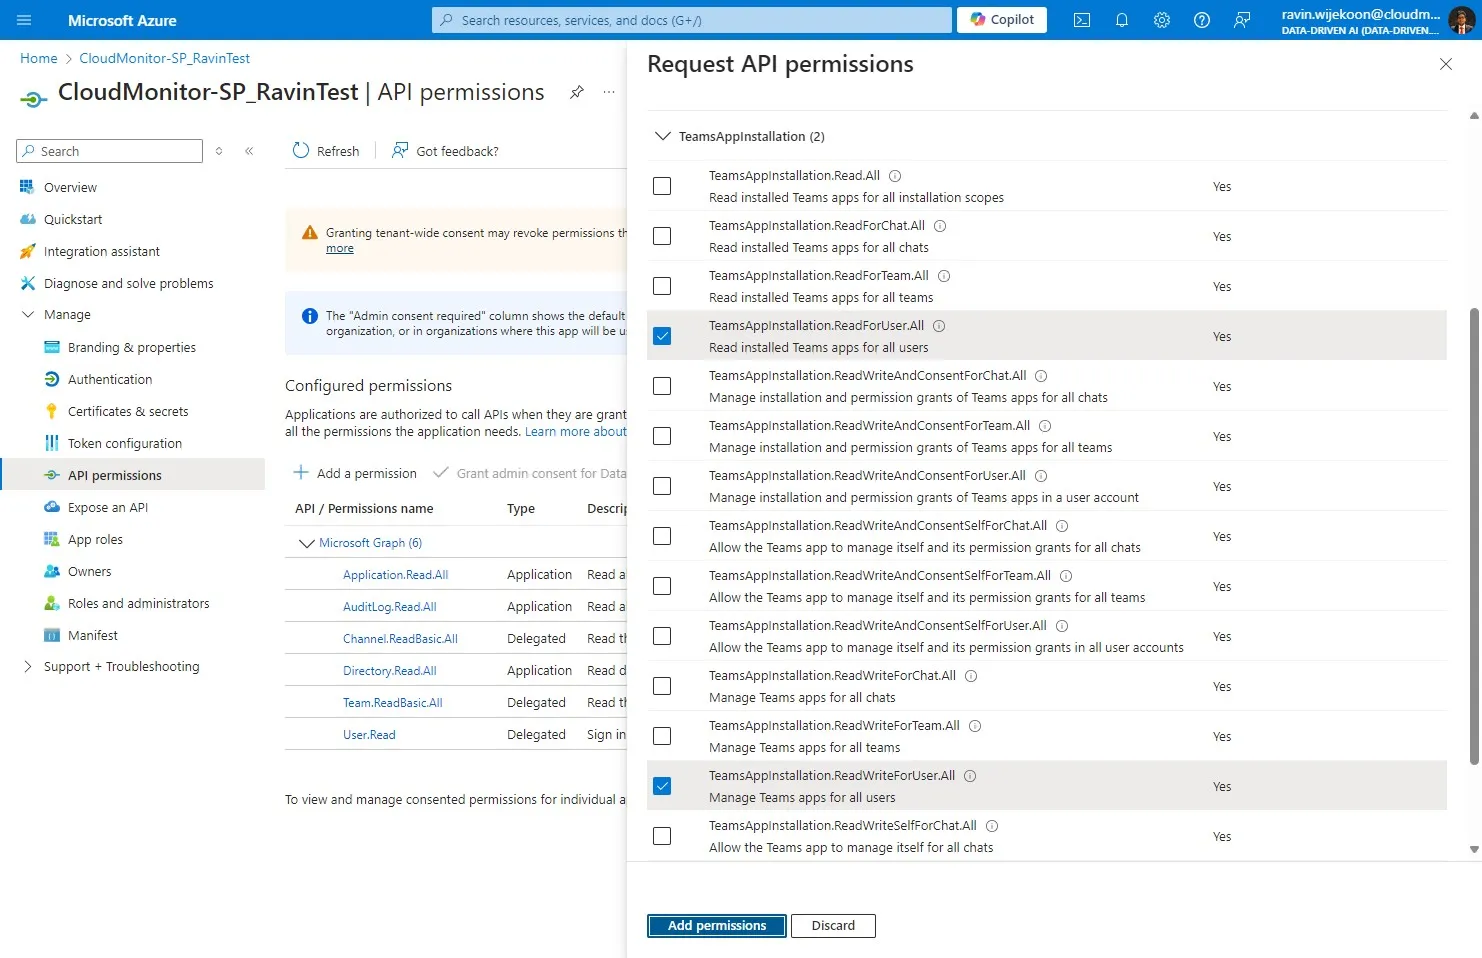
Step 11
Section titled “Step 11”Click the “Search box” field. and search for each below and tick them,
- [[Team.ReadBasic.All]]
- [[TeamsActivity.Send]]
- [[Chat.ReadBasic.All]]
- [[User.Read.All]]
- [[Channel.ReadBasic.All]]
- [[AppCatalog.Read.All]]
- [[TeamsAppInstallation.ReadForUser.All]]
- [[TeamsAppInstallation.ReadWriteForUser.All]]
Step 12
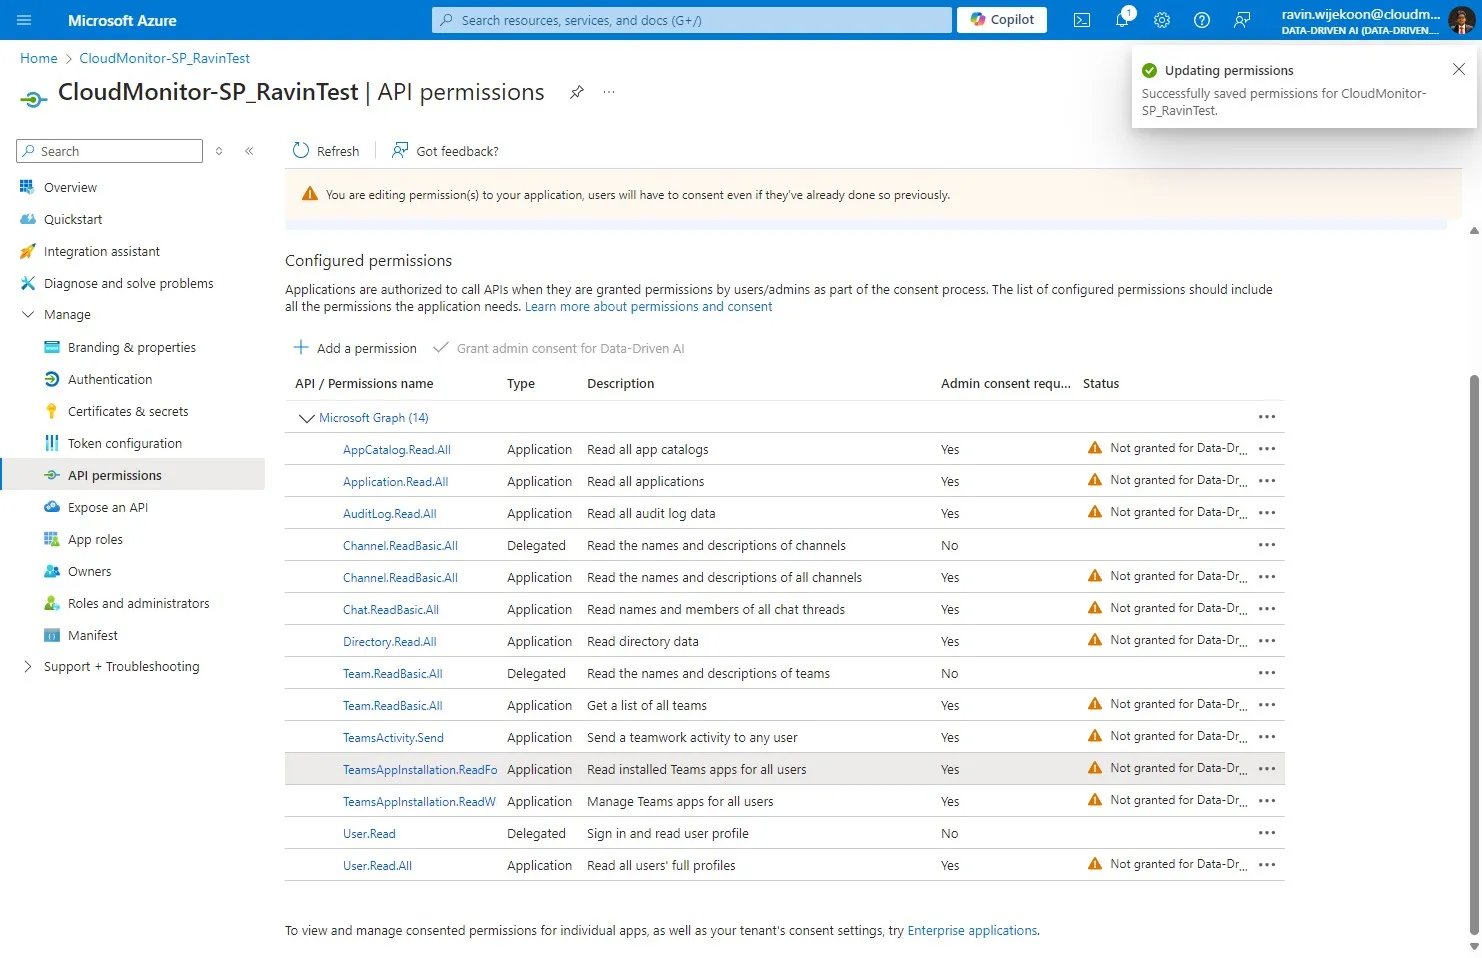
Section titled “Step 12”Click “Add permissions” after selecting all the permissions
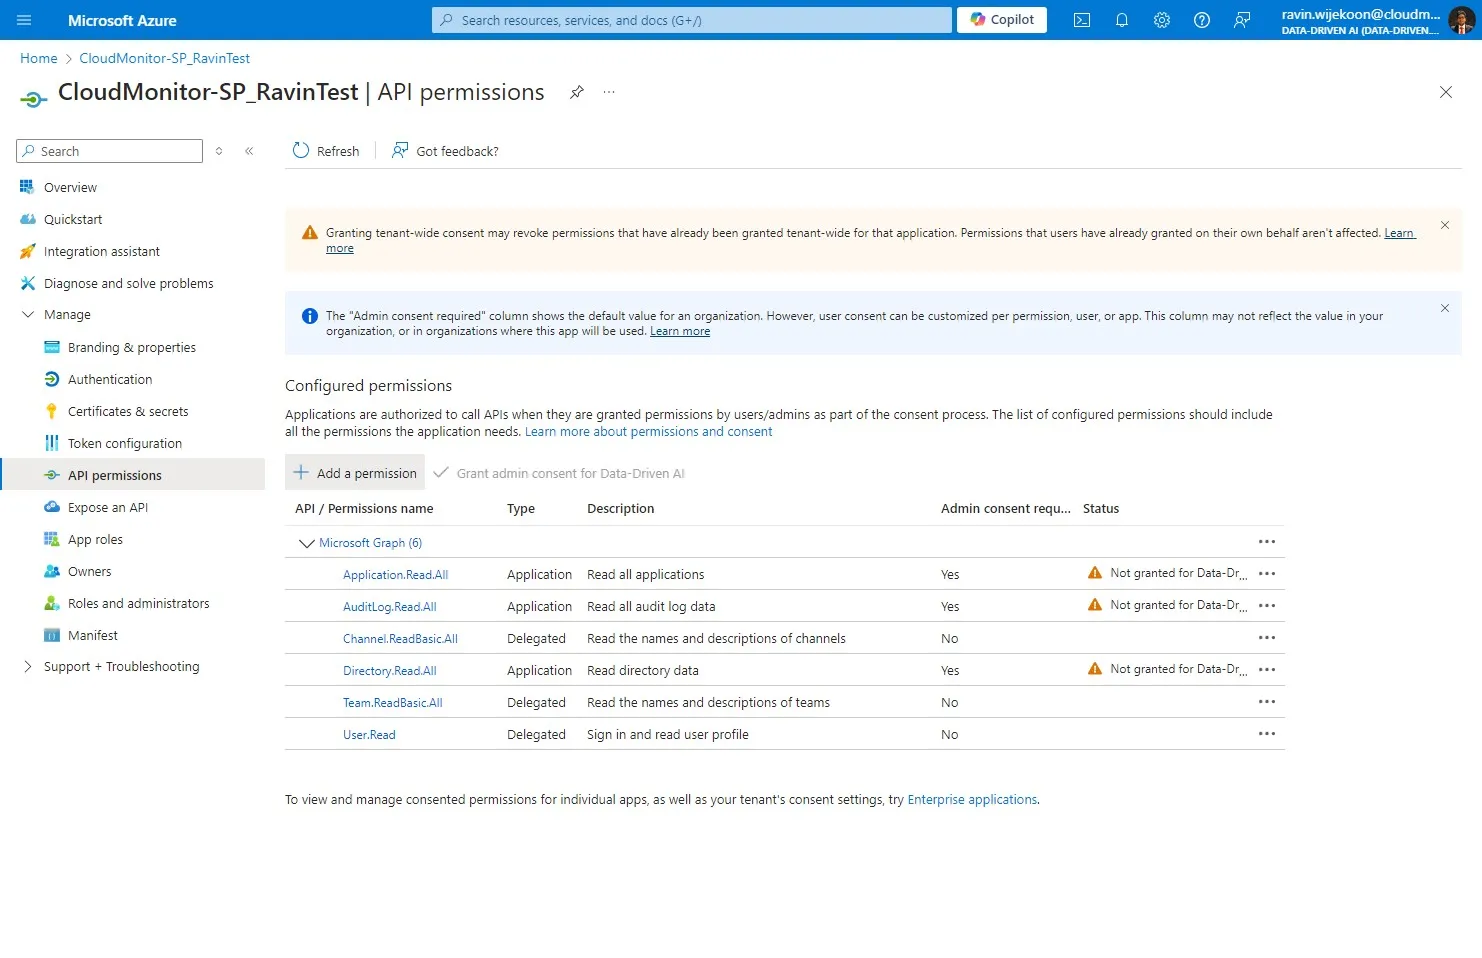
Step 13
Section titled “Step 13”Permission assignments should be visible here.
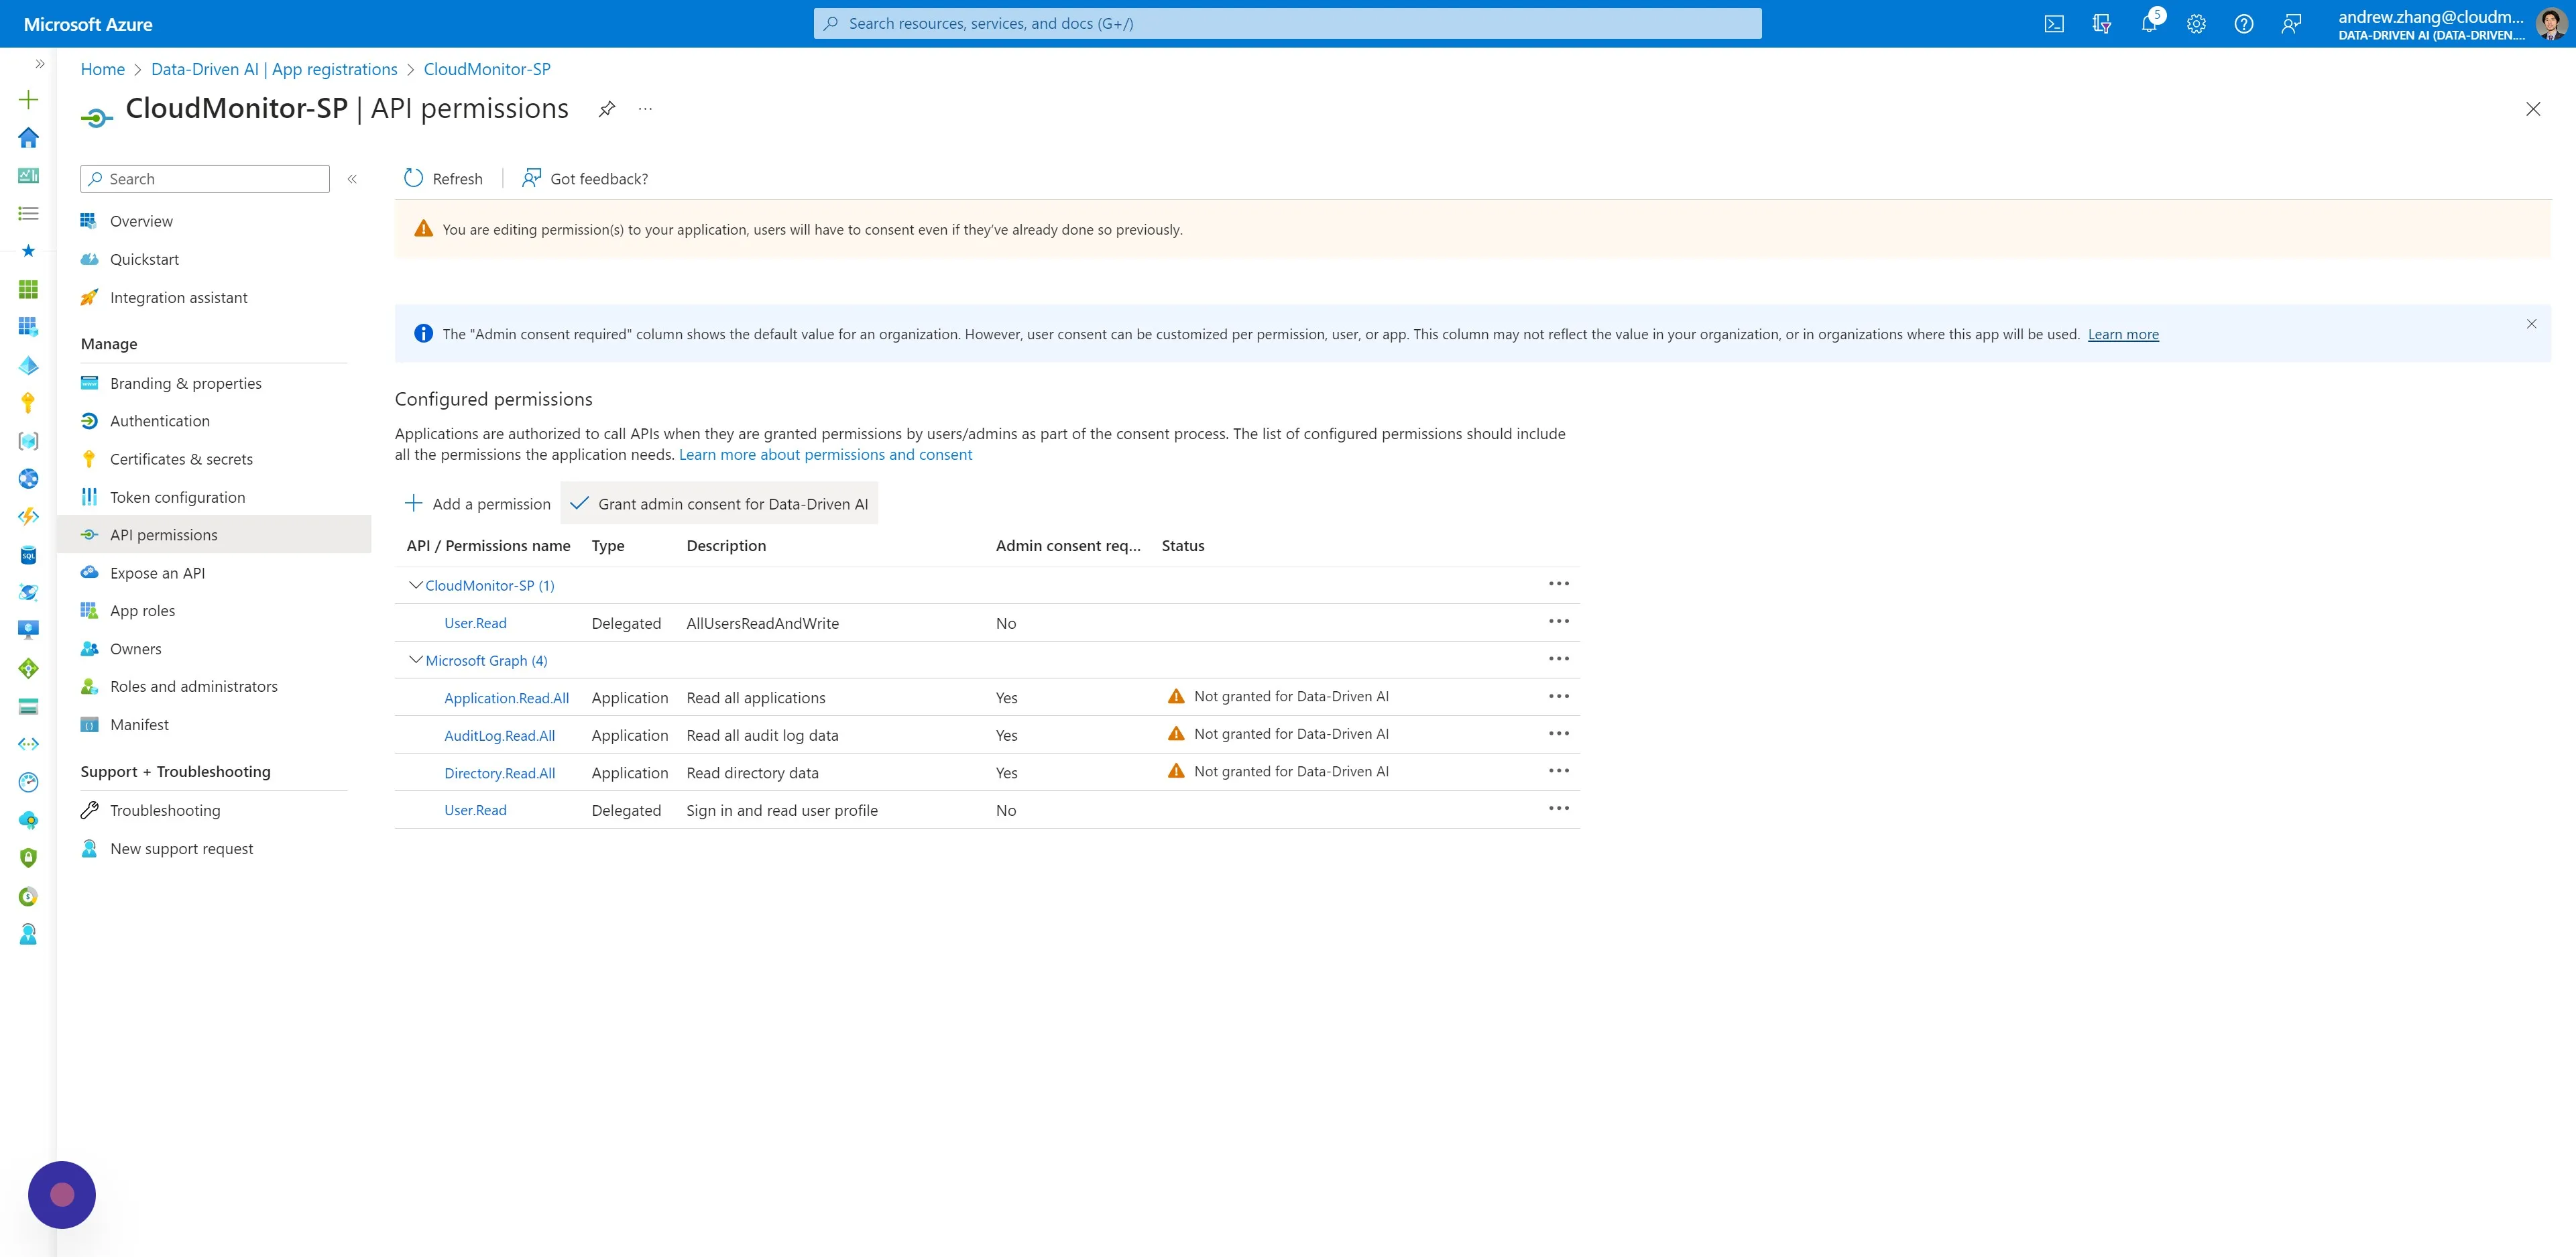
Step 14
Section titled “Step 14”Click “Grant admin consent for …”. This action requires a user with Admin rights.
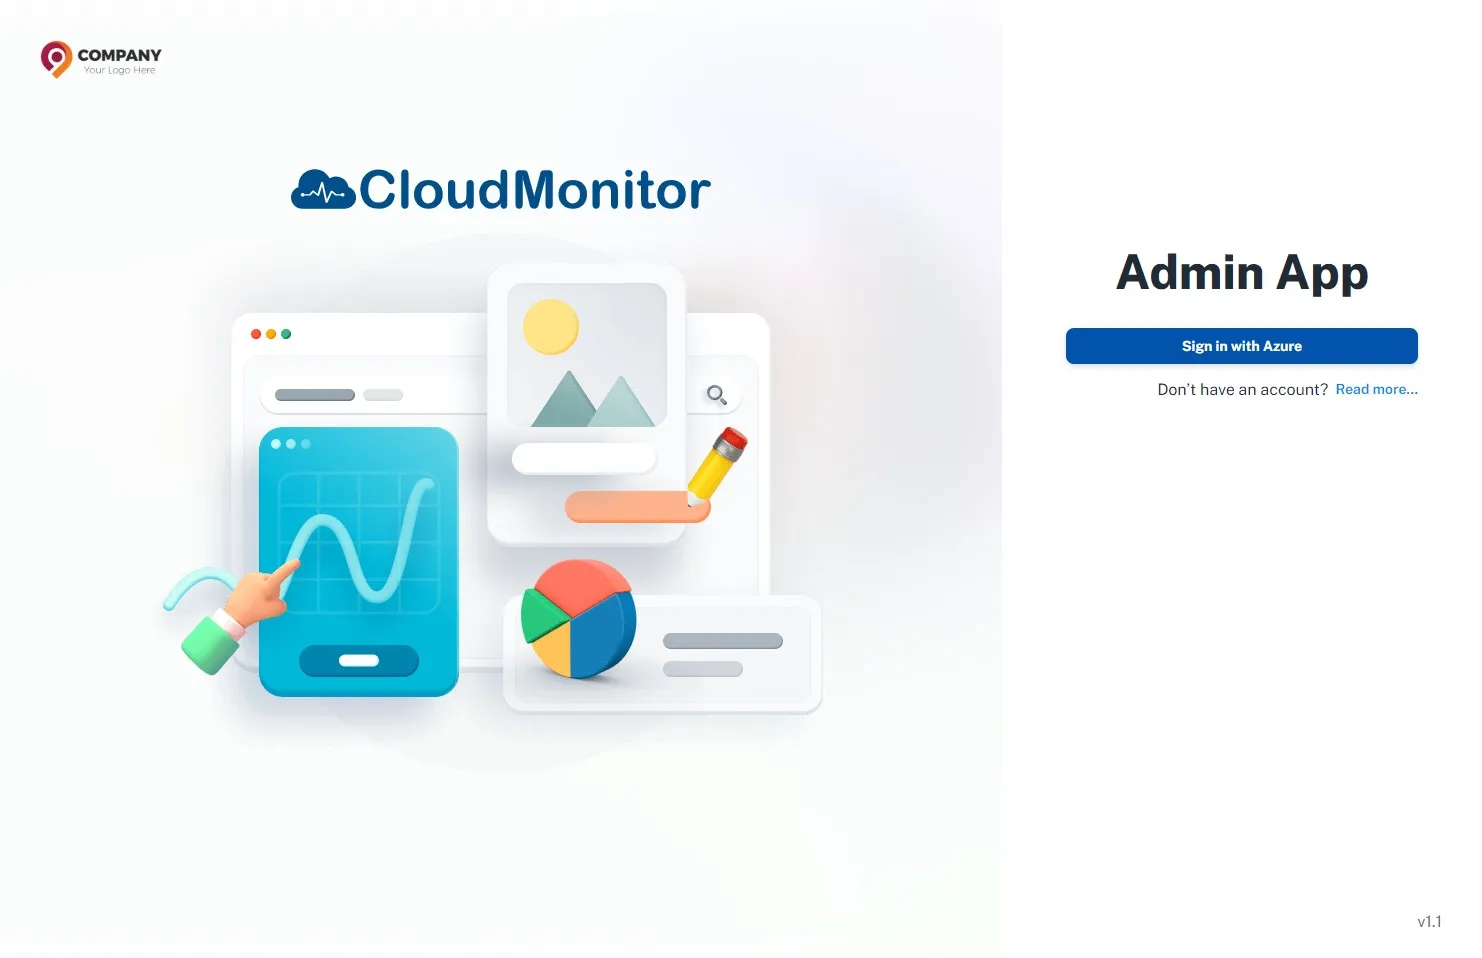
Step 15
Section titled “Step 15”Navigate to Admin App and authenticate with your account
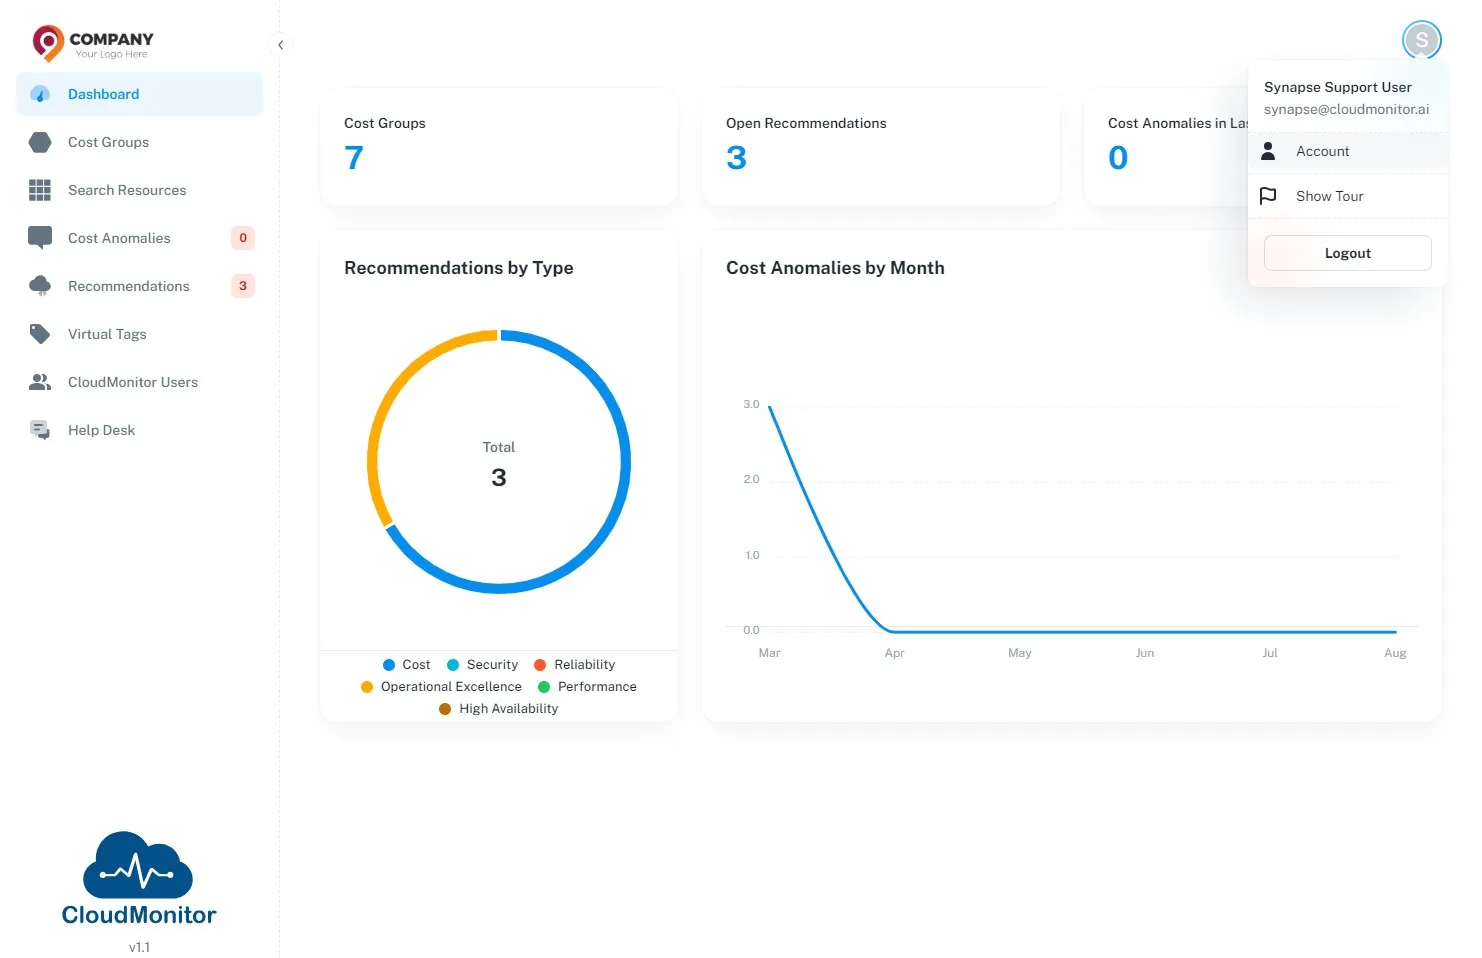
Step 16
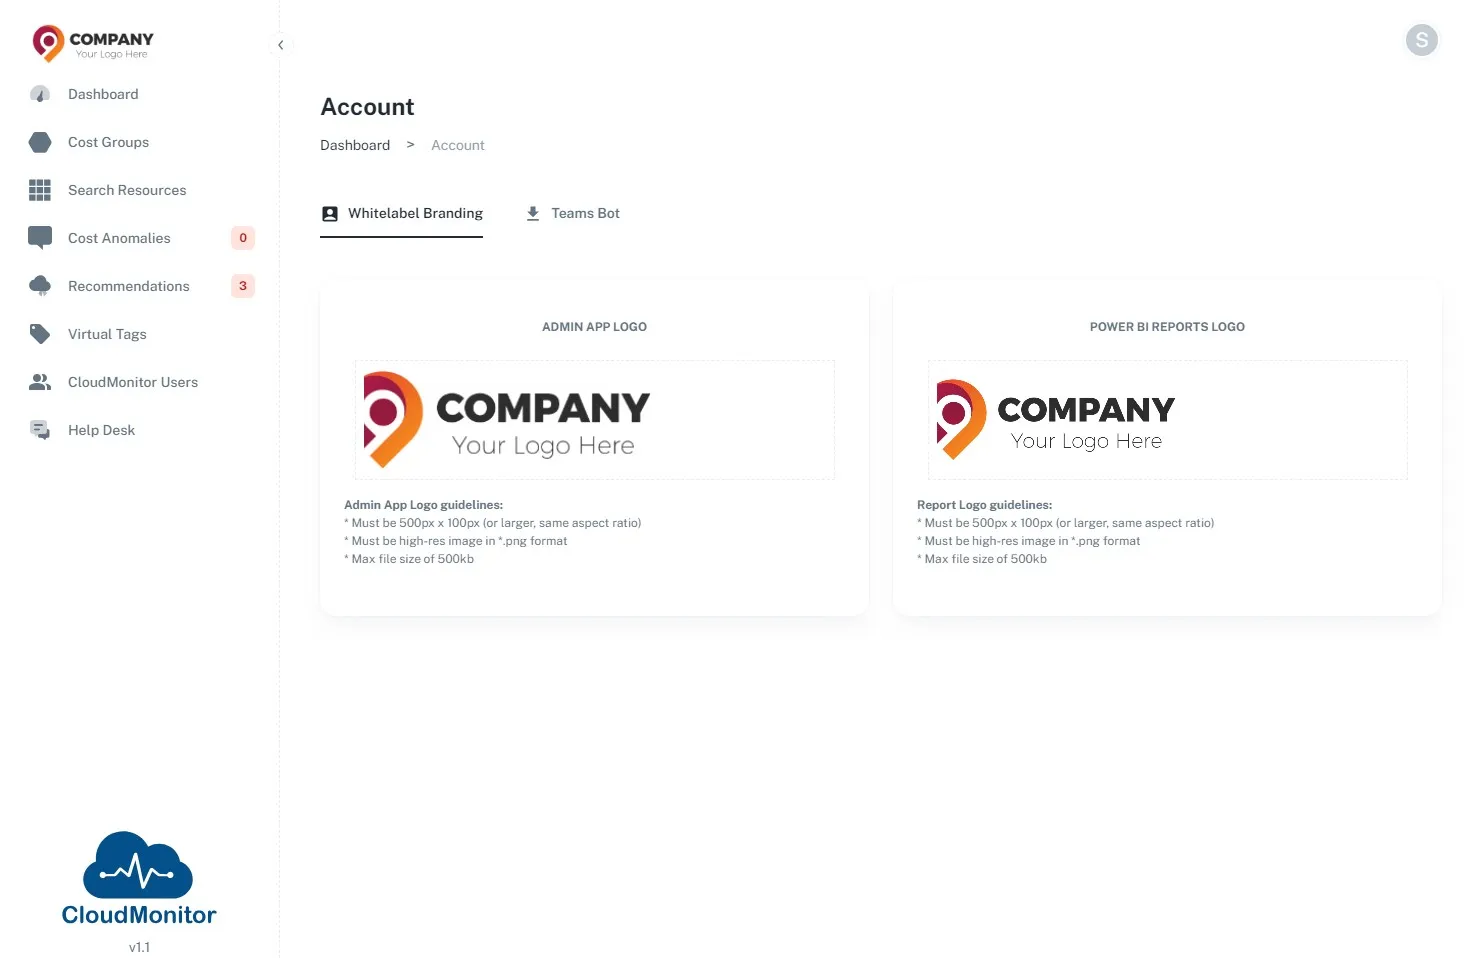
Section titled “Step 16”Click on the profile button then Click “Account”
Step 17
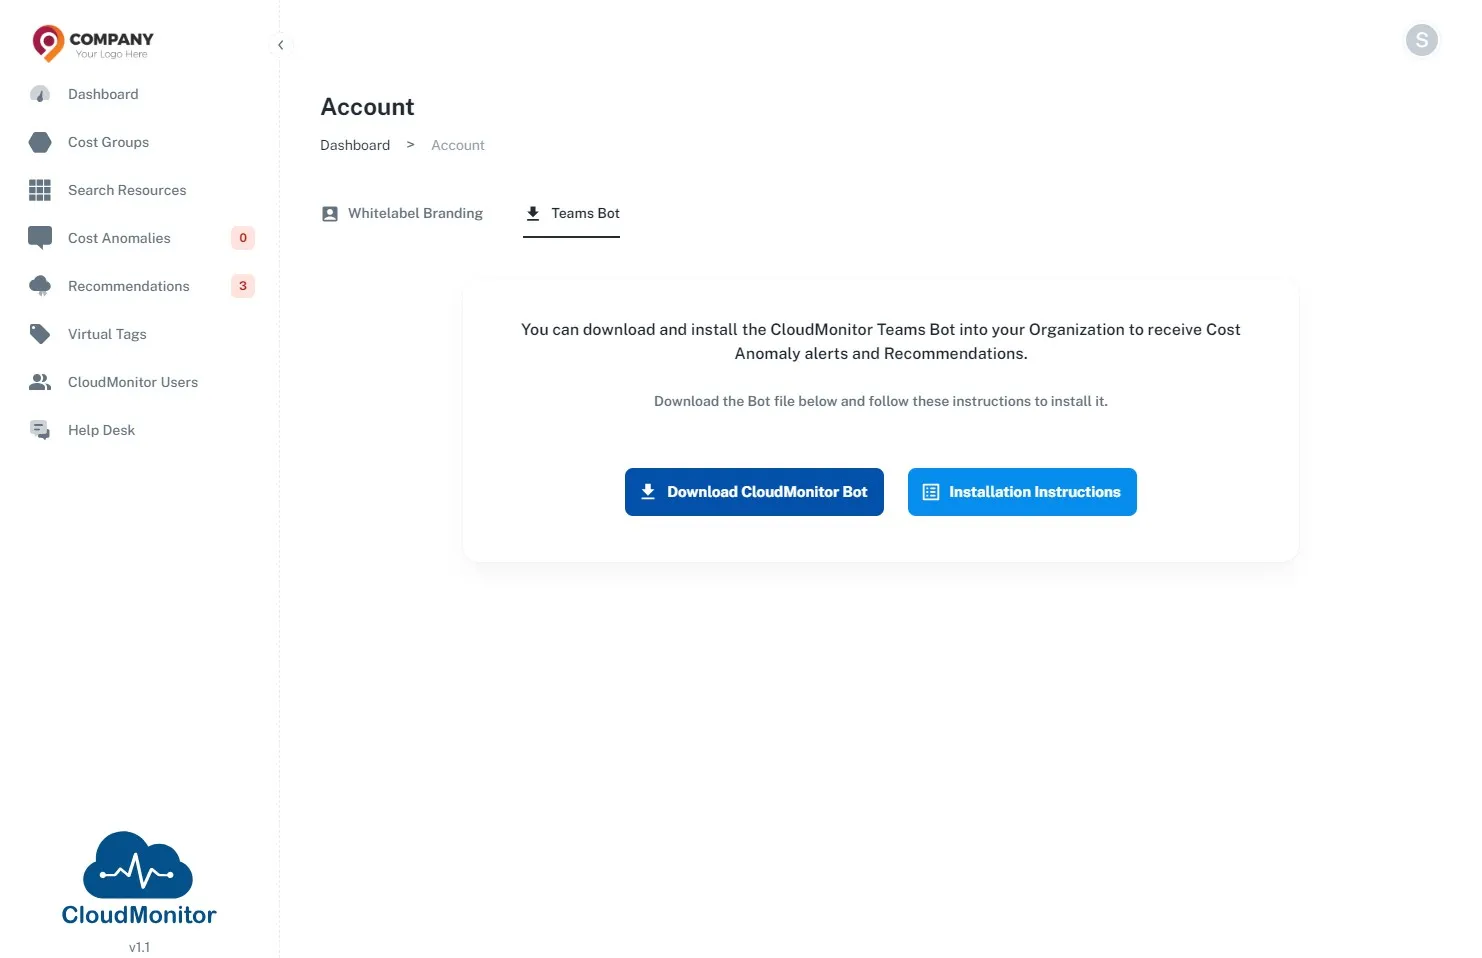
Section titled “Step 17”Click “Teams Bot”
Step 18
Section titled “Step 18”Click “Download CloudMonitor Bot”, then manifest file will be downloaded to your personal computer
Step 19
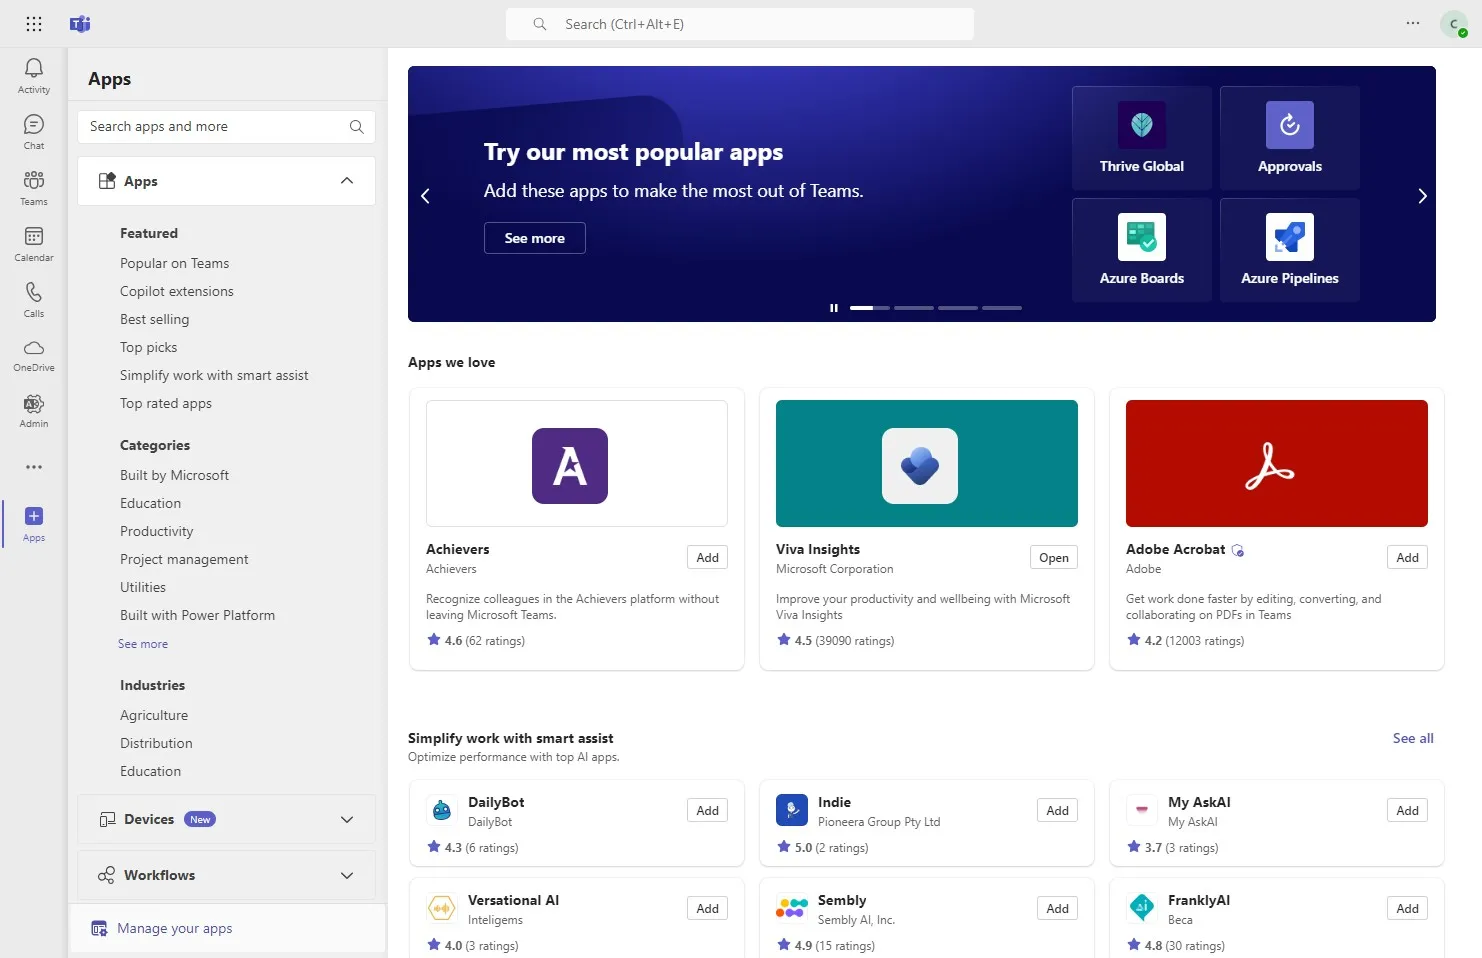
Section titled “Step 19”Navigate to teams and Click “Apps”
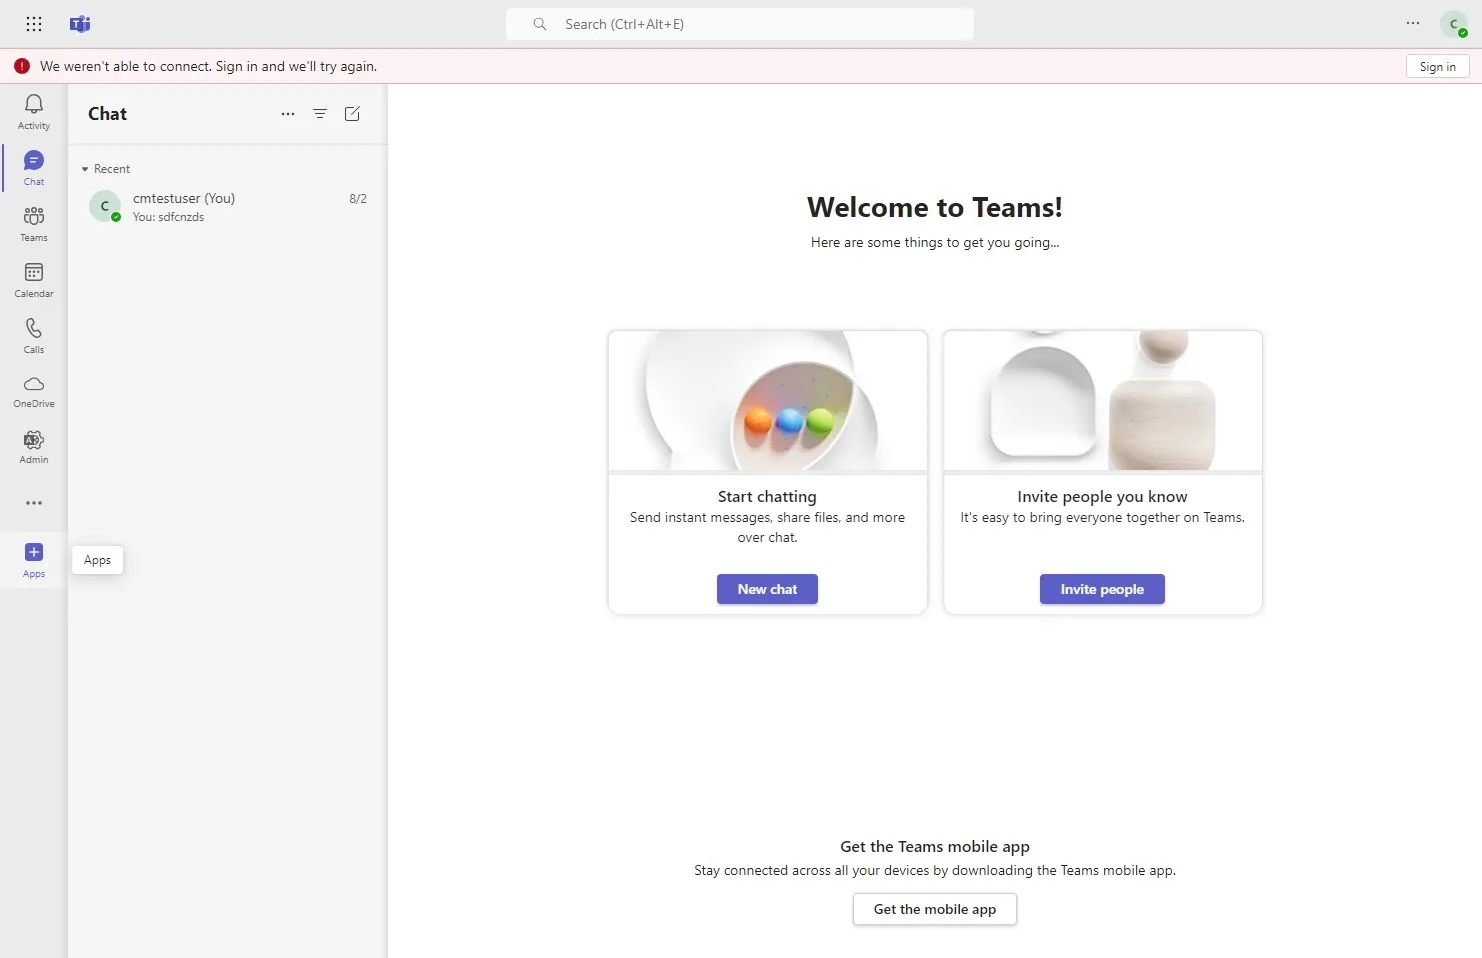
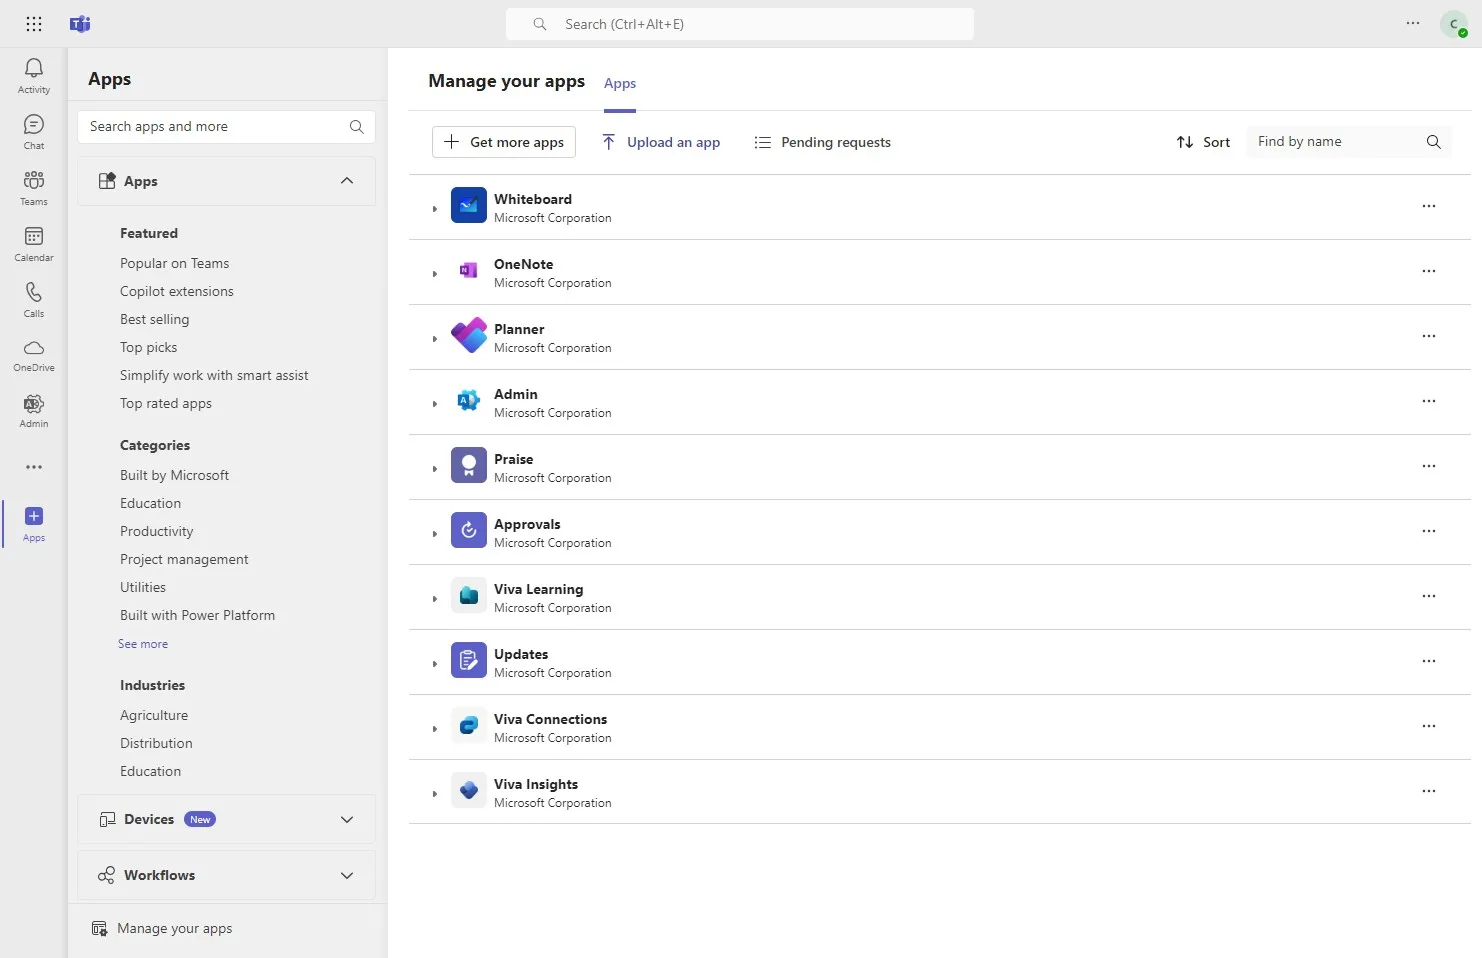
Step 20
Section titled “Step 20”Click “Manage your apps”
Step 21
Section titled “Step 21”Click “Upload an app”
Step 22
Section titled “Step 22”Next, click on this button - Admin privileges are required for this step. If you are not an admin, please follow the next step and ask your admin to complete the approval.
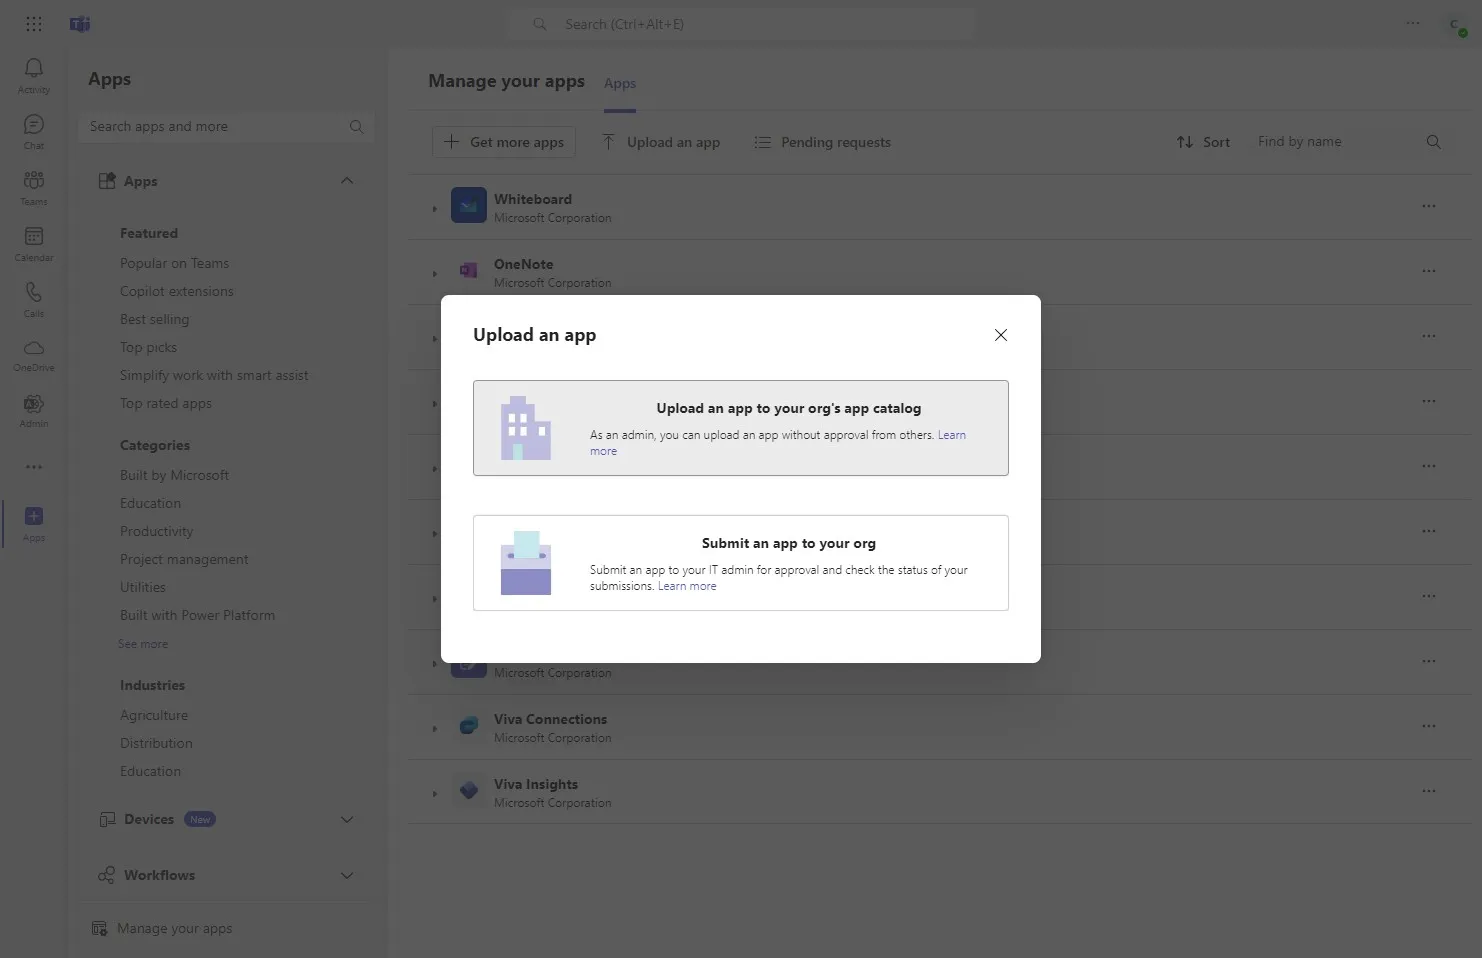
Step 23
Section titled “Step 23”Then select the downloaded zip file in step no. 18 and upload it here.
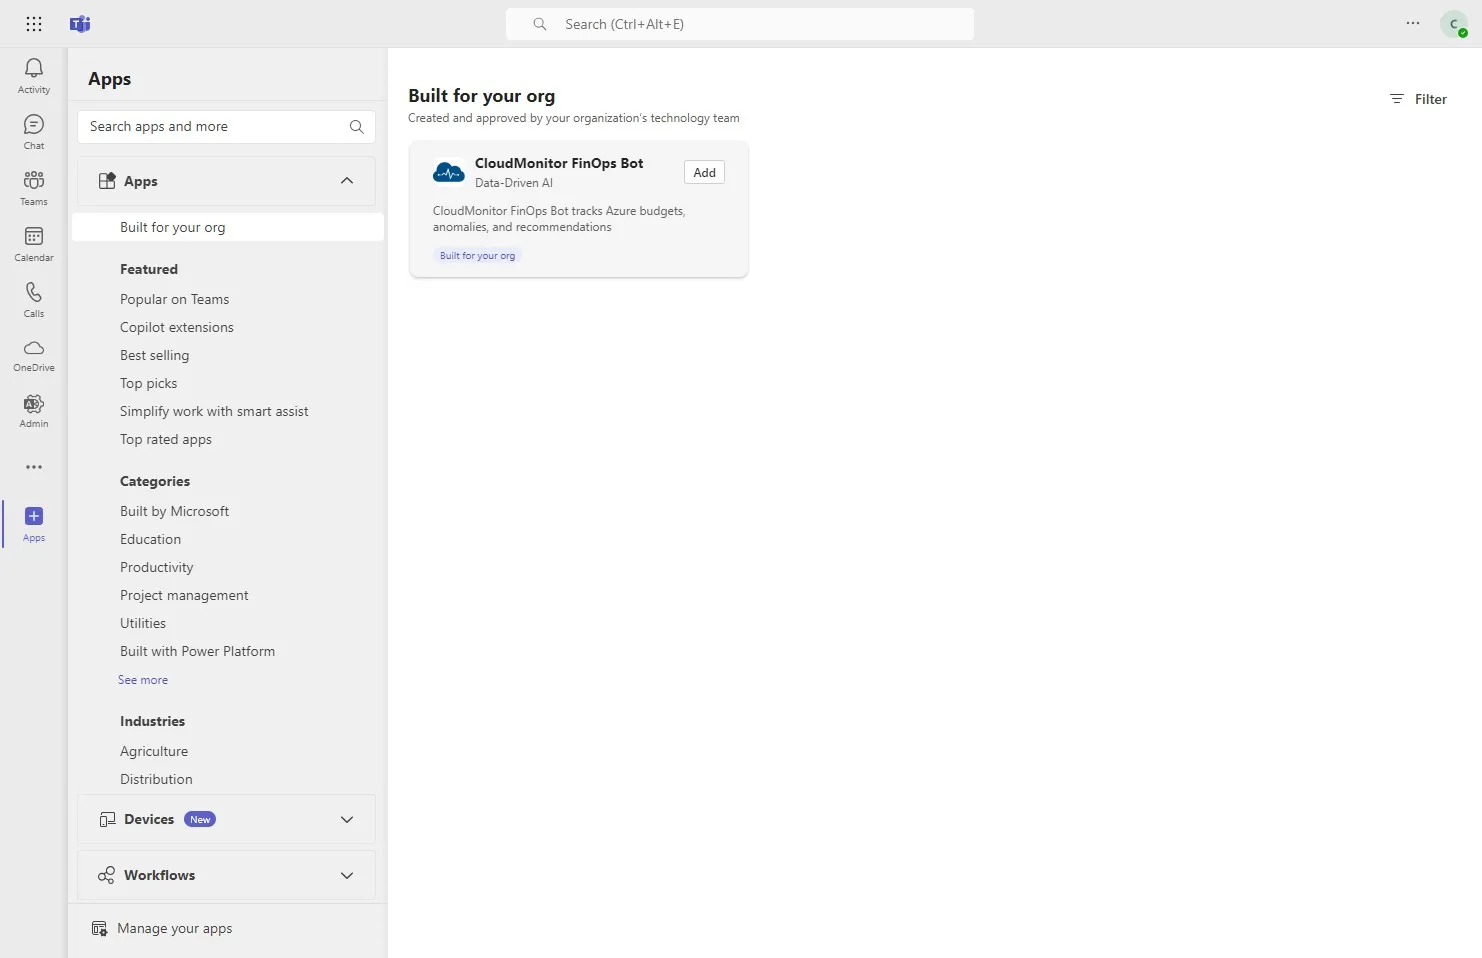
Step 24
Section titled “Step 24”After it is successfully uploaded, you will see the CloudMonitor FinOps Bot here. It will be under “Build for your org” section. Please click on that.
Step 25
Section titled “Step 25”Click “Add”
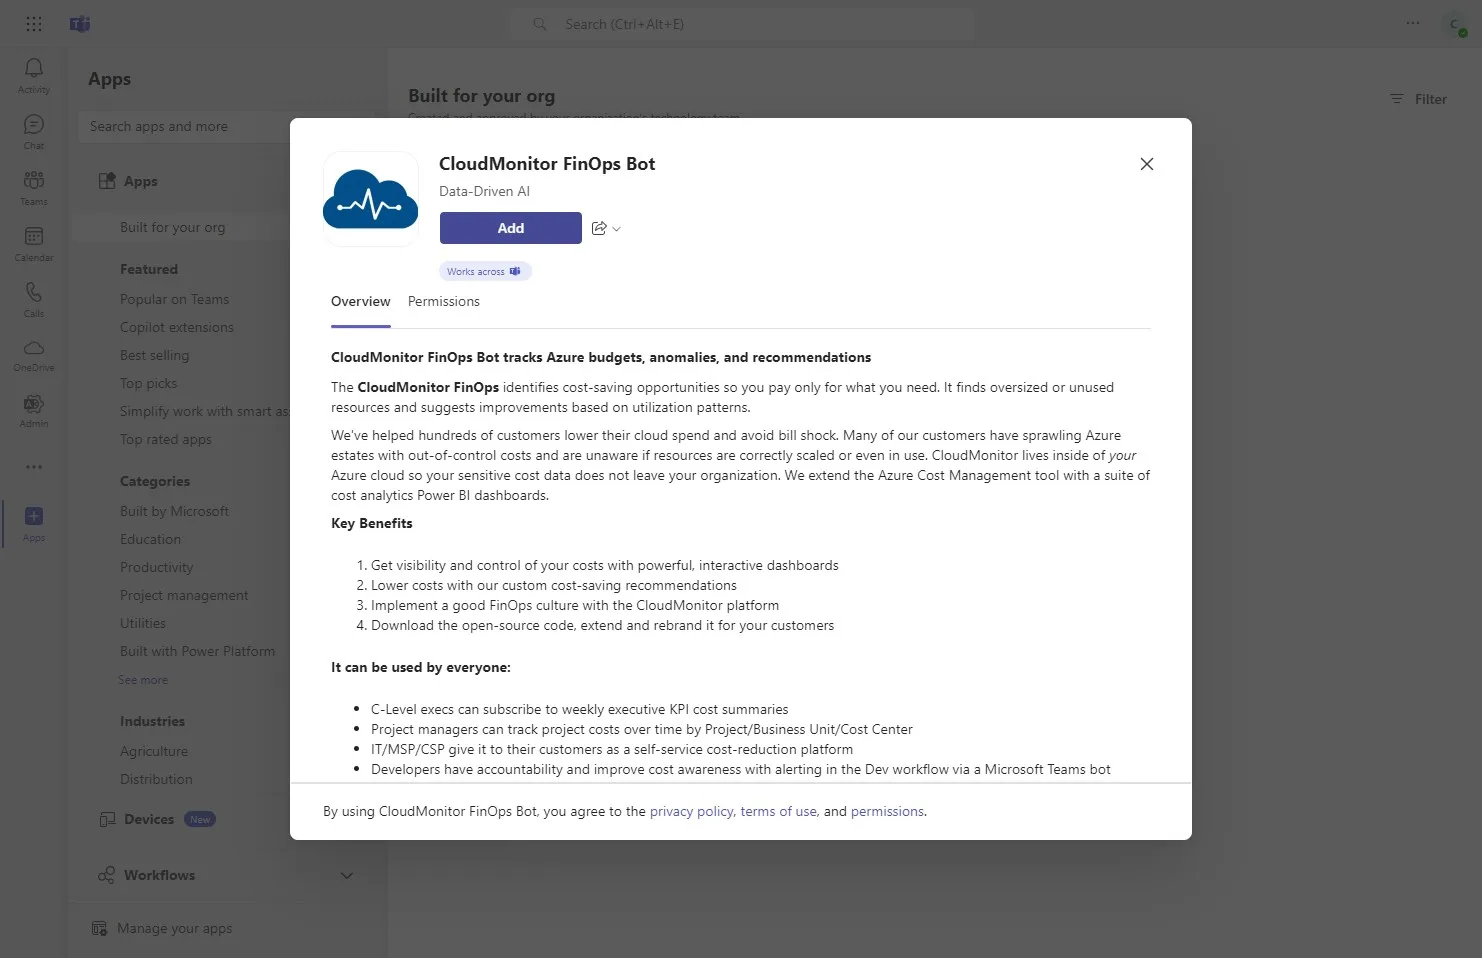
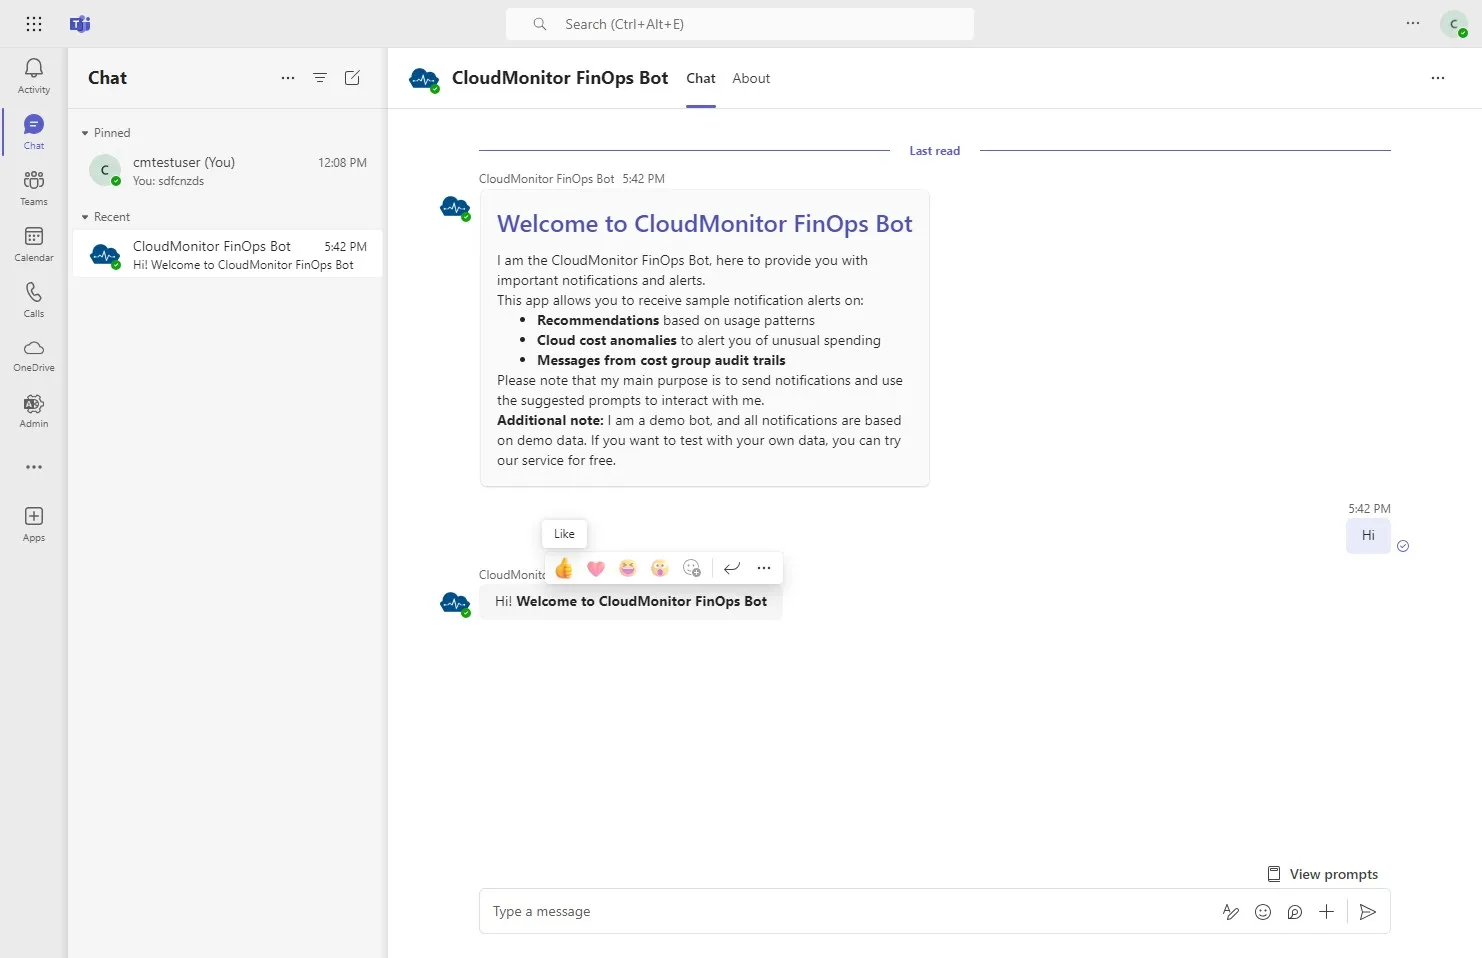
Step 26
Section titled “Step 26”Now CloudMonitor Finops Bot is successfully installed in your Teams environment. To activate the bot you will need to send a message to that so it will get activated.
Now you will receive audit trails, budget notifications, recommendations and cost anomalies via the Teams Bot