How to enable the Reservations/RI feature in CloudMonitor
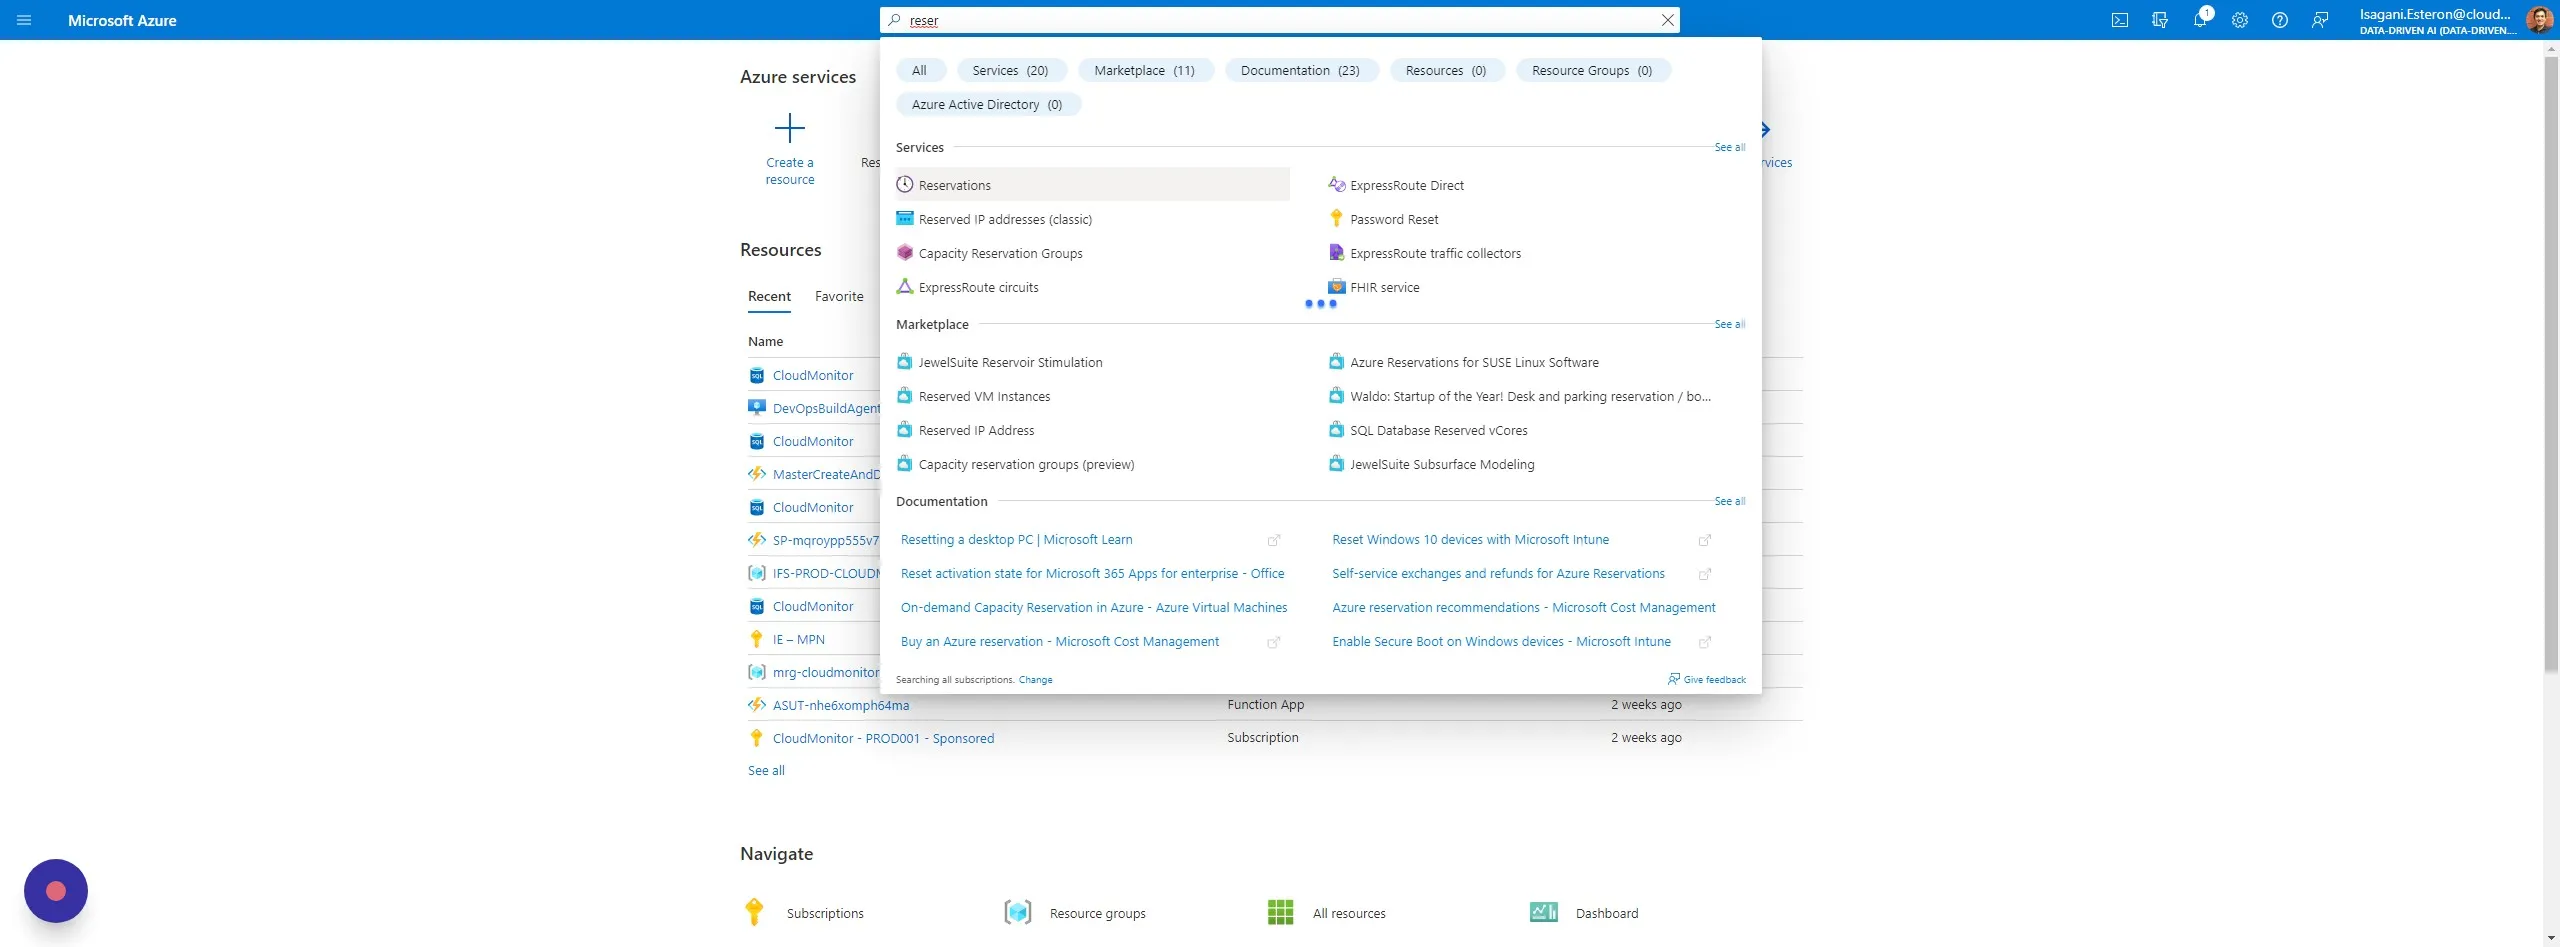
Step 1
Section titled “Step 1”Open the “Reservations” section in your Azure Portal.
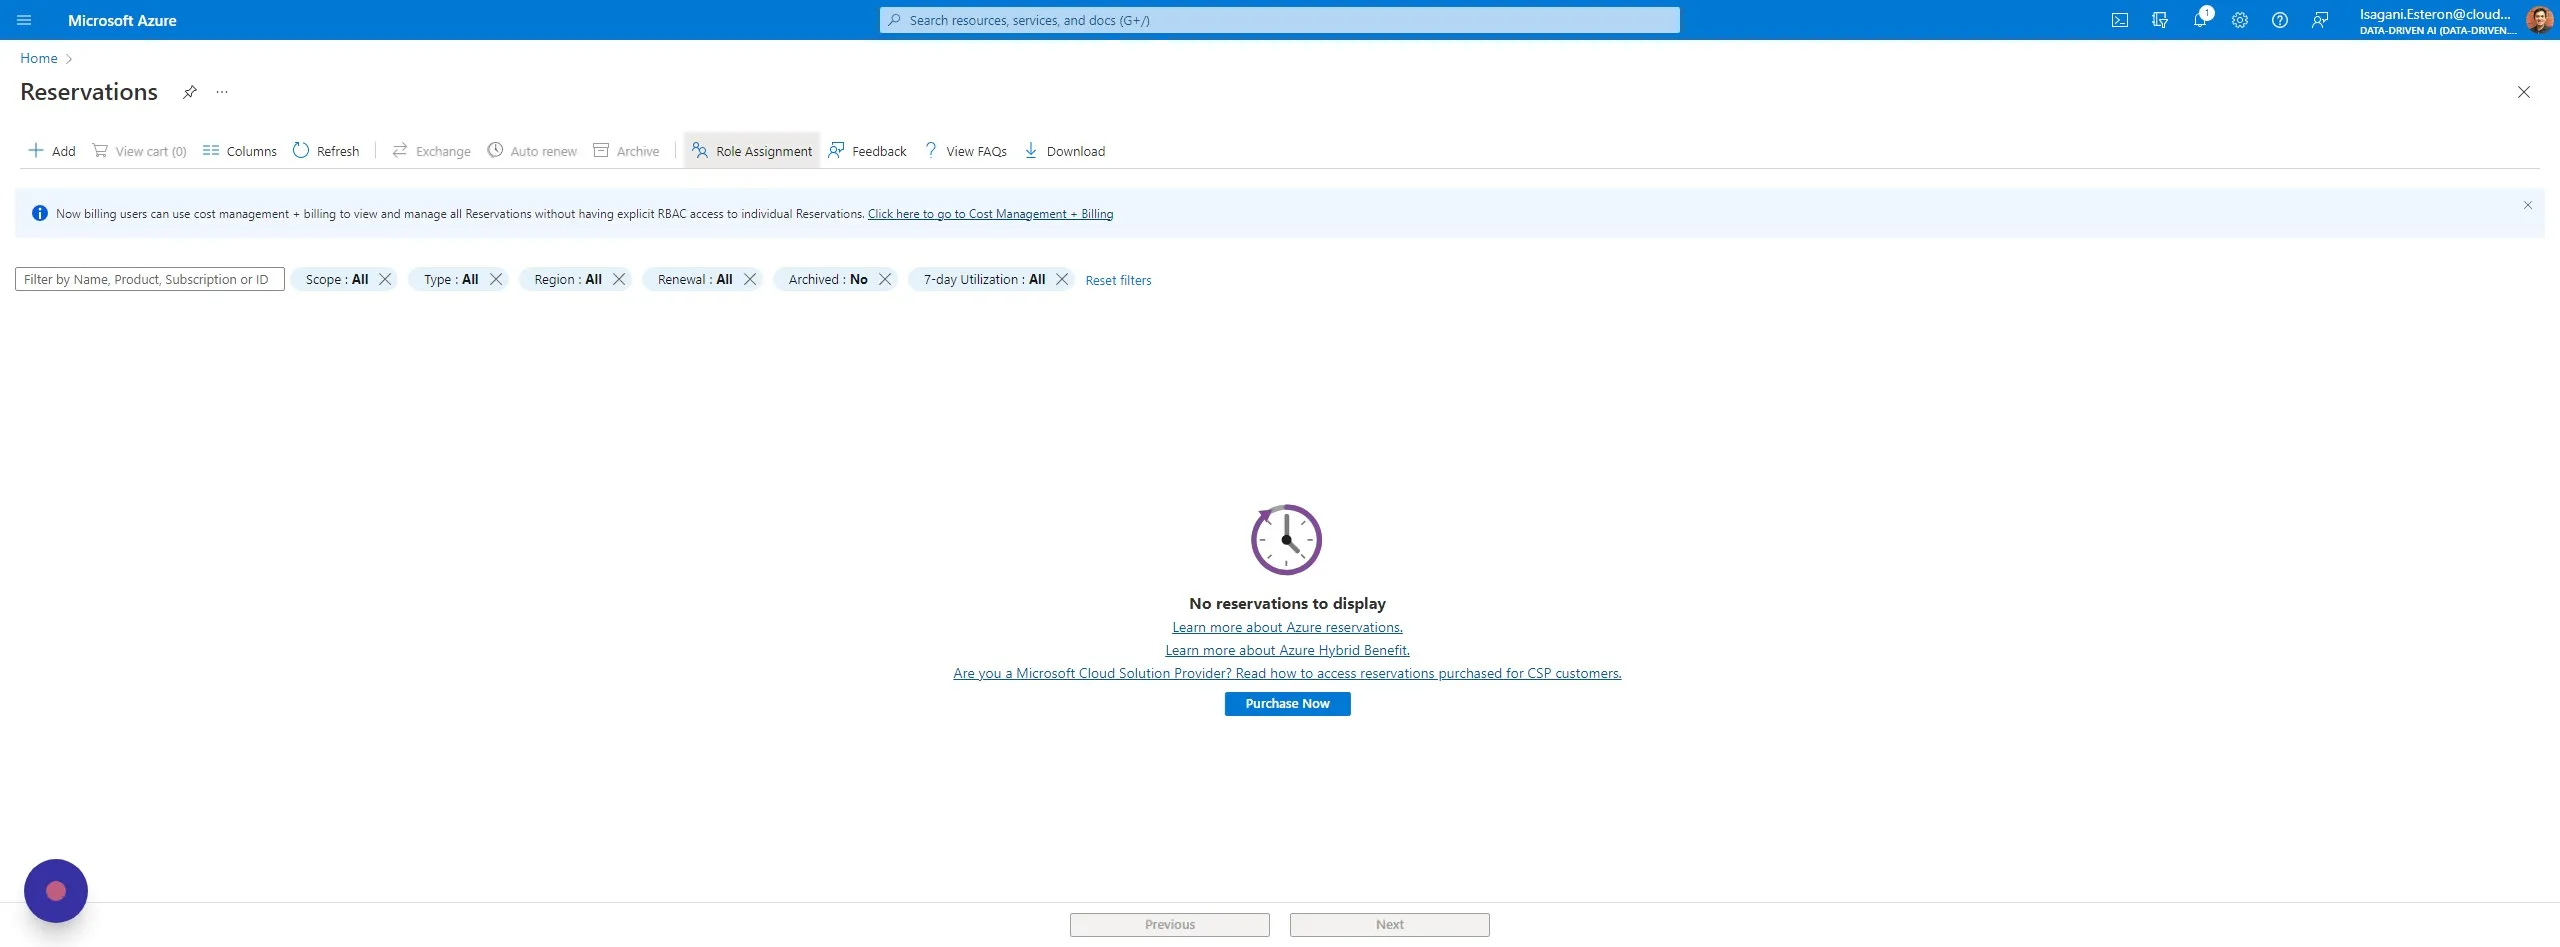
Step 2
Section titled “Step 2”Click “Role Assignment” (See the step above if this is greyed out regarding elevated User Access Administrator).
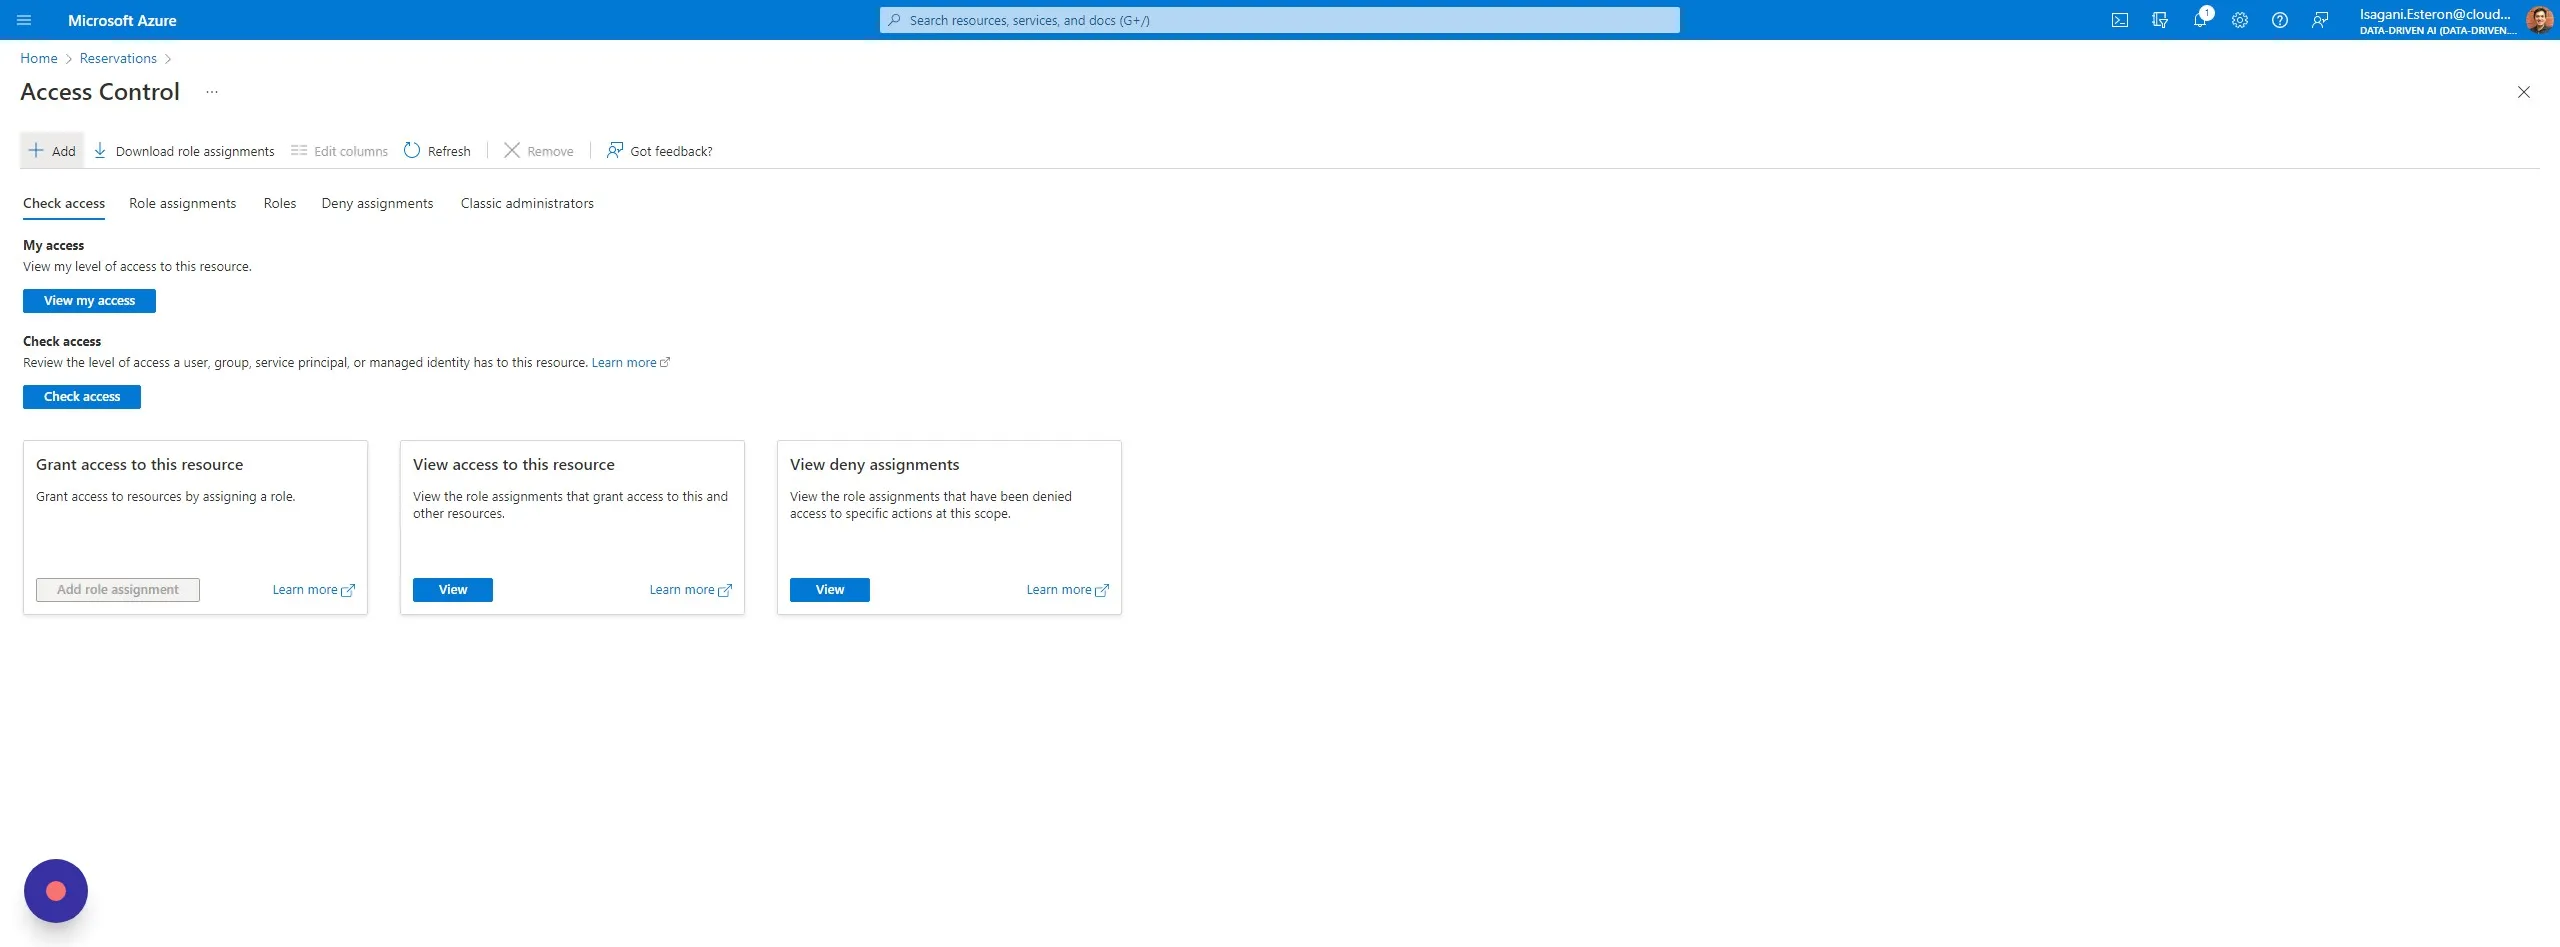
Step 3
Section titled “Step 3”Click ” + Add” and “Add role assignment”
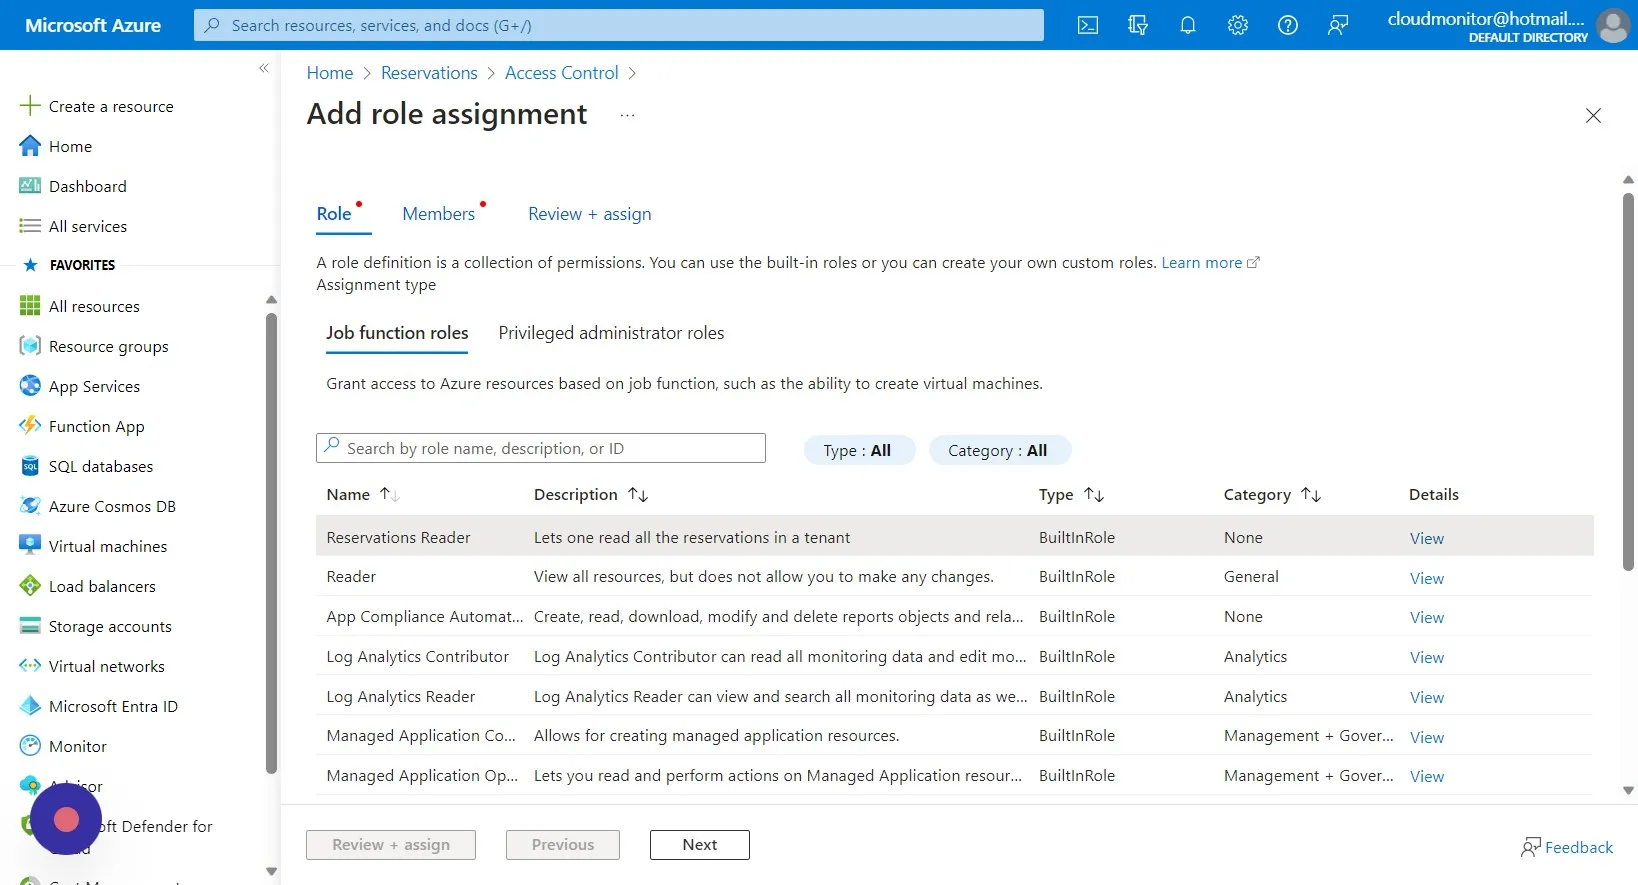
Step 4
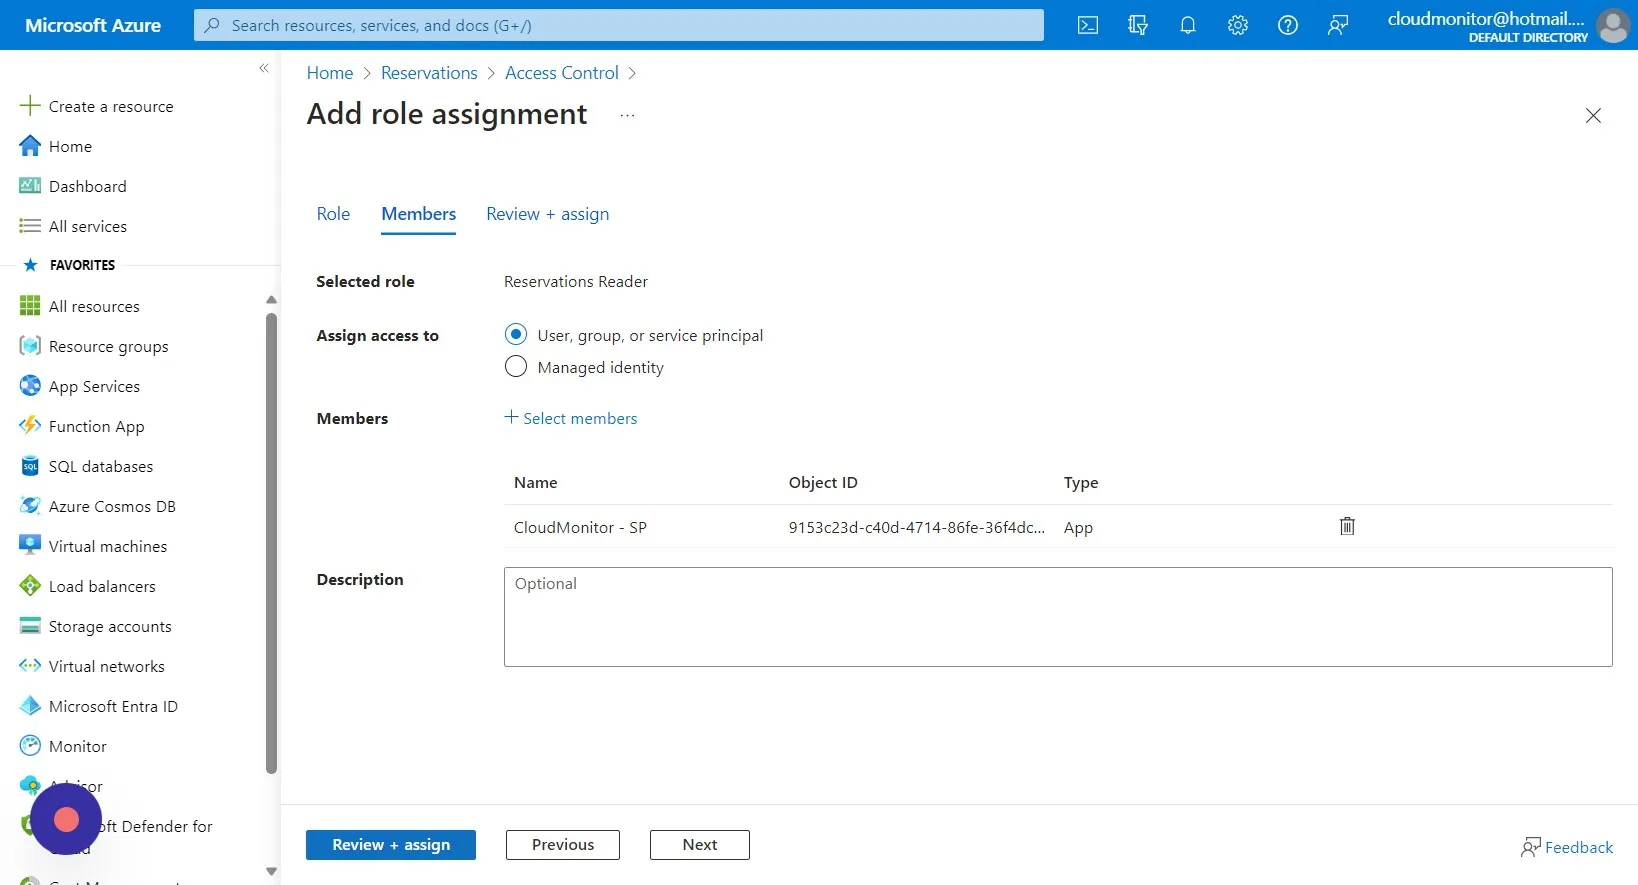
Section titled “Step 4”Select the “Reservations Reader” role and click on “Next” (This role cannot write or change any information).
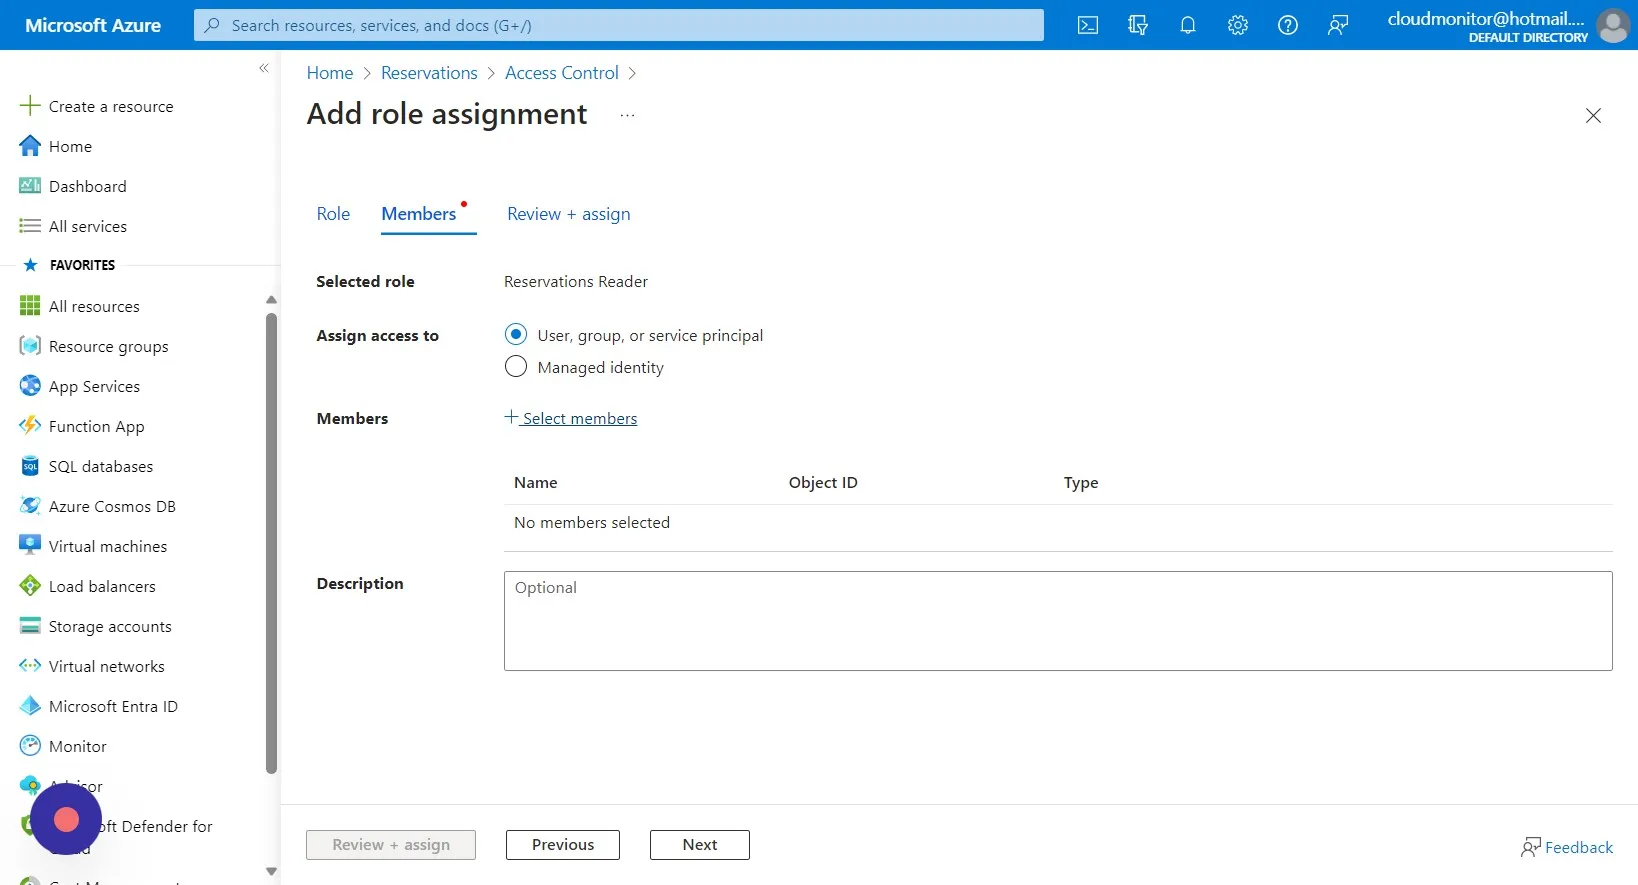
Step 5
Section titled “Step 5”Click on “Select members”
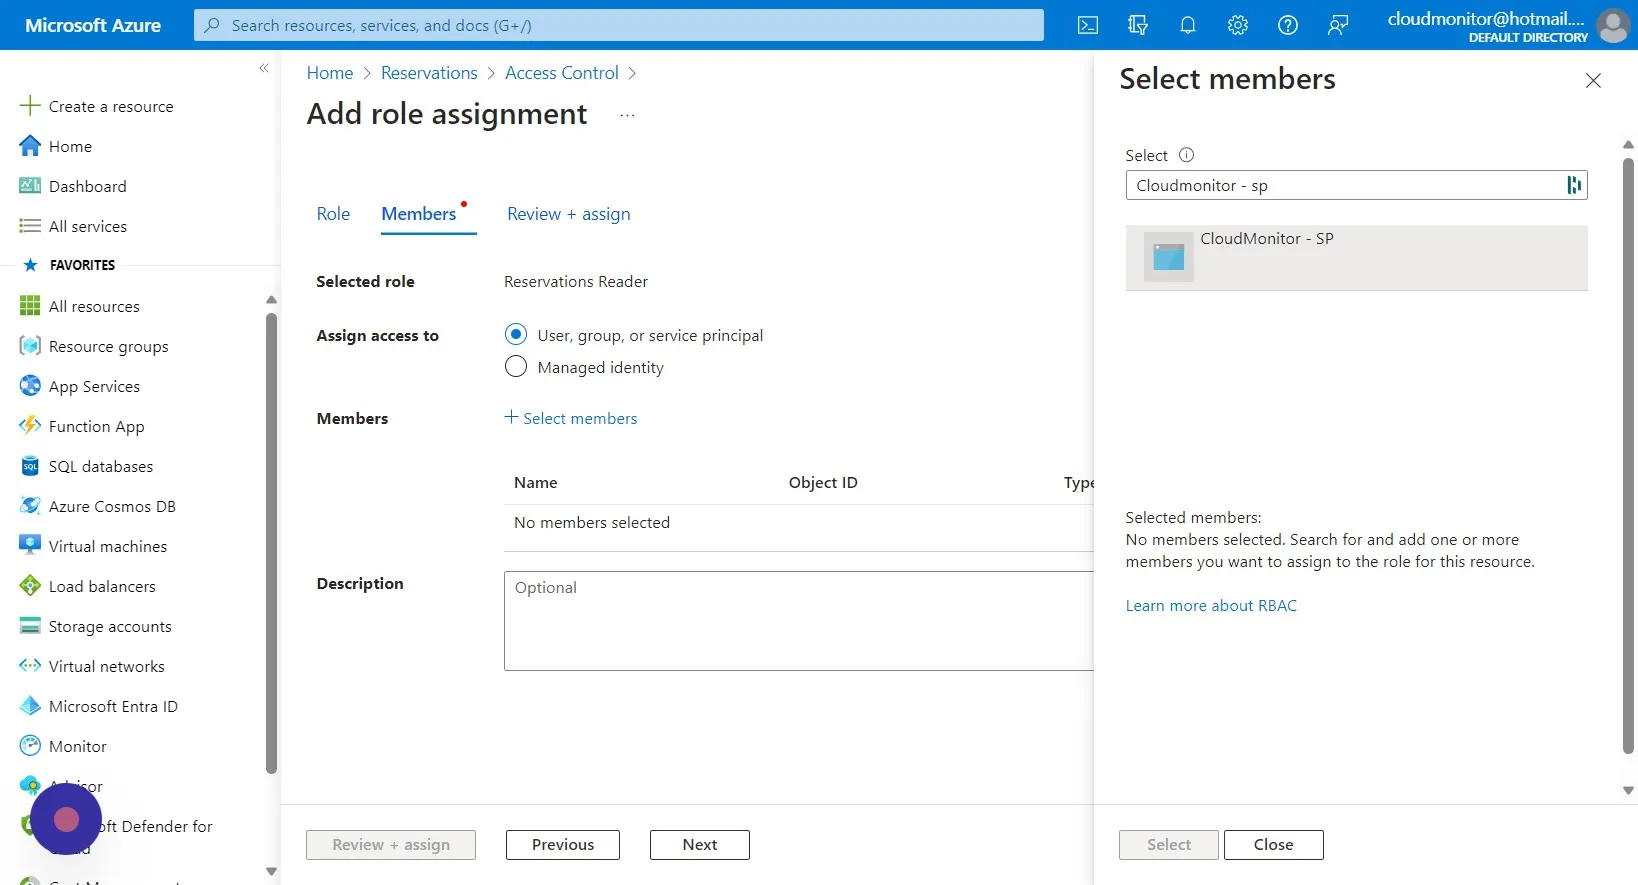
Step 6
Section titled “Step 6”Type in the name of the CloudMonitor Service that you created when you installed CloudMonitor and select it.
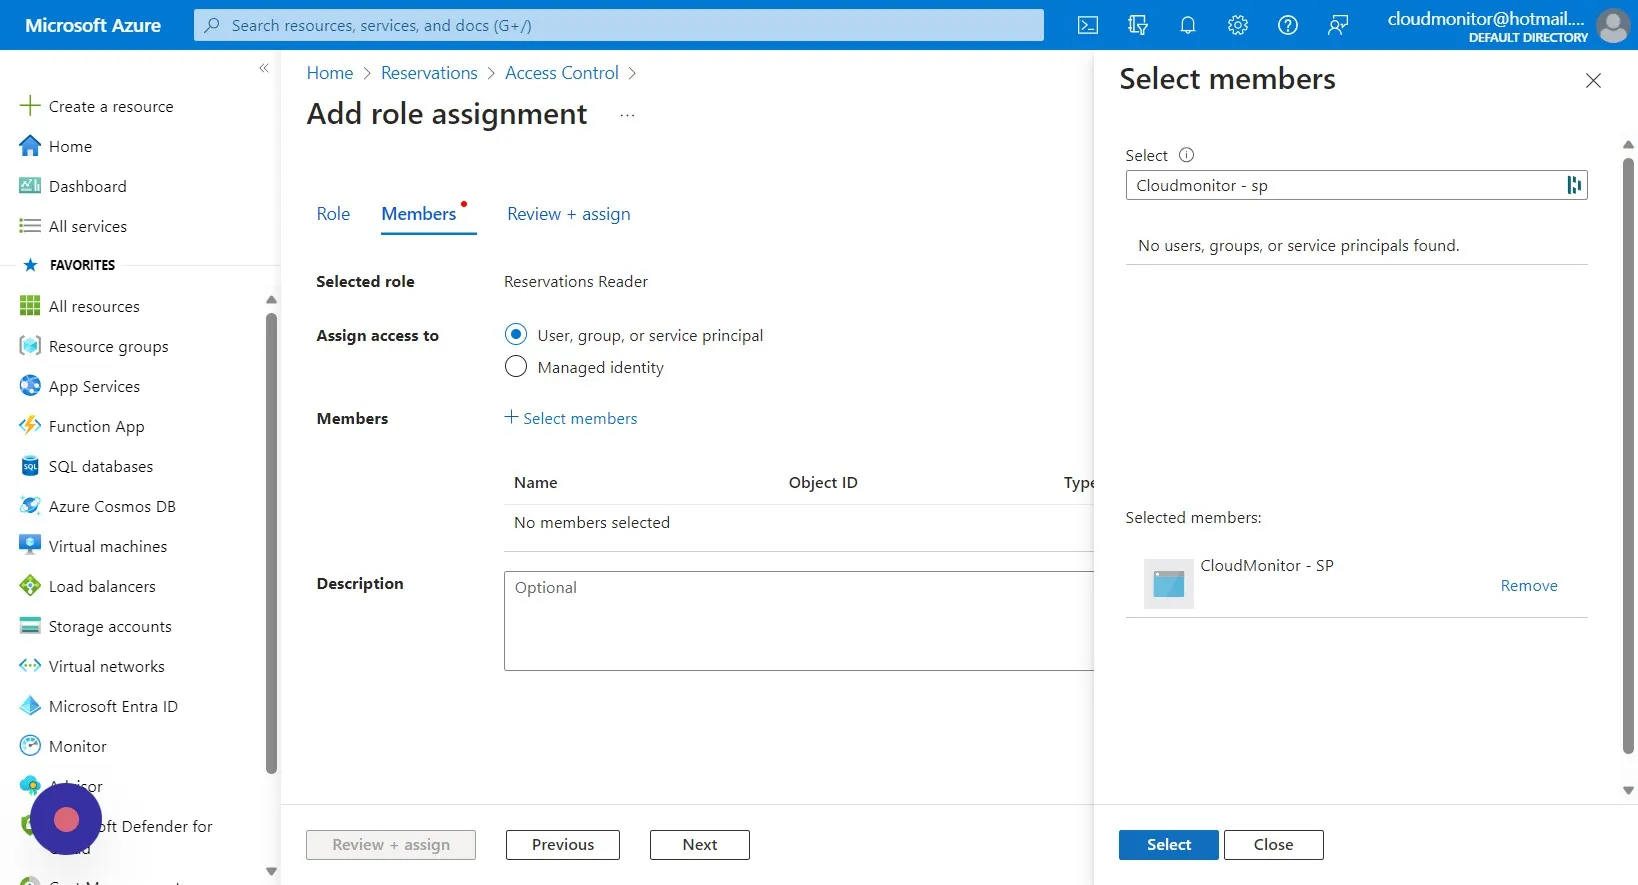
Step 7
Section titled “Step 7”Click on “Select”.
Step 8
Section titled “Step 8”Click “Review + assign”.