How to Add Virtual Tags in CloudMonitor
Virtual Tags represent a sophisticated approach to tag management within Azure environments, offered by CloudMonitor. This feature addresses common challenges associated with tag inconsistencies, such as misspellings and duplications, by introducing a semantic layer that normalizes similar tags into unified virtual tags. Virtual Tags enhance data consistency and simplify the visualization of tagged resources, thereby improving data management and reporting accuracy. By standardizing tags across the cloud infrastructure, Virtual Tags streamline resource identification and enable more effective cost allocation and optimization strategies.

Below is a step-by-step guide to configure virtual tags,
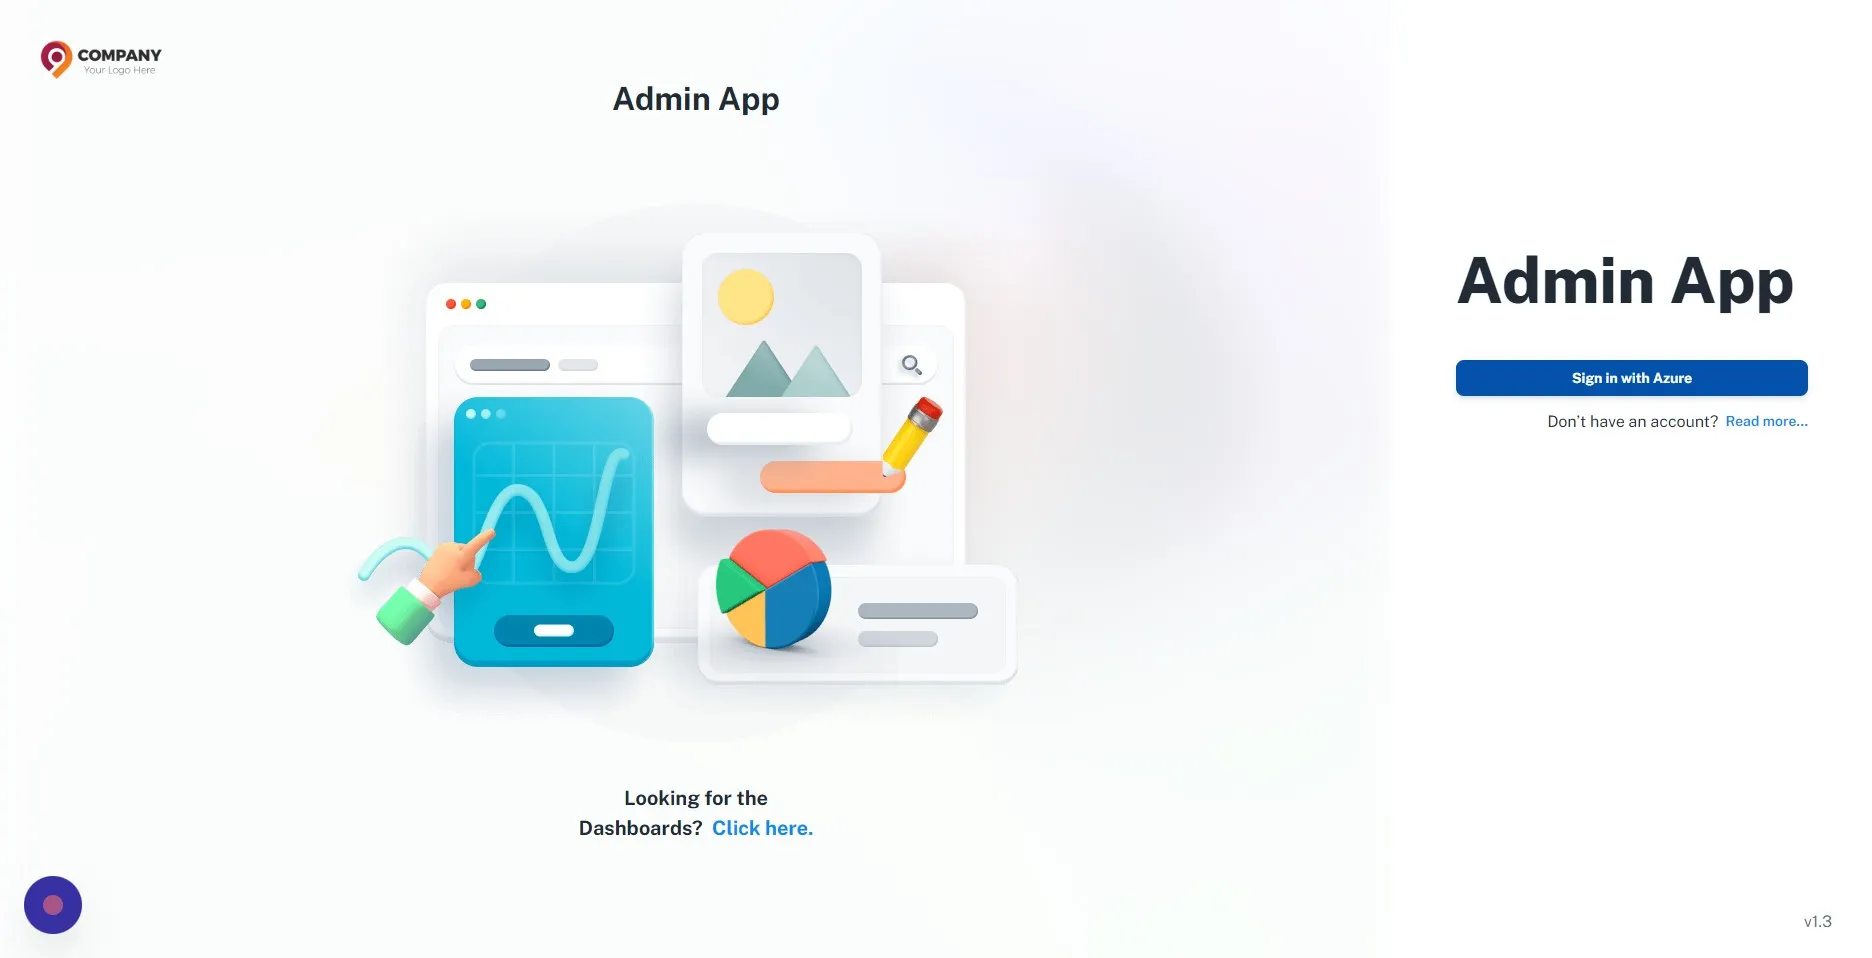
Step 1
Section titled “Step 1”Navigate to your Admin App and authenticate with your credentials.
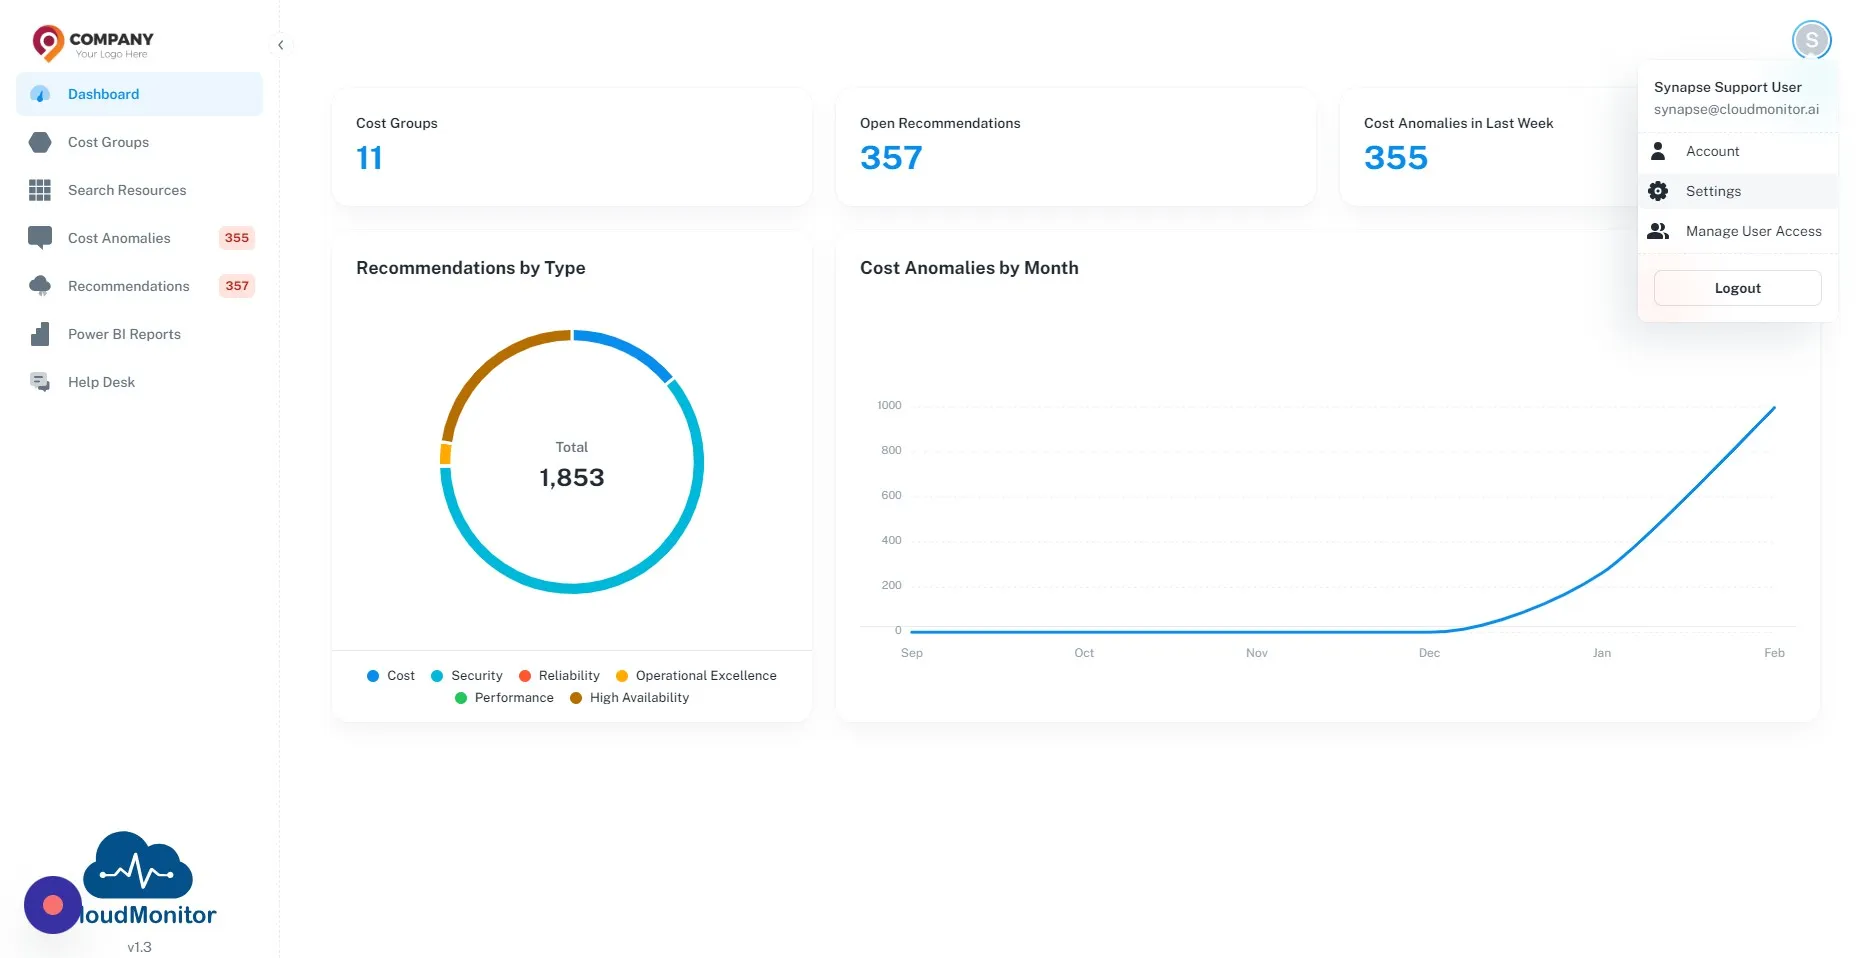
Step 2
Section titled “Step 2”Click on this button on the top left corner. and then select “Settings”.
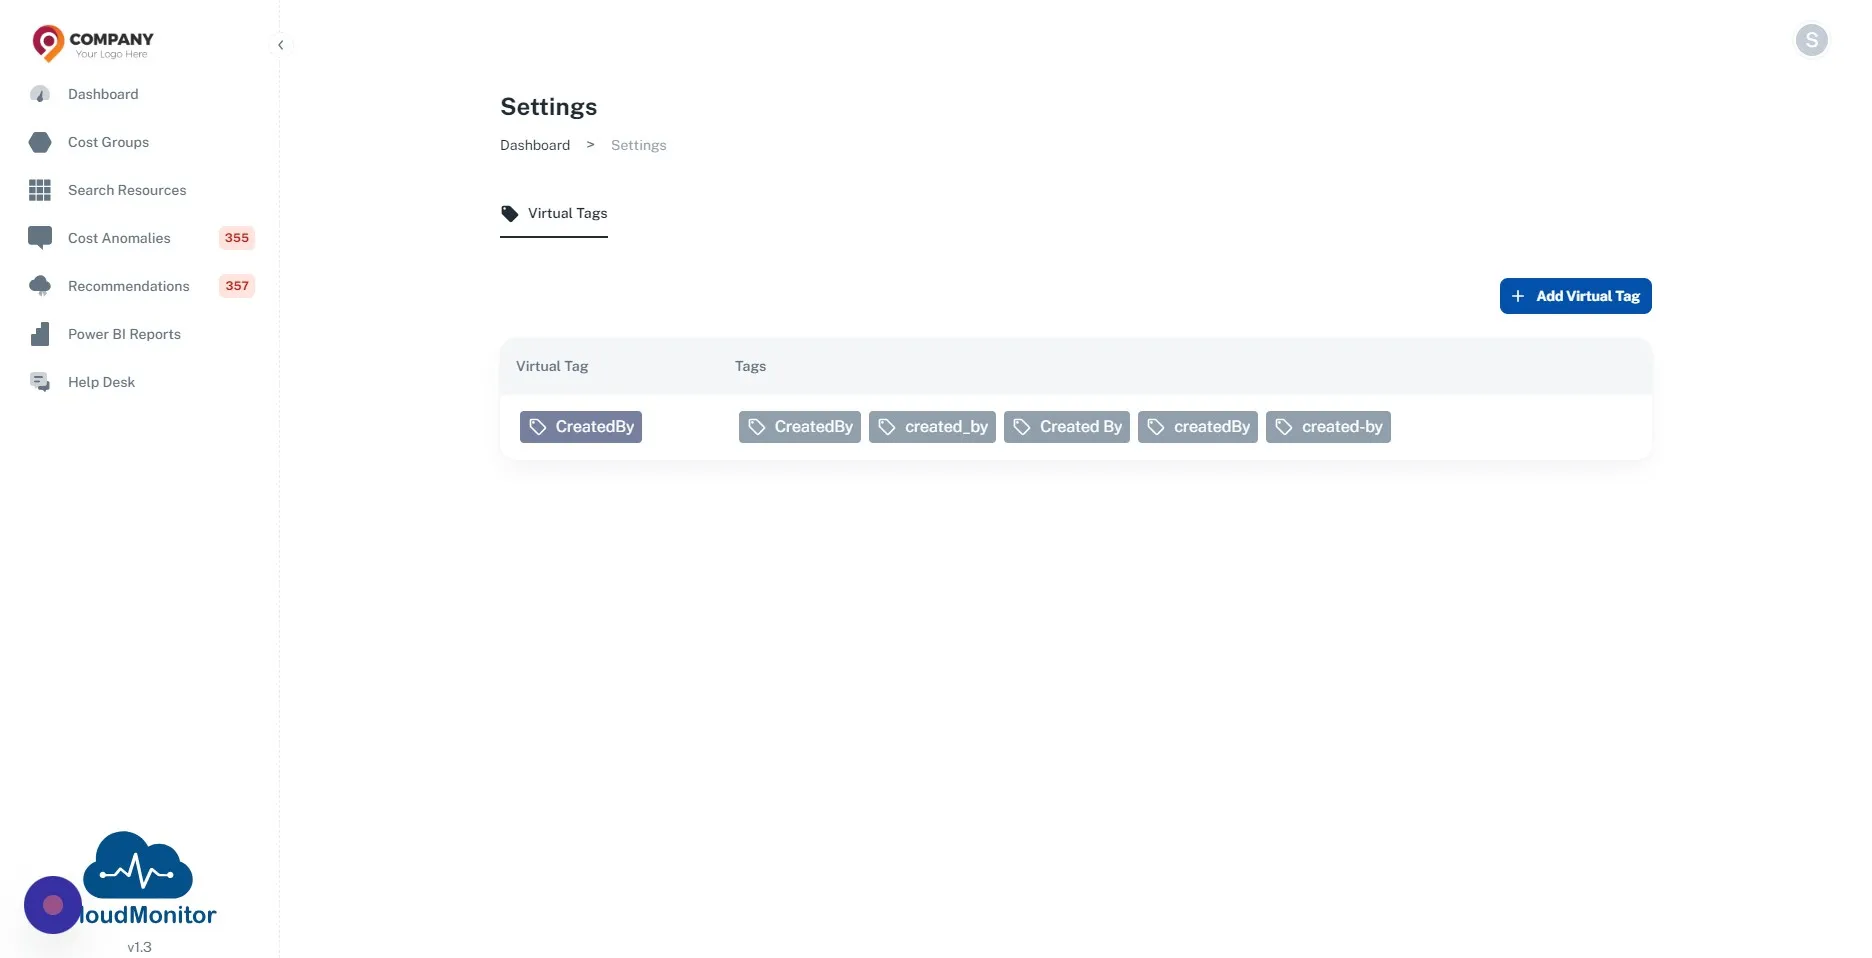
Step 3
Section titled “Step 3”Click “Add Virtual Tag”
Step 4
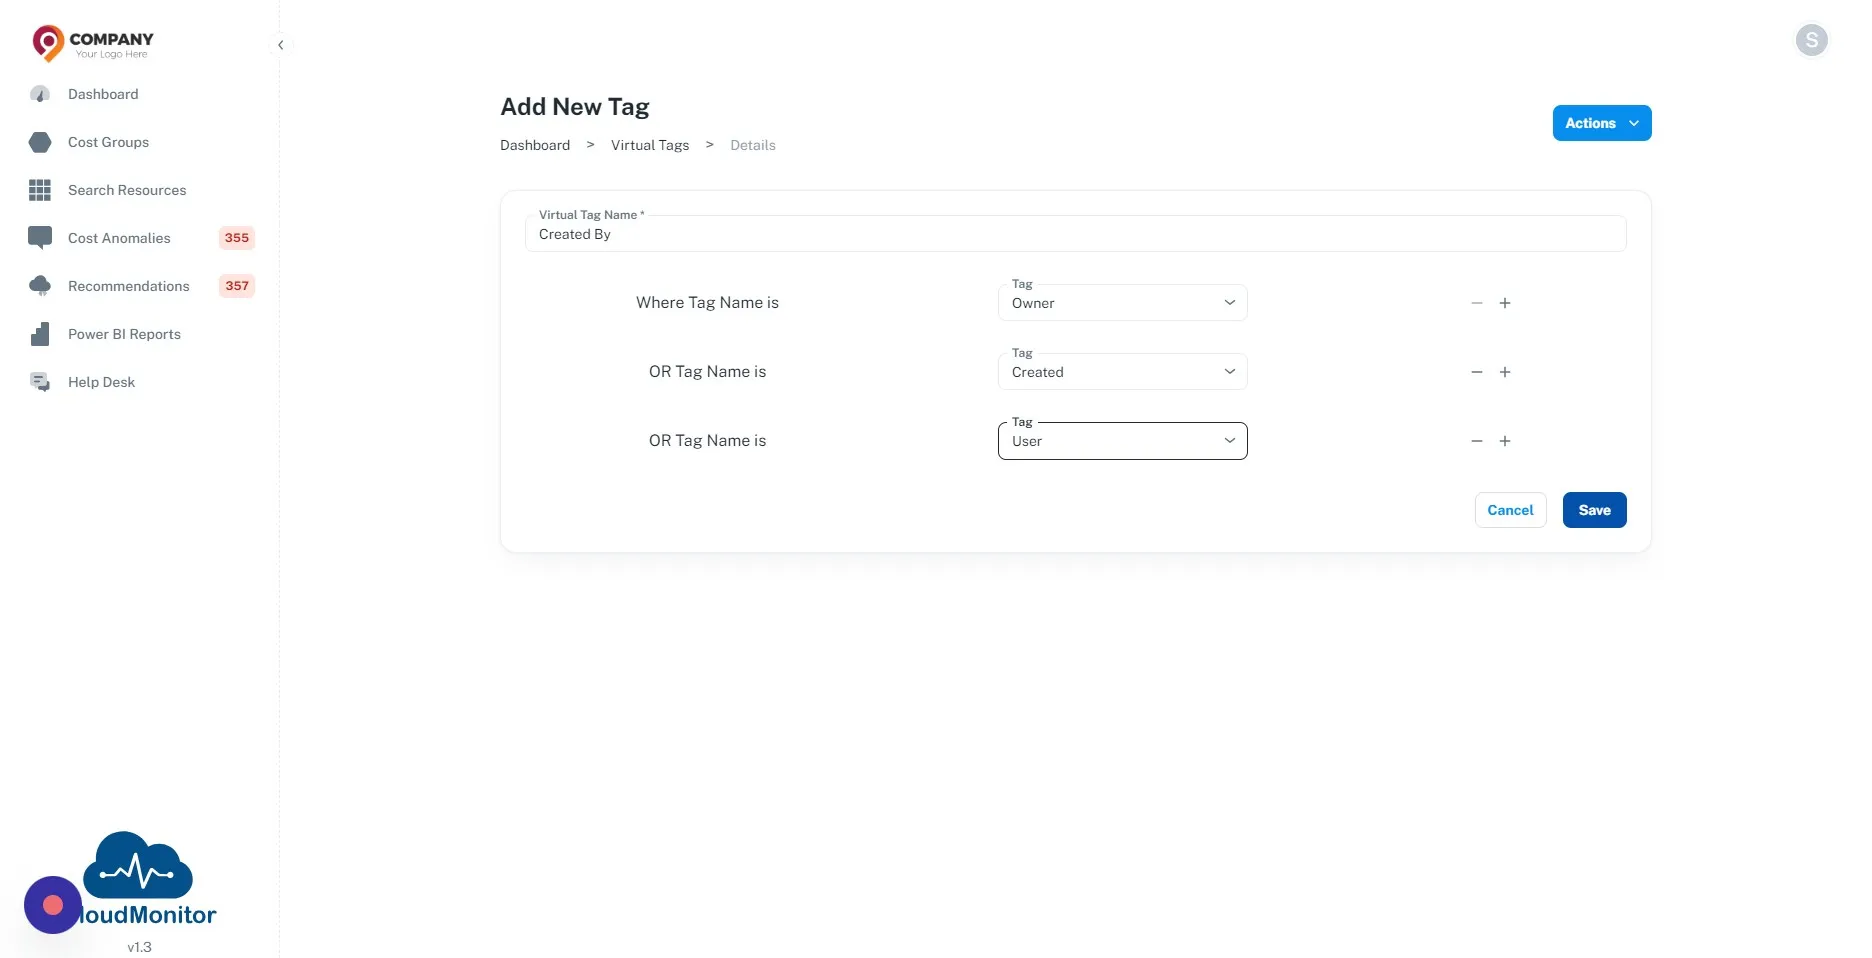
Section titled “Step 4”Click the “Virtual Tag Name” field. and provide a name for the virtual tag.
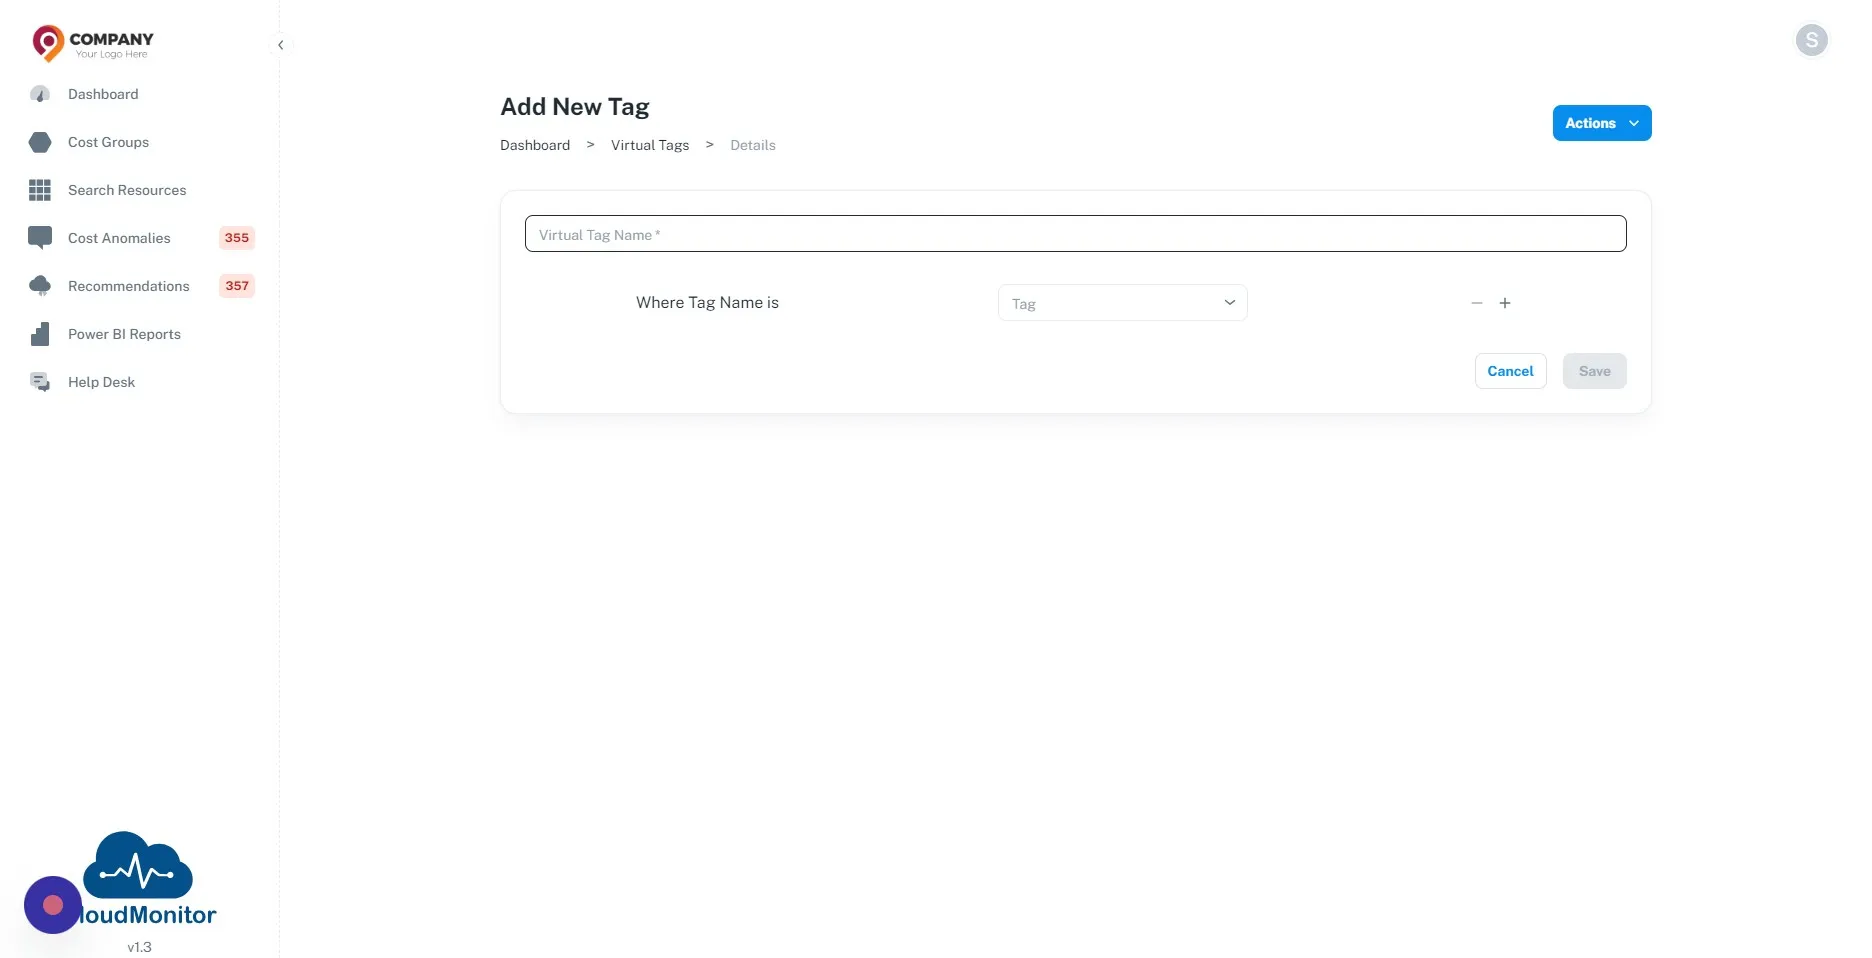
Step 5
Section titled “Step 5”Select the Tags which need to be normalized from the dropdown
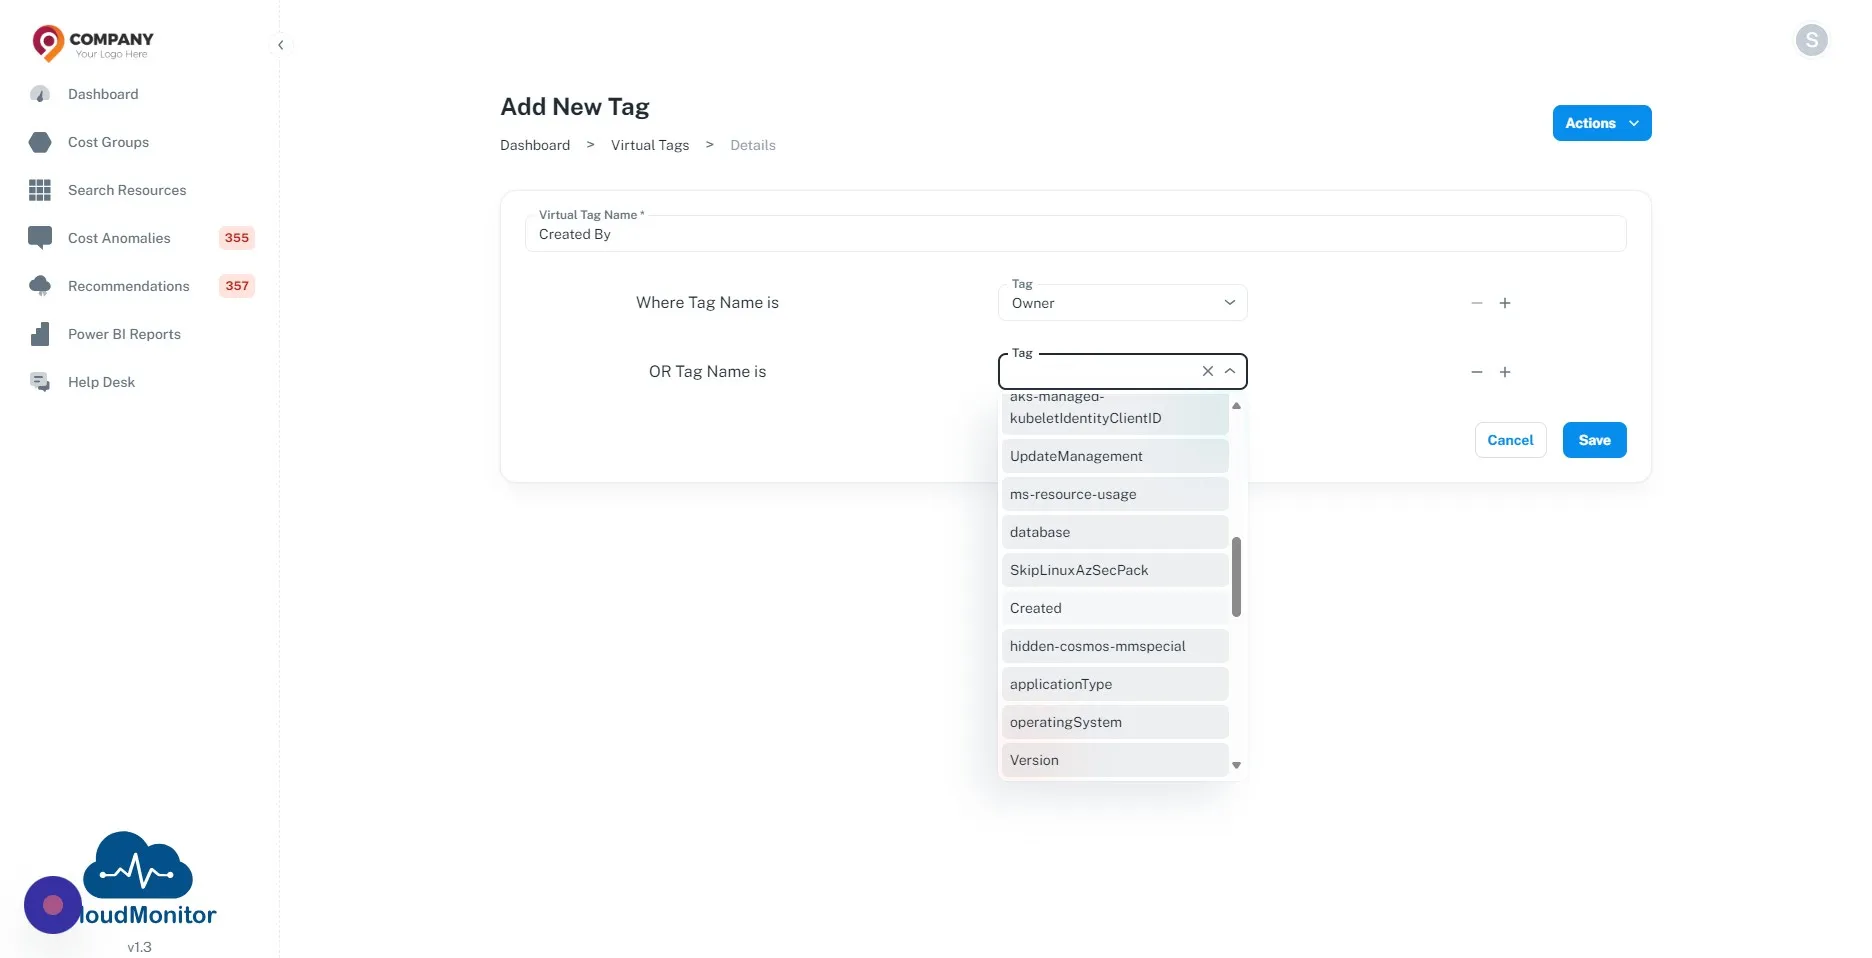
Step 6
Section titled “Step 6”After adding all the tags which need to be normalized. Click “Save” button.